A small disclaimer note is in place here.
Before opening the amplifier like this, please ask yourself some
questions. It may help you to avoid risk of accident, or damaging your
beautiful amplifier.
1. Do you know and understand Ohm's law ?
2. Can you read the schematics of this amp?
3. Do you know, that DC voltage is 10 x more dangerous for humans than
AC, and even 30 V DC can be lethal if the current flows via both hands?
Do you know that there is 450 V DC inside this particular Angel?!!!
4. Are you aware, that capacitors can store the voltage for MONTHS
AFTER DISCONNECTION?
5. Have you ever done any soldering project that actually worked ?
If one or more answers are negative, please think again if you want to
go there. This is the last moment to stop... ;-)
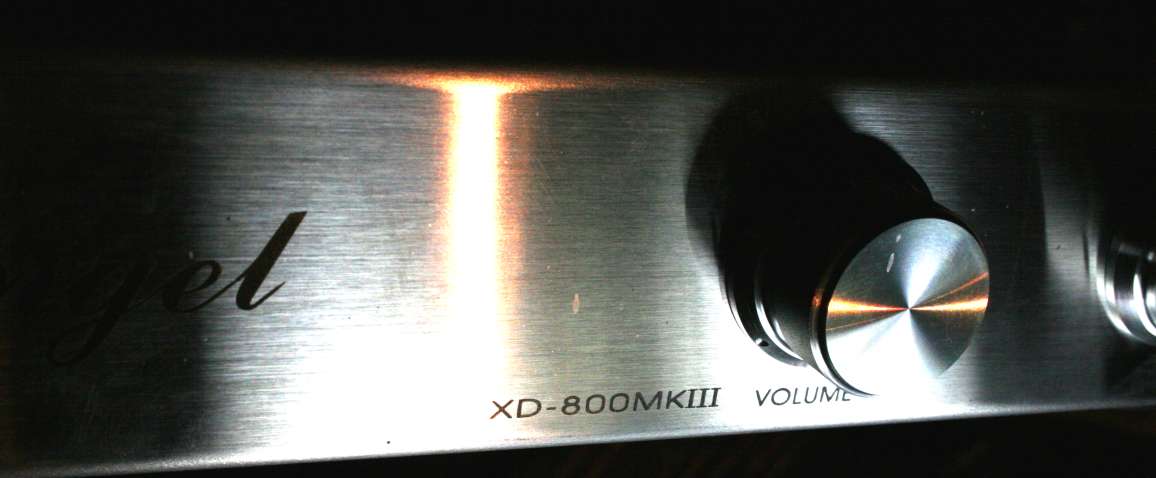
Music Angel KT88
At
first I did not like it, I had low expectations and prejudice. It was
SUPPOSED to be bad. Puhhleeze: push pull? Not SE? Not class A? No
triode but pentode? Local feedback? Chinese tubes ???
But after minimal cleanup - it surprised me a lot.
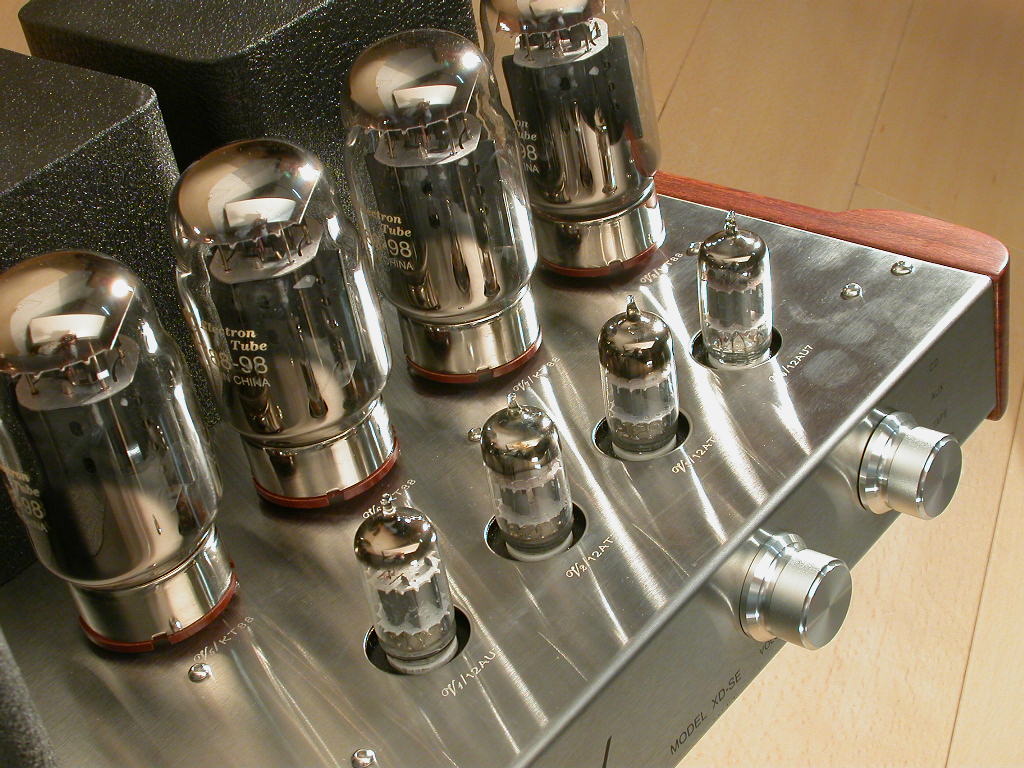
It is very hard for me to admit, that perhaps this is the best Music
Angel of
them all. Powerful, well extended on both ends, clean, fast and
energetic. All I can
think of - is excellent. And the tubes are easy to change. I recommend
it
very much to everyone. Try it with the underestimated 6L6 tubes or even
6550's.
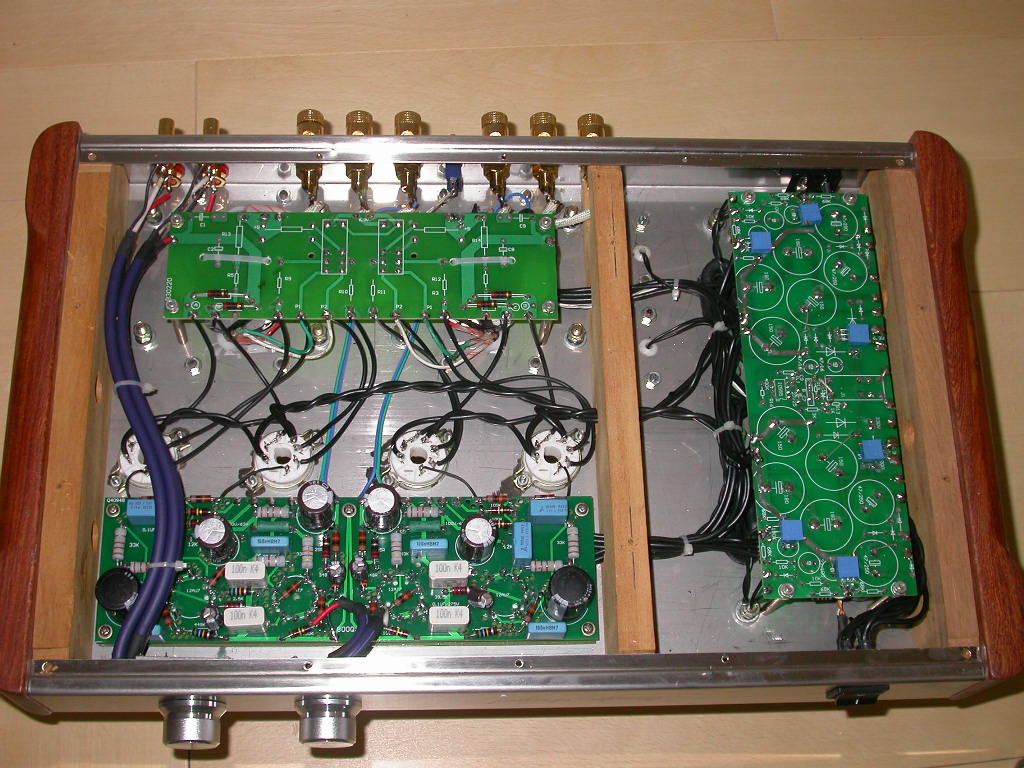
The actual job concerns ONLY the green input PCB, not touching the
power section.
The power section has a switch for TRIODE operation and this should be
kept permanently in TRIODE never pentode God forbid. Best idea is to
CUT AND REMOVE the wires leading to this switch on the back side.
I think that the power stage of the angel is good, there is nothing
critical to do there.
After doing successfully the stage-one modification as prescribed
below,
we can enjoy the music and forget all the tweaking.
The input stage is easy to work on, and the effort brings big
improvement.
I suggest to get first the right parts and print the schematics which I
provide. Get the tools you will need (just soldering iron, clippers,
pincette and flux solder. )
Parts needed: 4 capacitors MKP or PIO - 0,47 uF or more by 400 V.
4 capacitors of 1 uF or more by 400 or 600 V MKP or PIO.
Thin wire - naked copper or tinned copper or silver plated copper or
silver - approx. 0,5 m.
SMALL SIGNAL
PCB TWEAKING
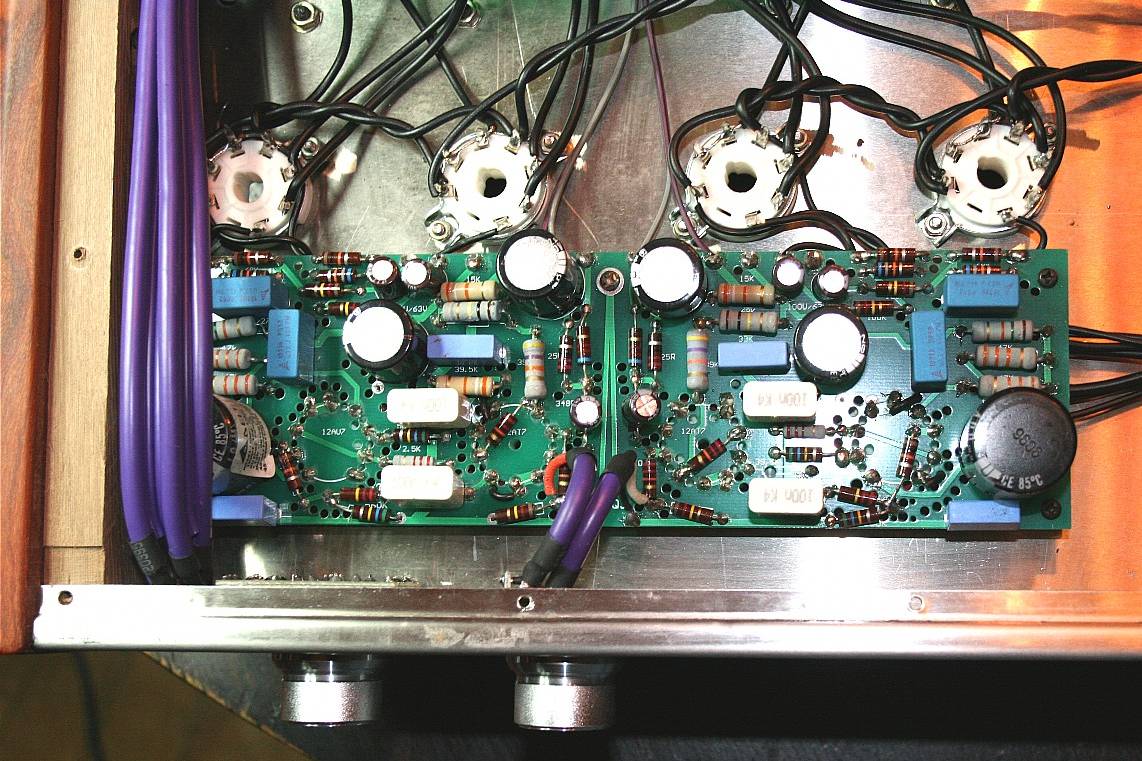
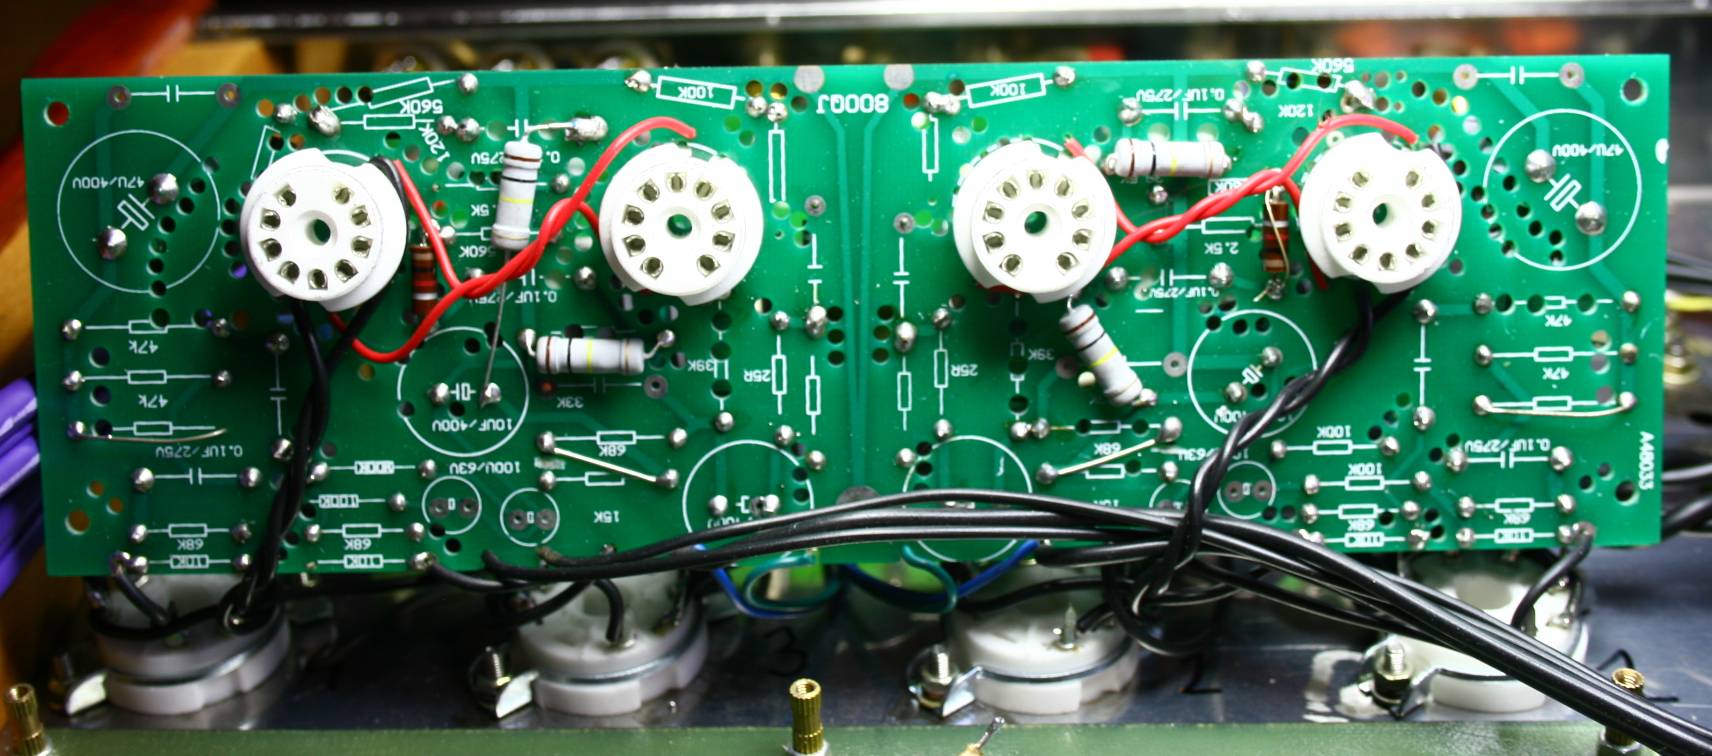
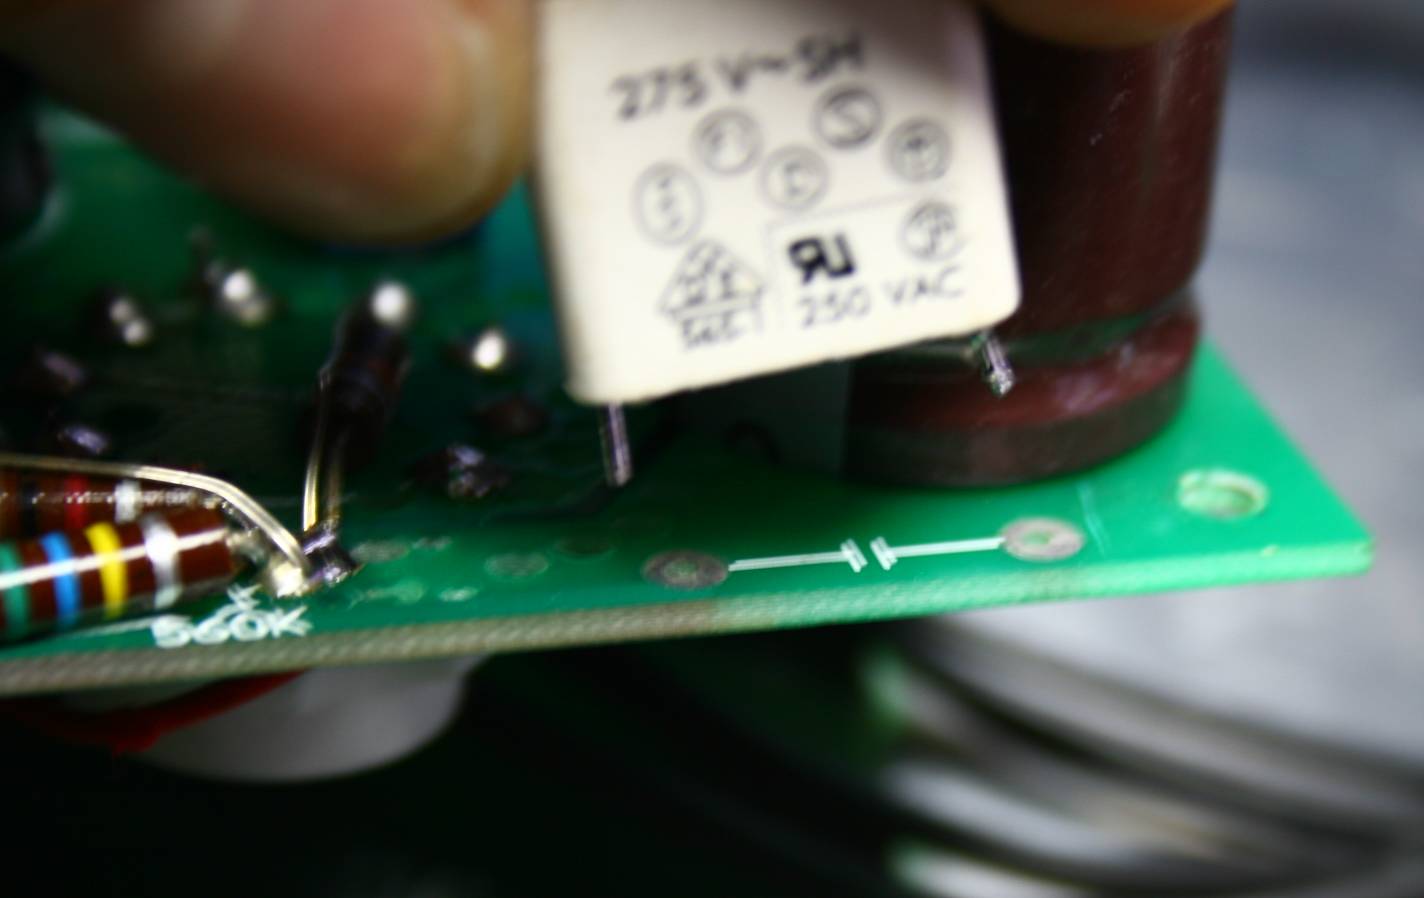
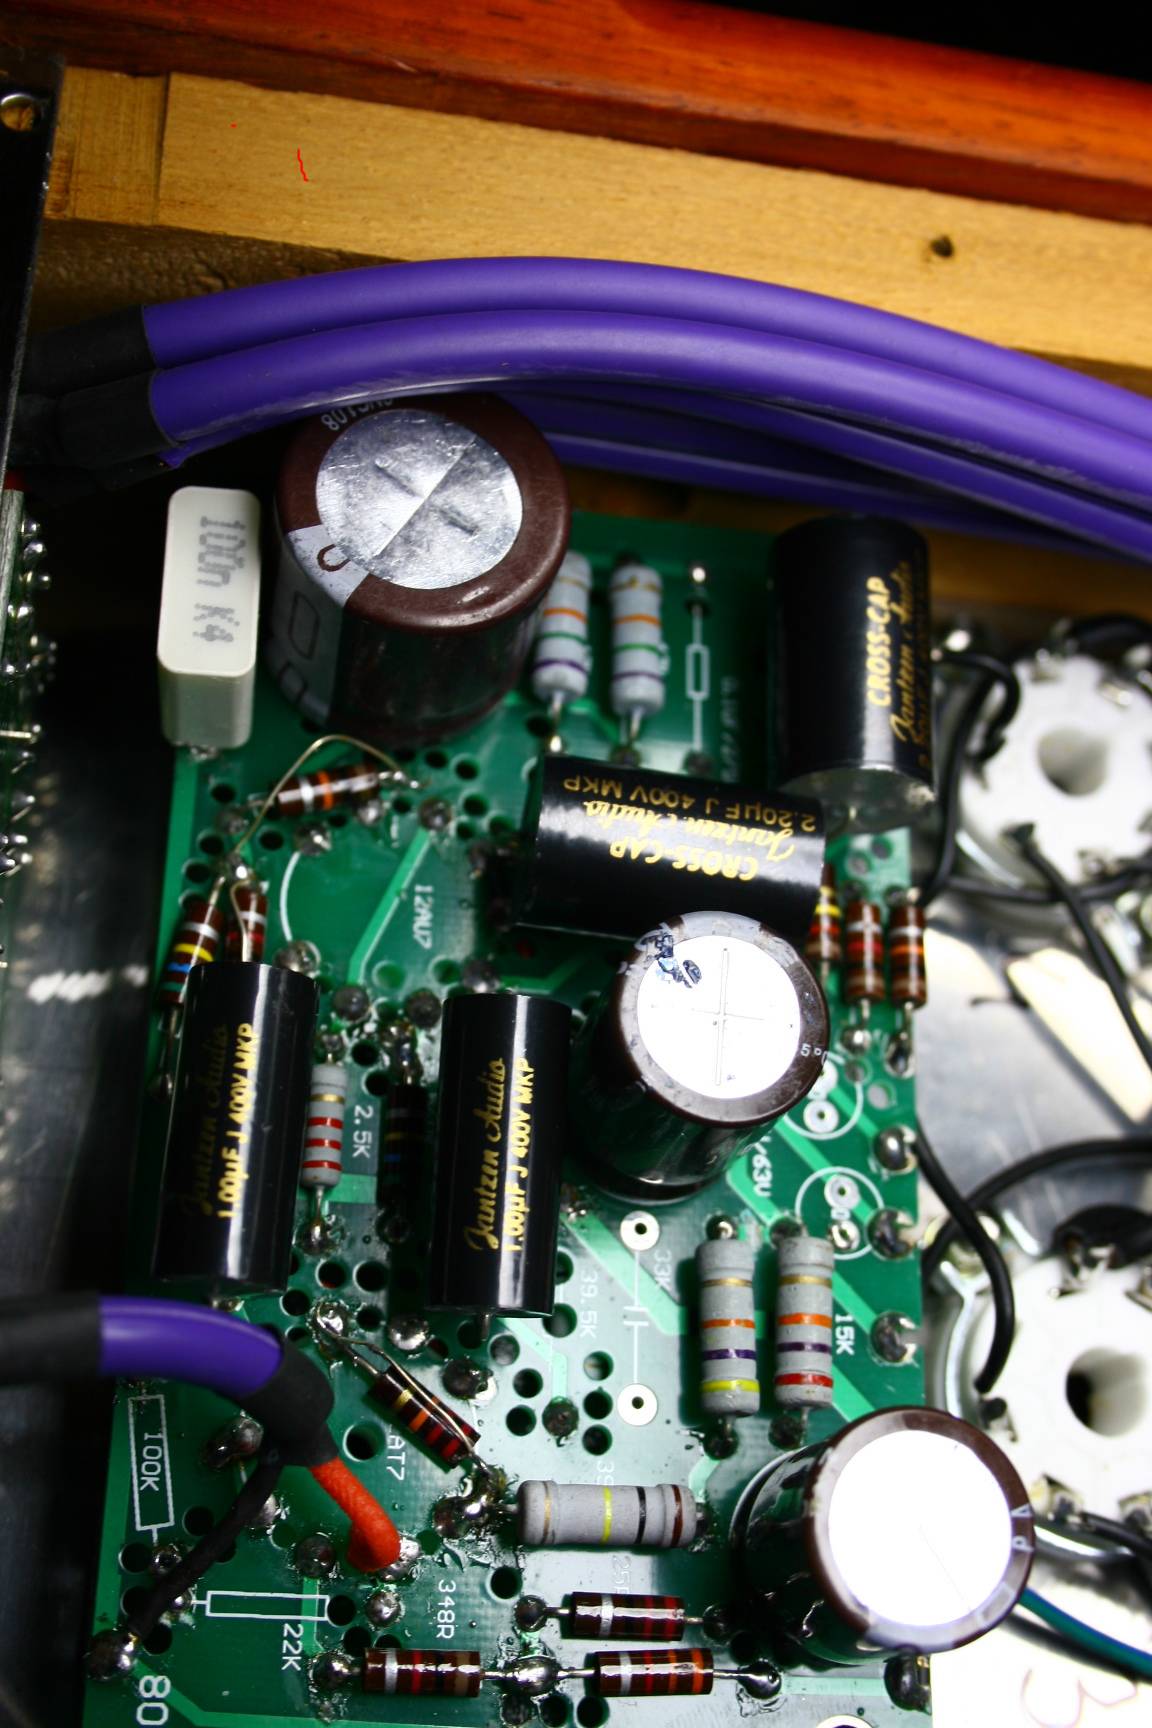
The main PCB lifted up. All the foil caps (blue cubes and white cubes )
get changed. Most brown resistors are removed and either shorted
(series ones) or opened (parallel ones). But we will discuss it later
...
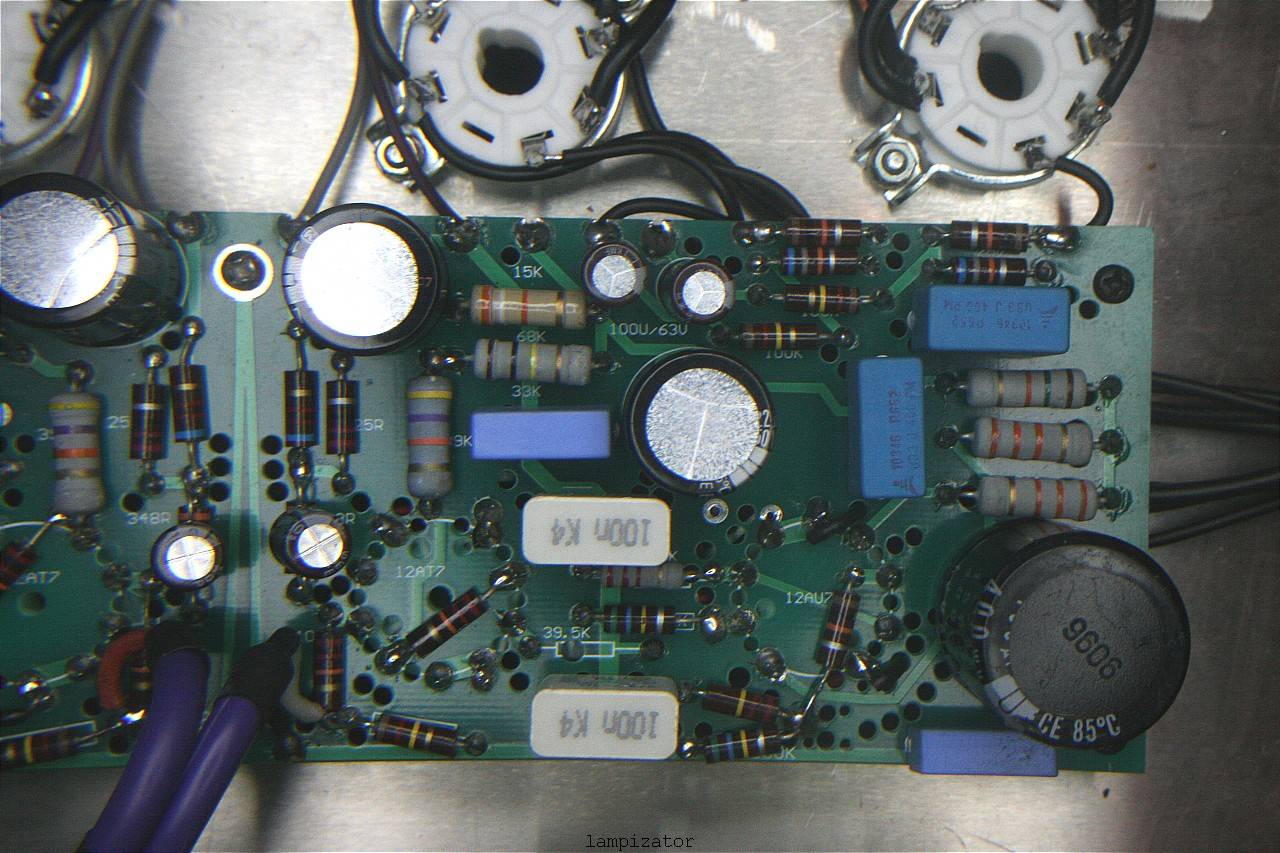
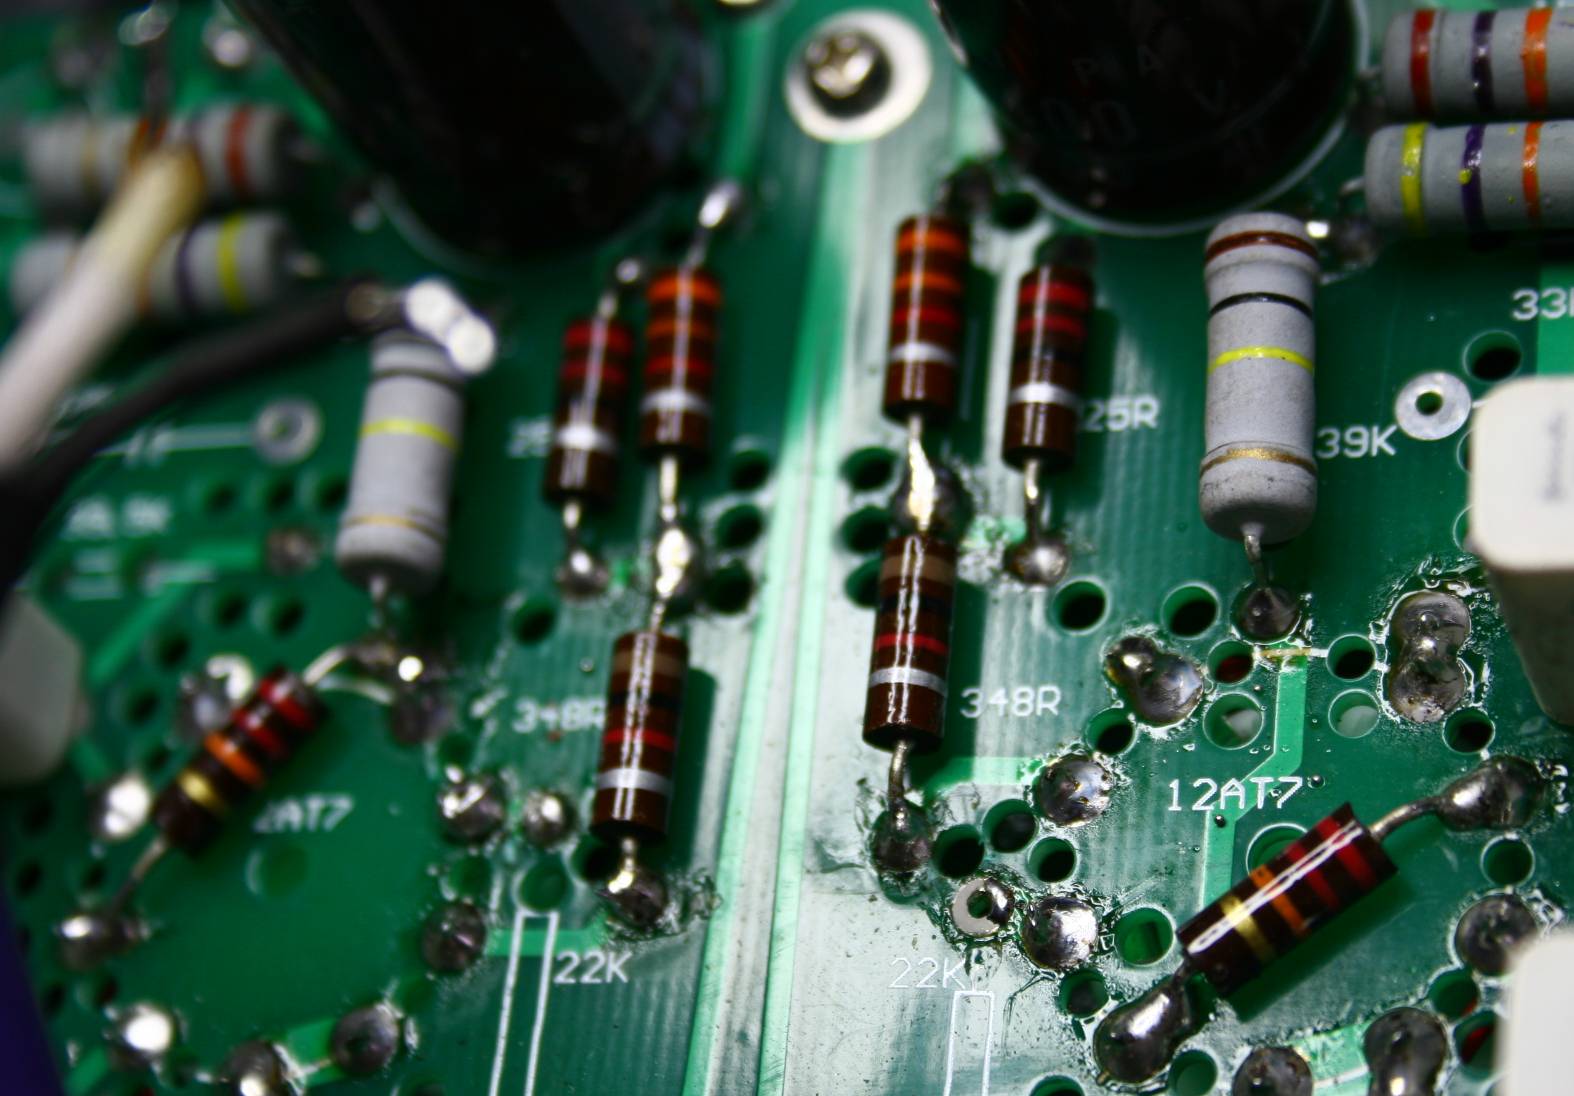
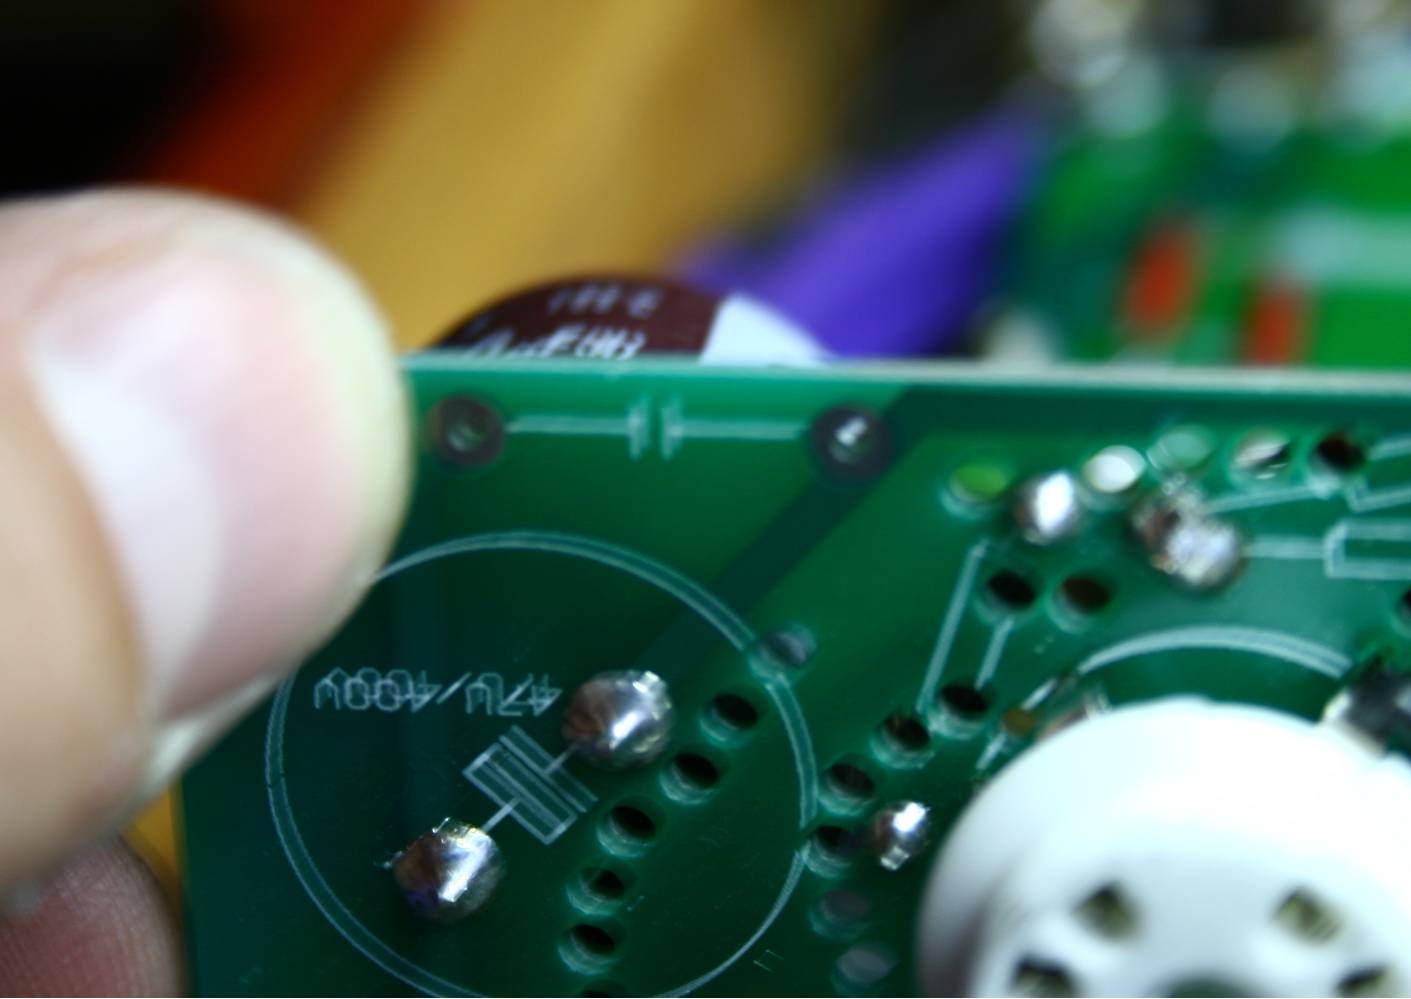
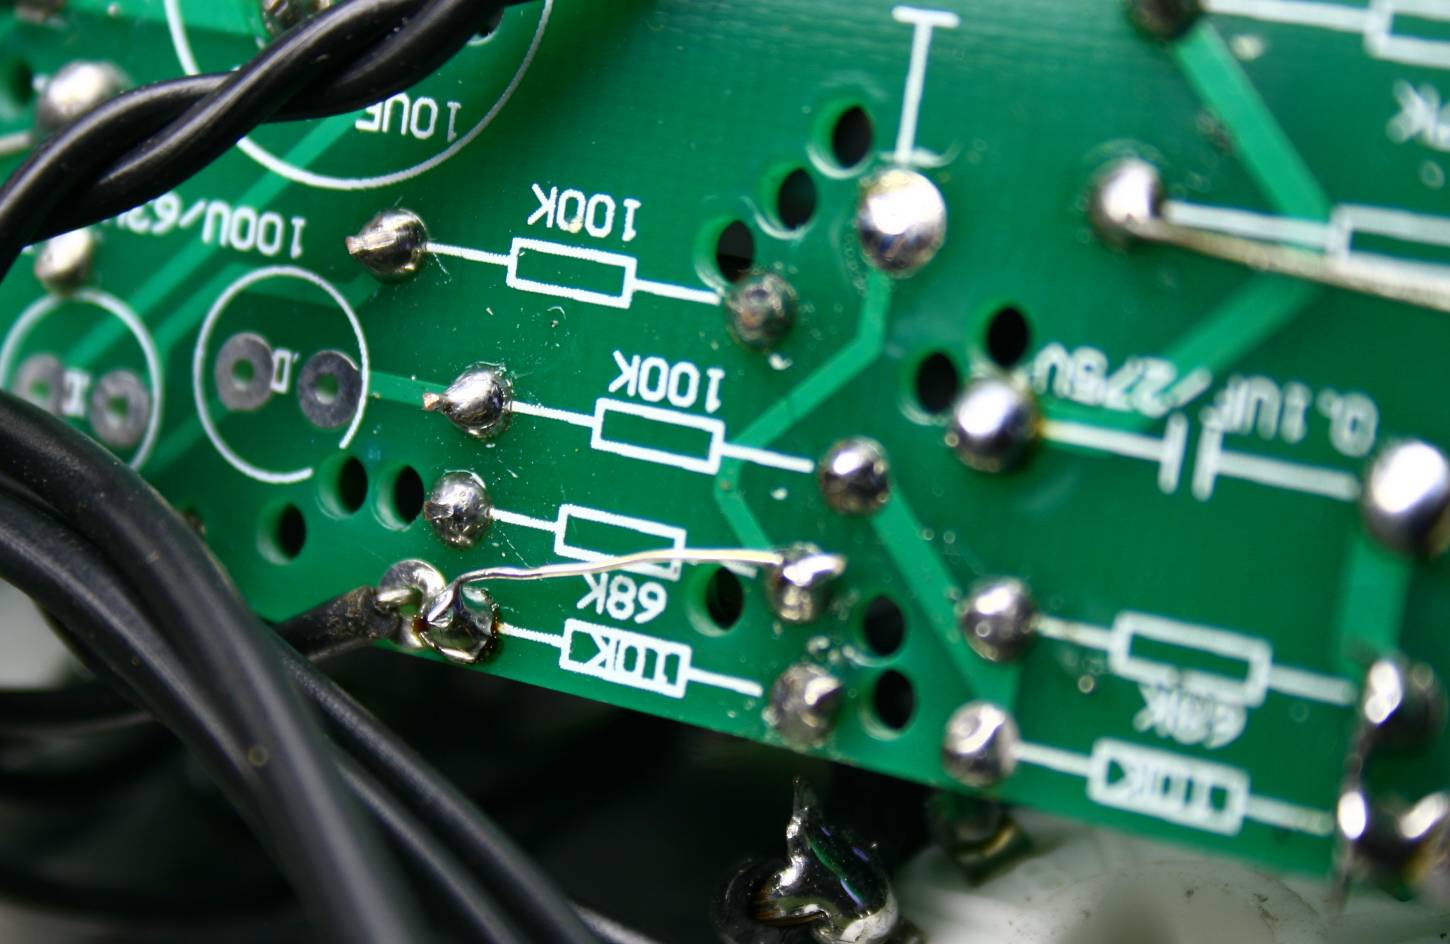
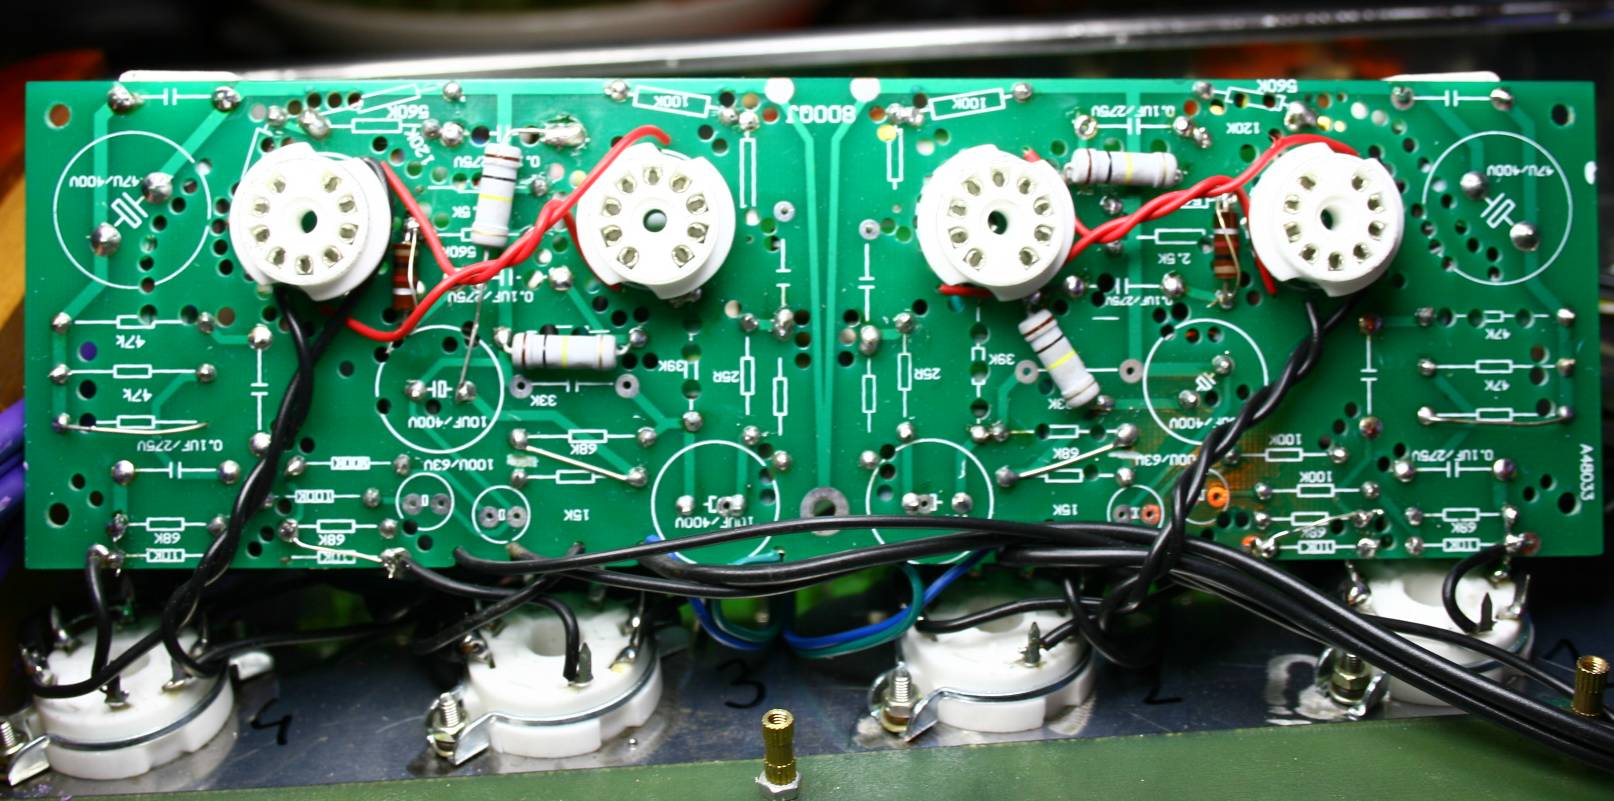
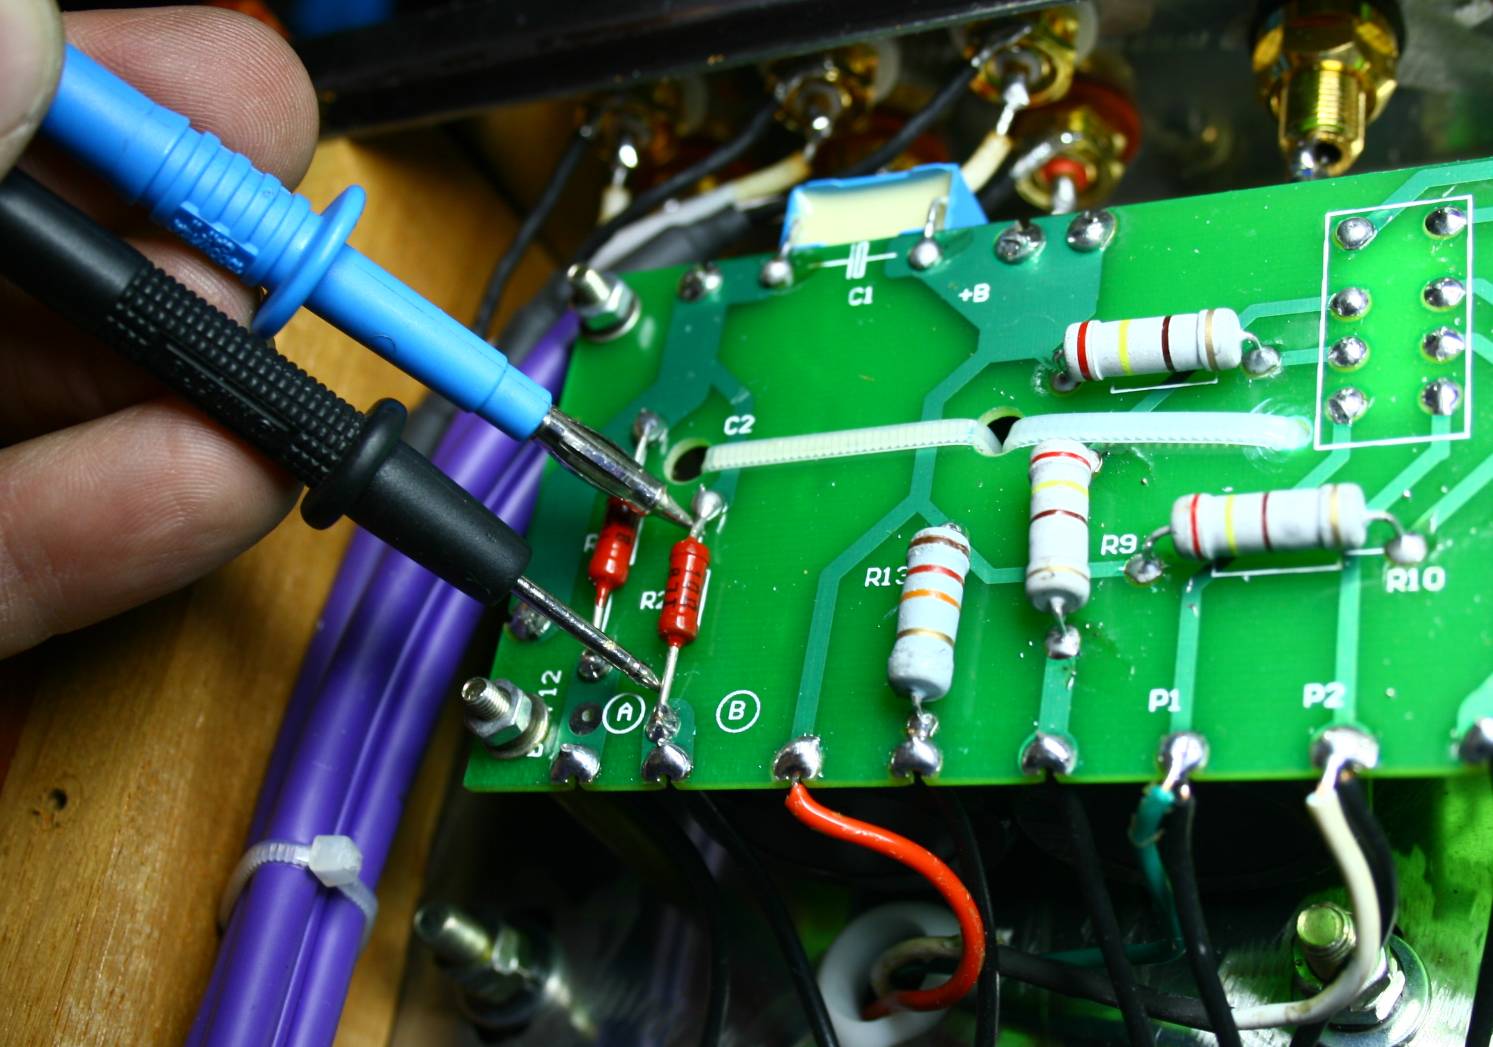
The underside of the input PCB. As you can see, not all parts were on
bottom side, 3 resistors and 2 wire jumpers were hiding here.
Schematics:
First: I remove and short all series resistors from the circuit like
R2, R9, R11, R13, R15. To be safer - keep them in place, just short
them with a piece of wire.
To
make the mod safer and to save time iI decided to keep the original
tubes, generally to retain as much as possible from the stock amp.
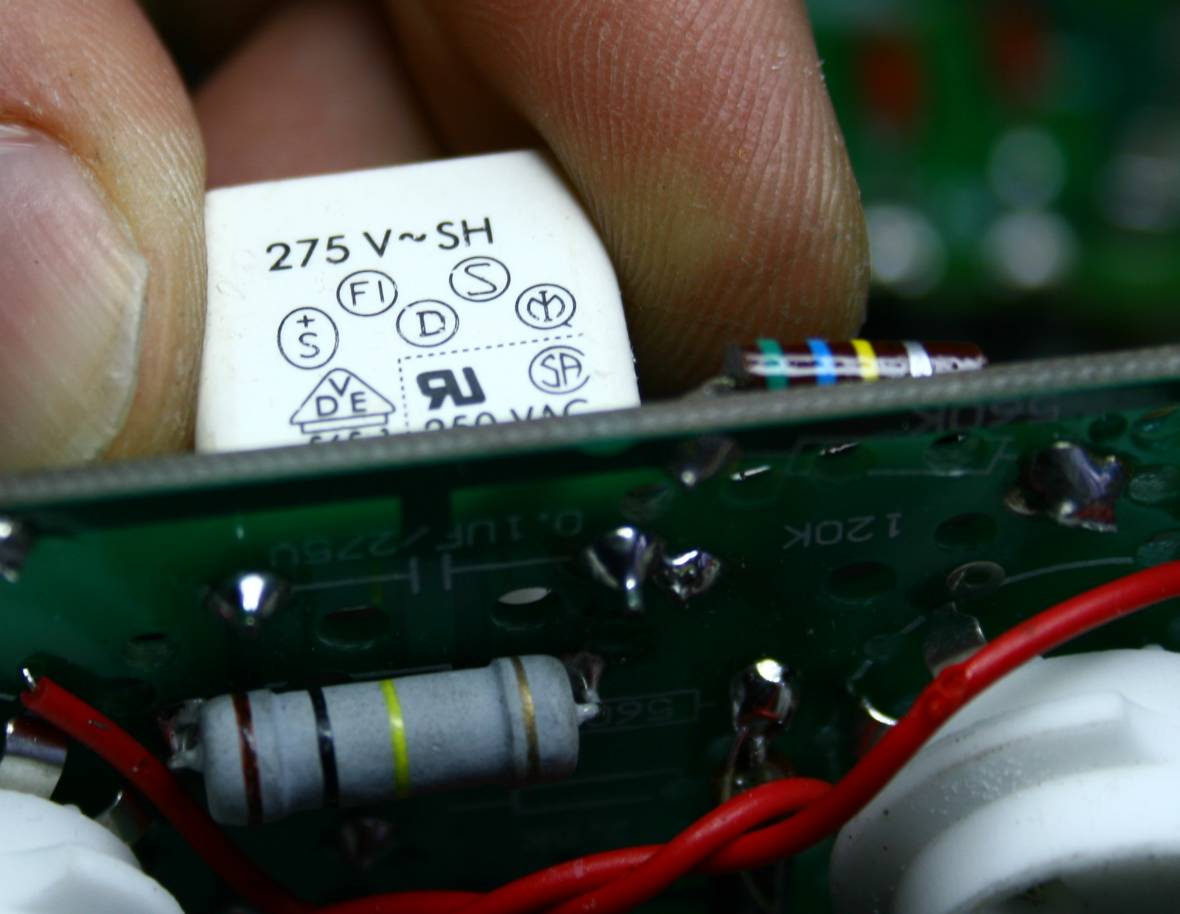
Second, I replace all foil coupling capacitors (4 white cubes and 4
blue ones) with some decent, radial shaped, MKP, minimum 400 V DC,
minimum 4 x the original size.
Third I removed the hated cathode capacitor C1
R1 and R3 get removed in both channels.
C2 and C5 can be doubled.
All is described in the scheme below.
Triode - pentode switch is cut off.
The feedback cable leading from the speaker terminals to green input
PCB gets cut off.
(be careful - each angel I have seen so far has different layout and
different parts. They mount them carelessly. Pictures will differ from
real life for sure !)
First - lift the input cable from potentiometer and it's grounded
screen
as well.
These three resistors as above get removed.
Input divider resistors are removed as deemed unnecessary - the POT is
serving that
role.
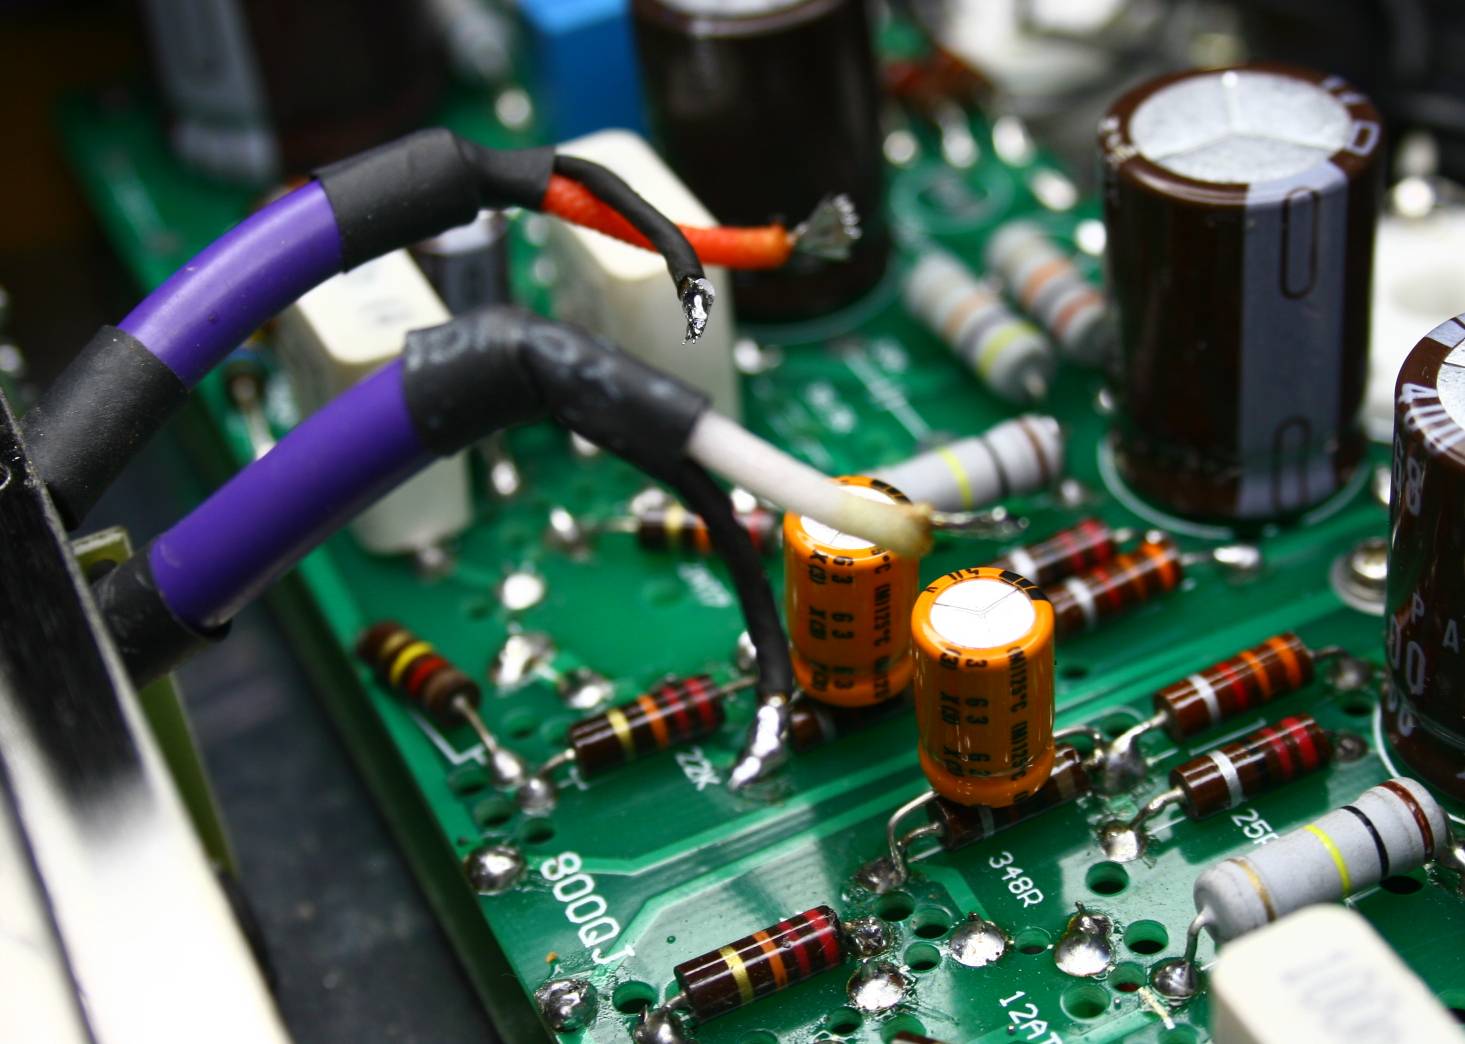
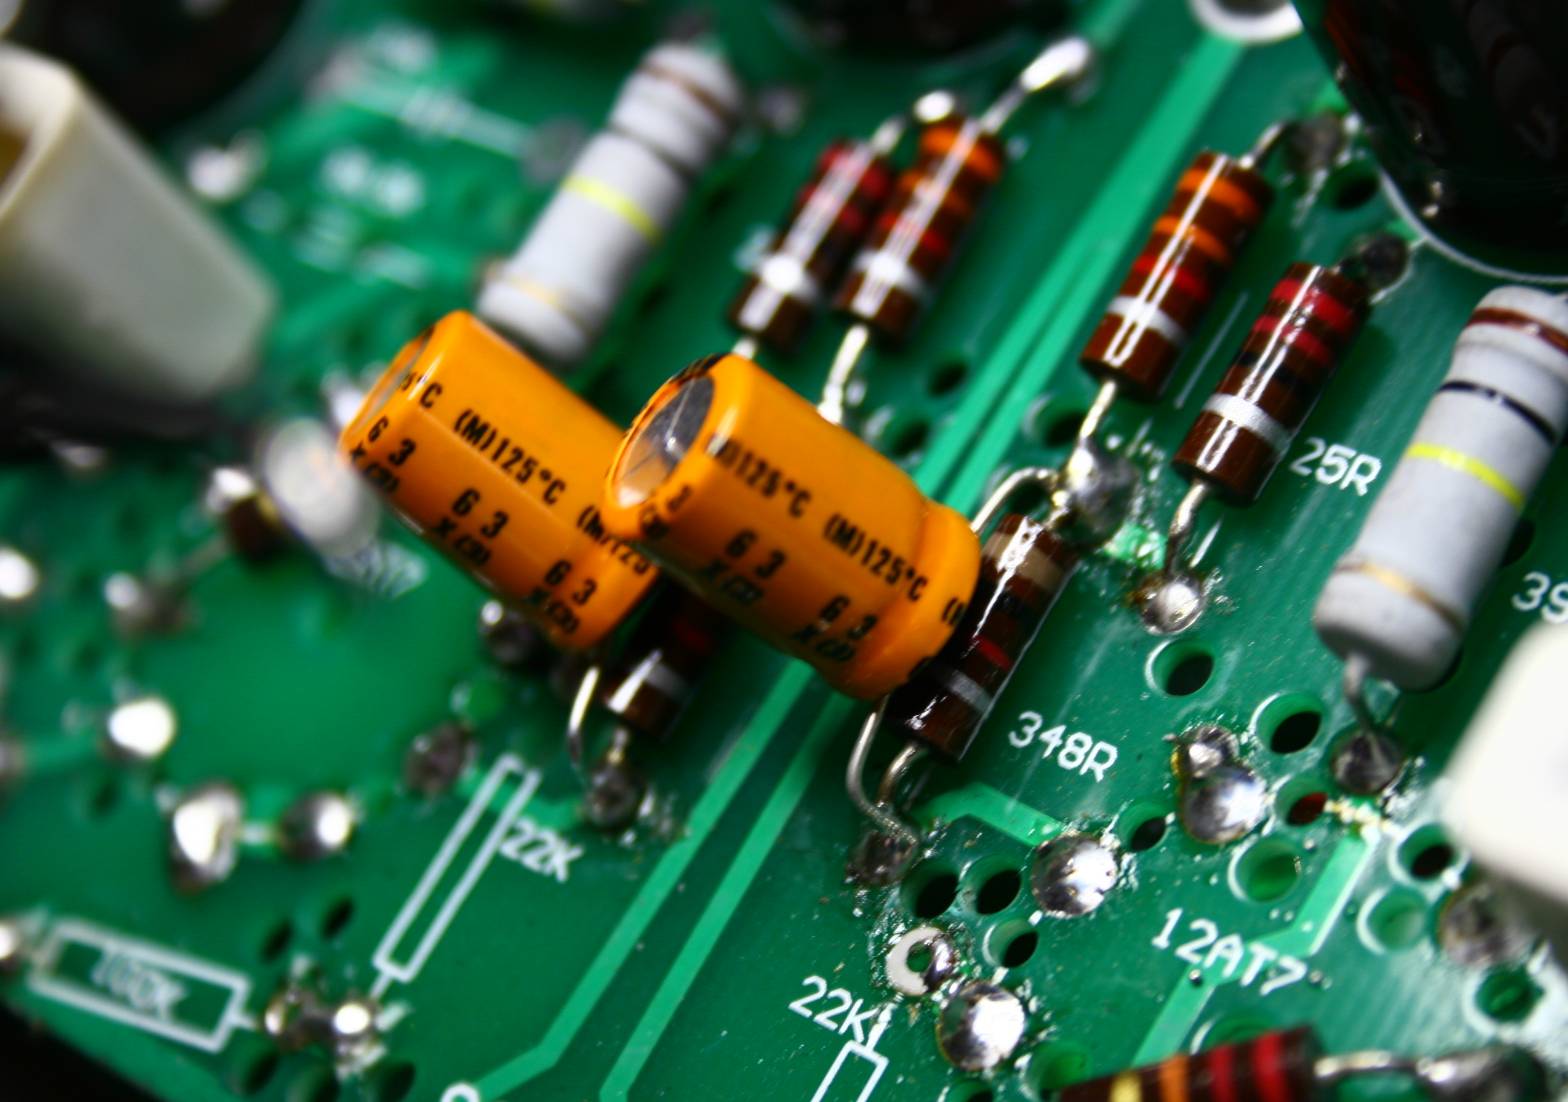
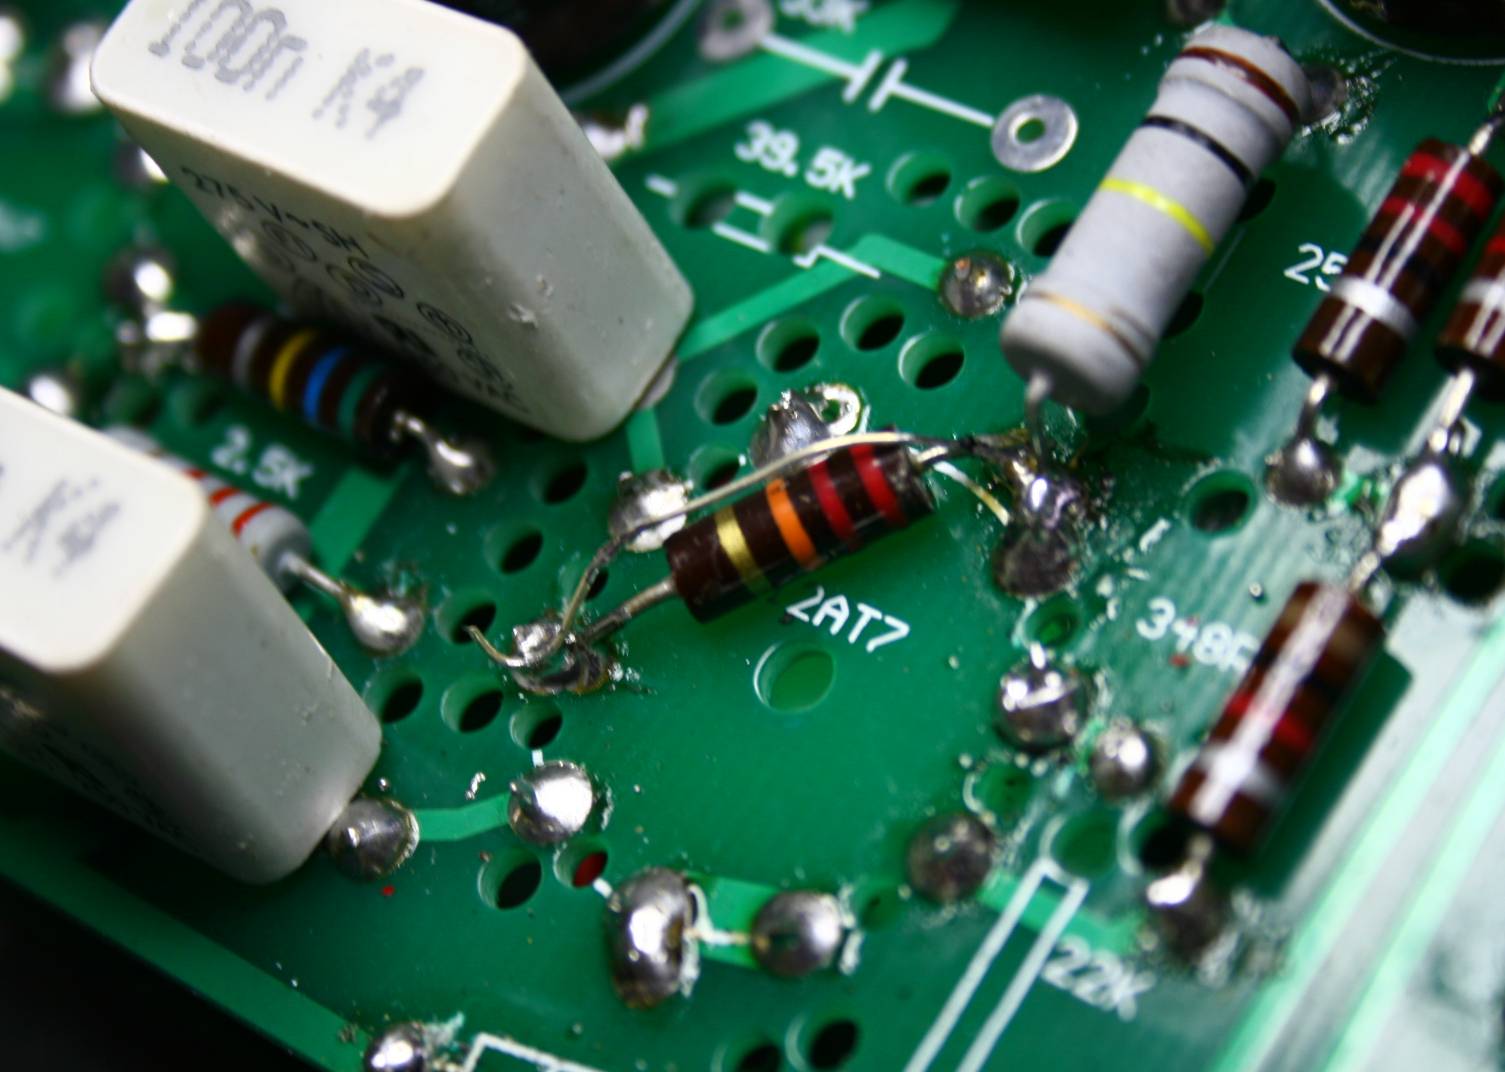
Now it is time to deal with the cathode bypass caps. We remove them -
the orange thingies.
MAGIC !!! The orange caps are gone !
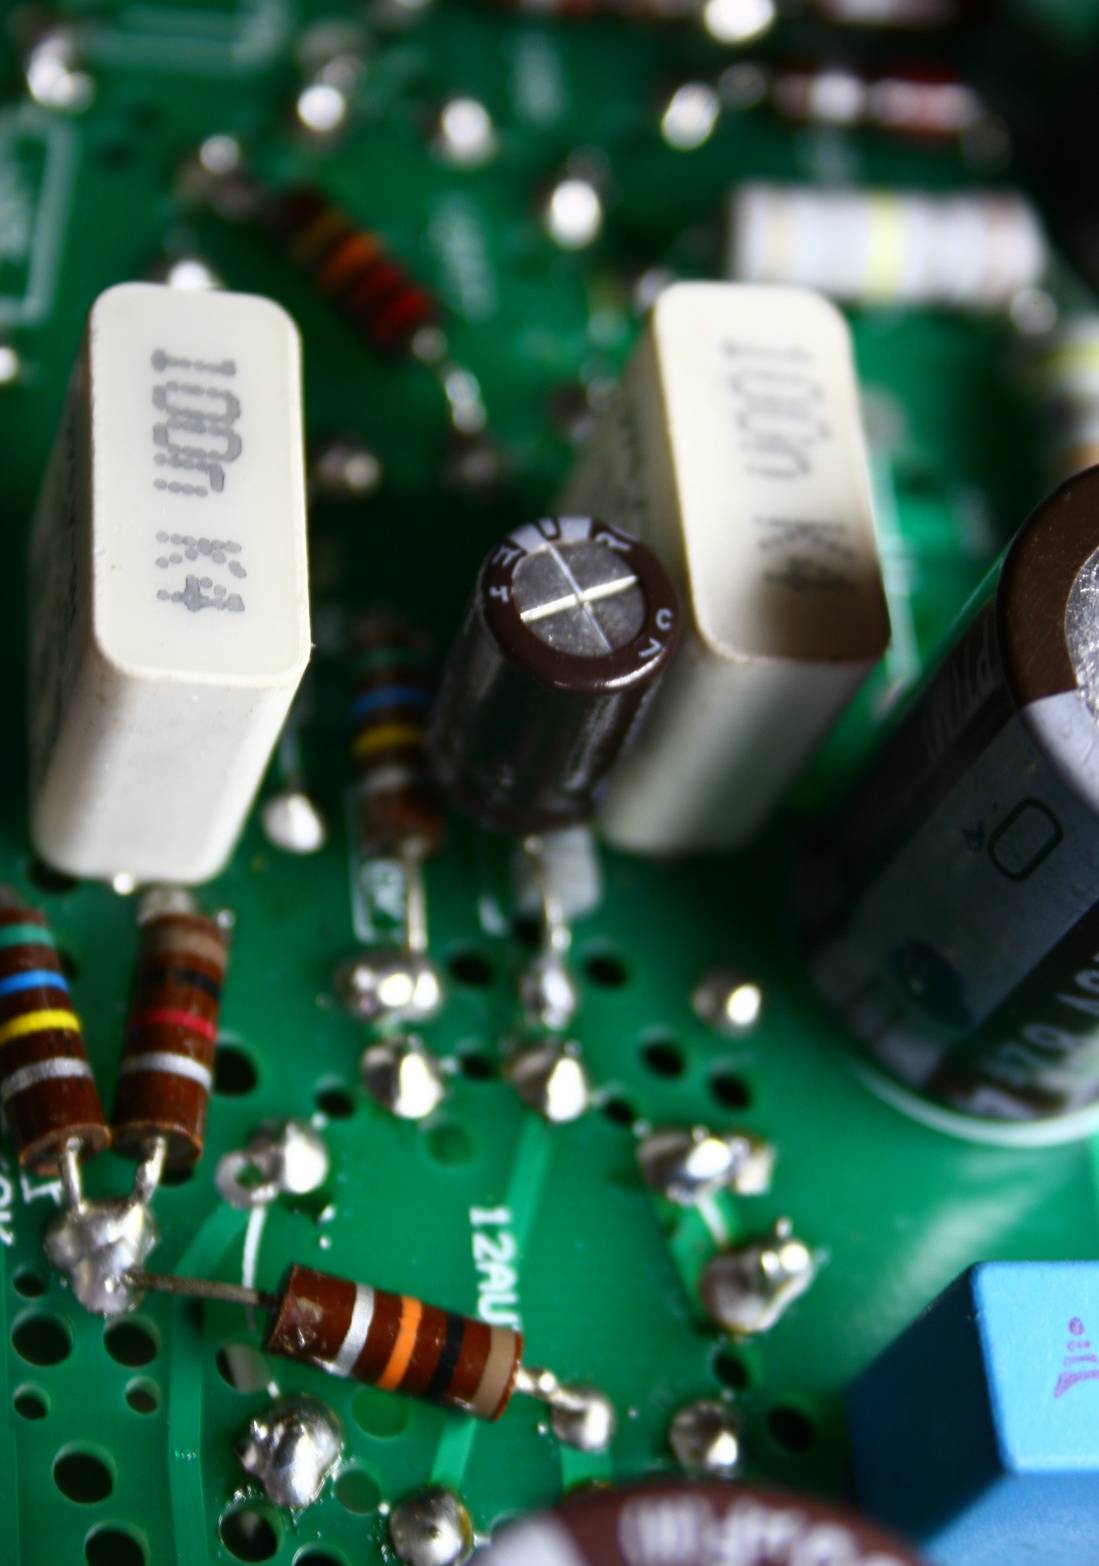
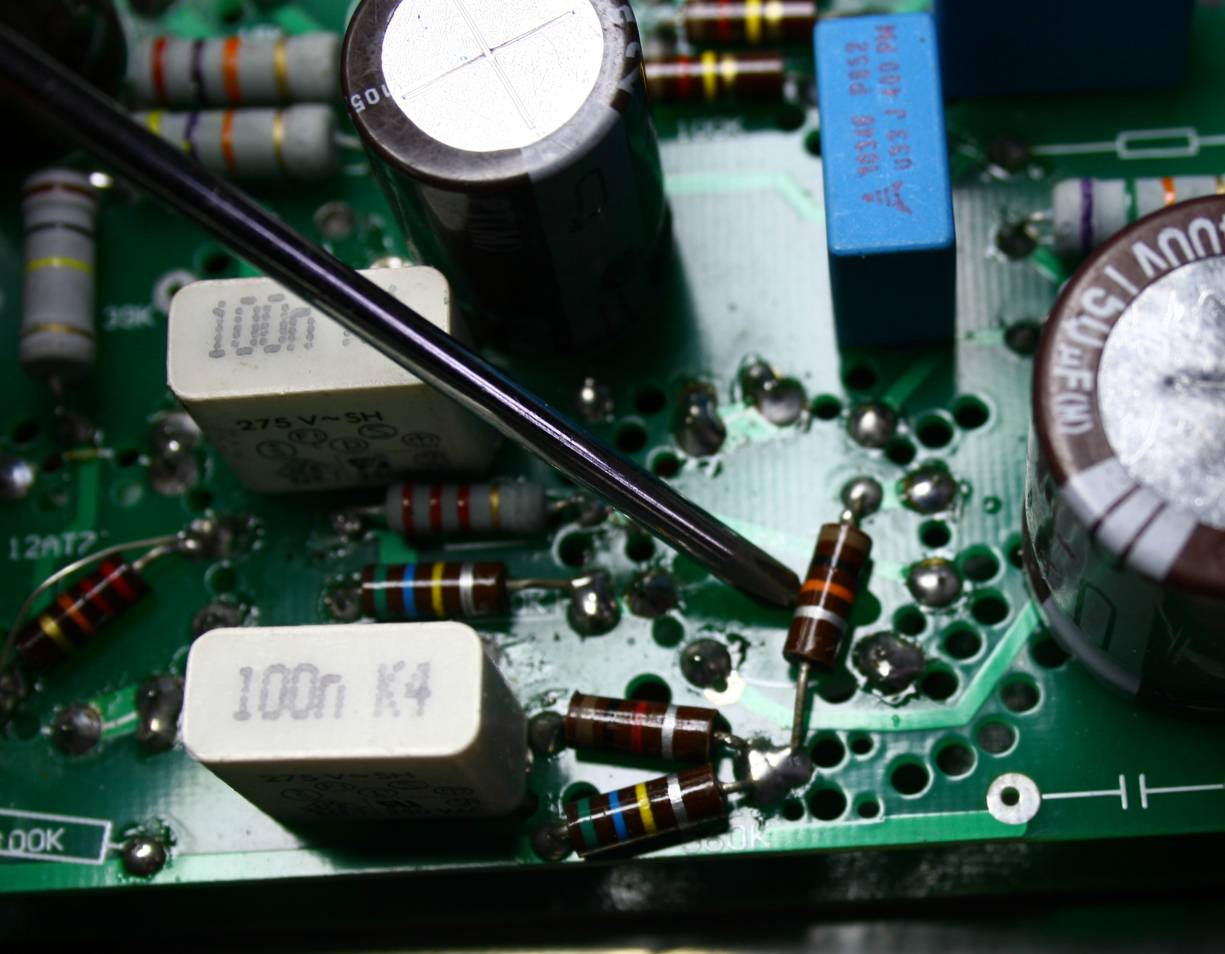
We do the same with the second stage - driver tube cathode capacitor -
the brown electrolytic standing between the white cubes as on the
picture above. Out with it !!!
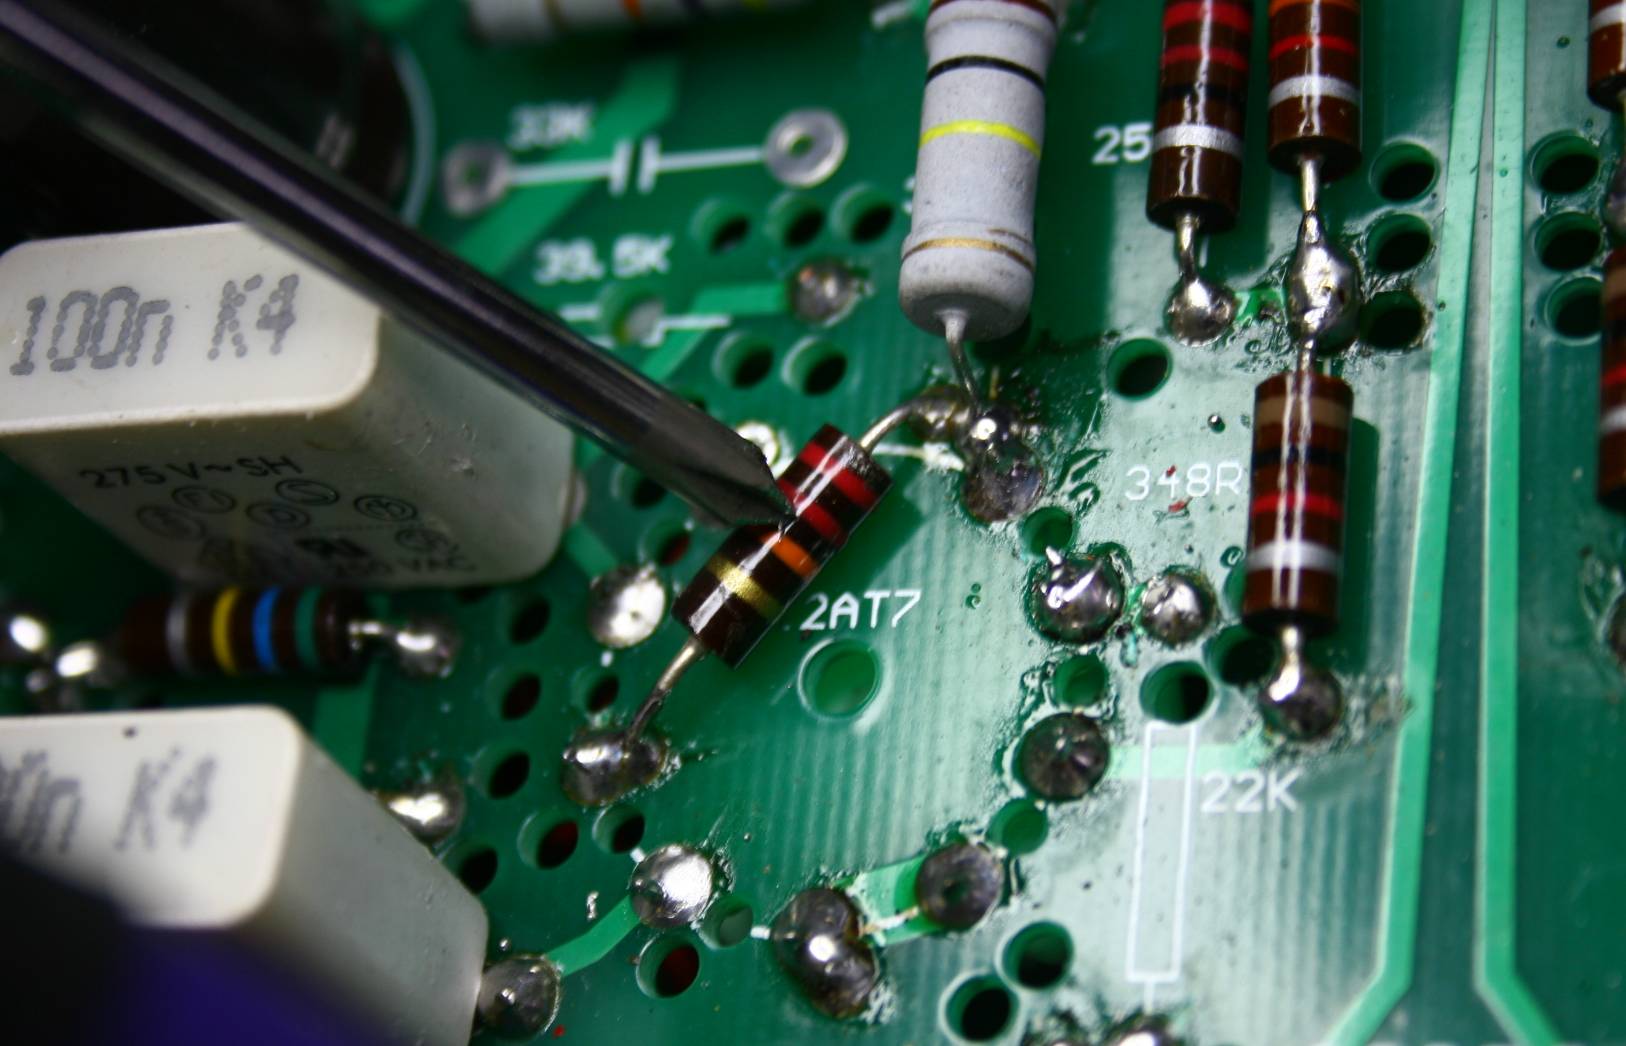
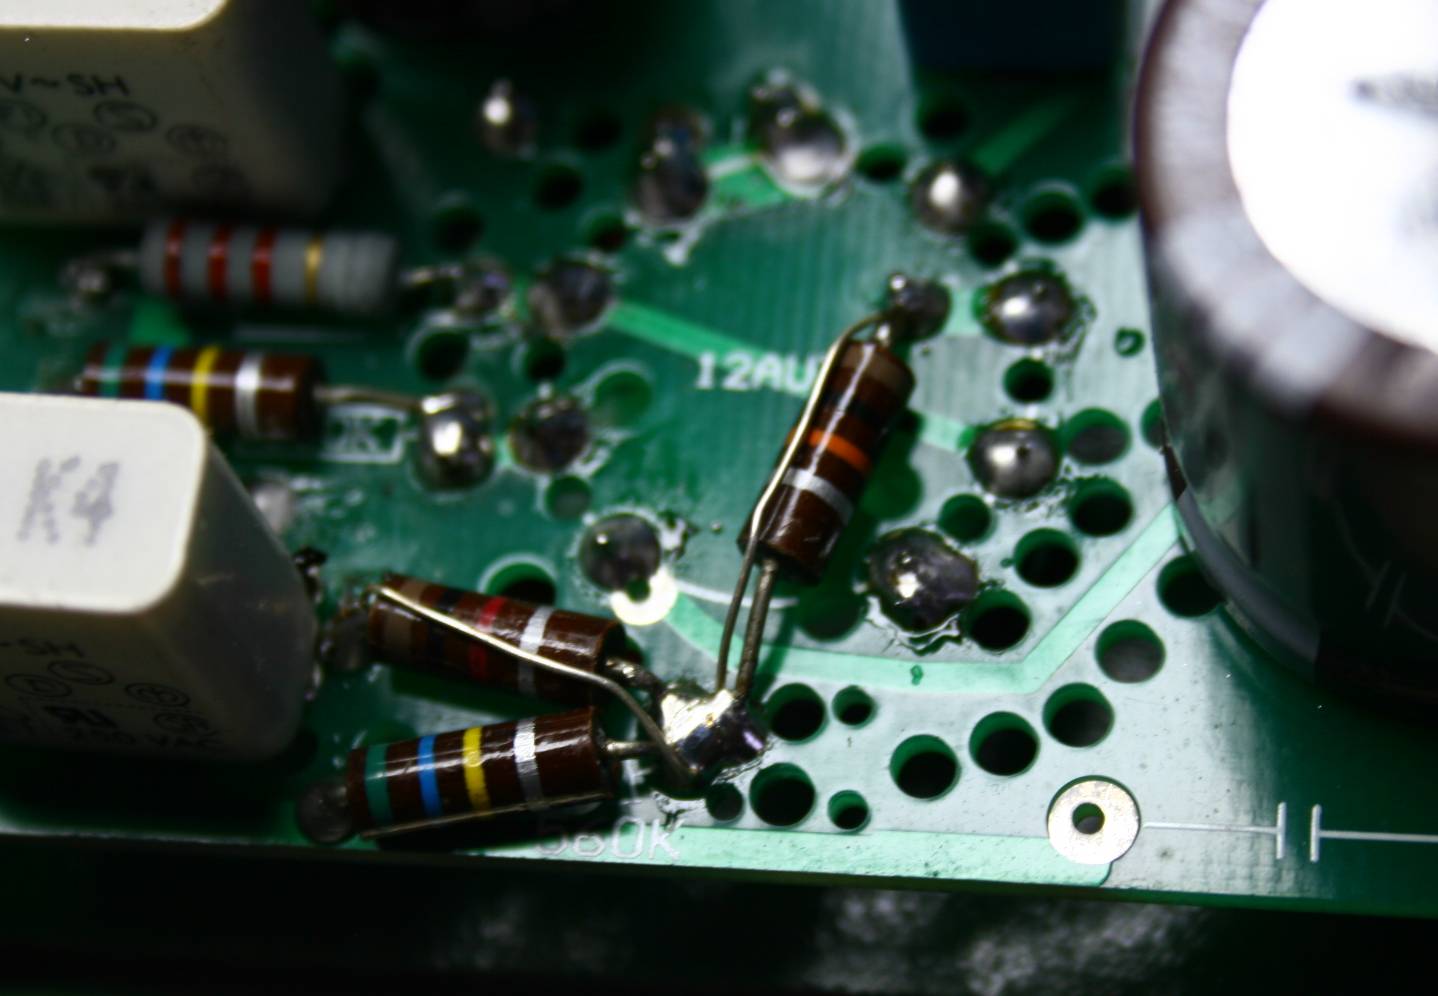
Next goes the resistor from first anode to second grid. We remove it
and short it.
And on the right channel as well
The wire bypass.
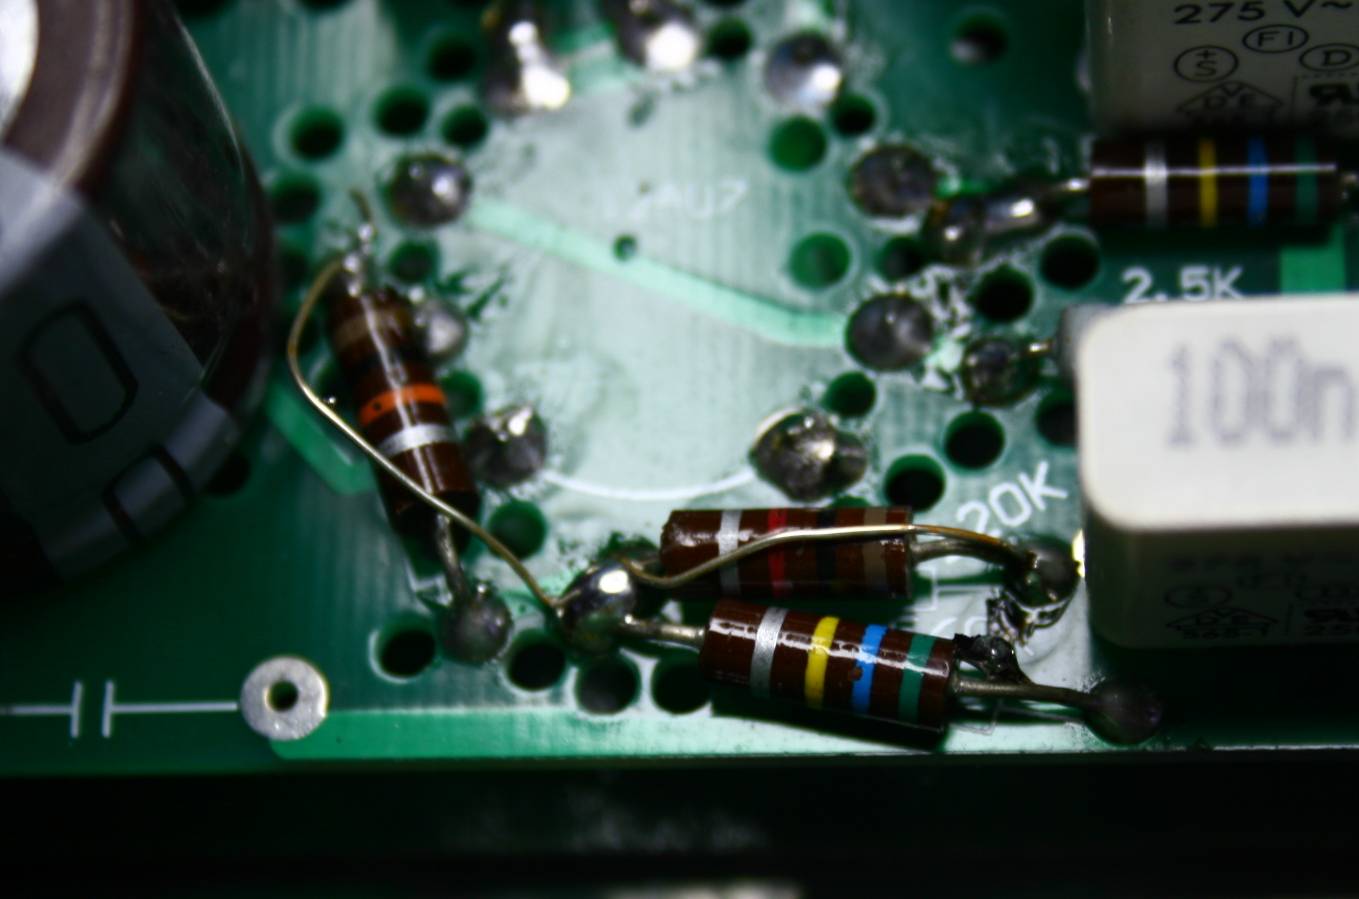
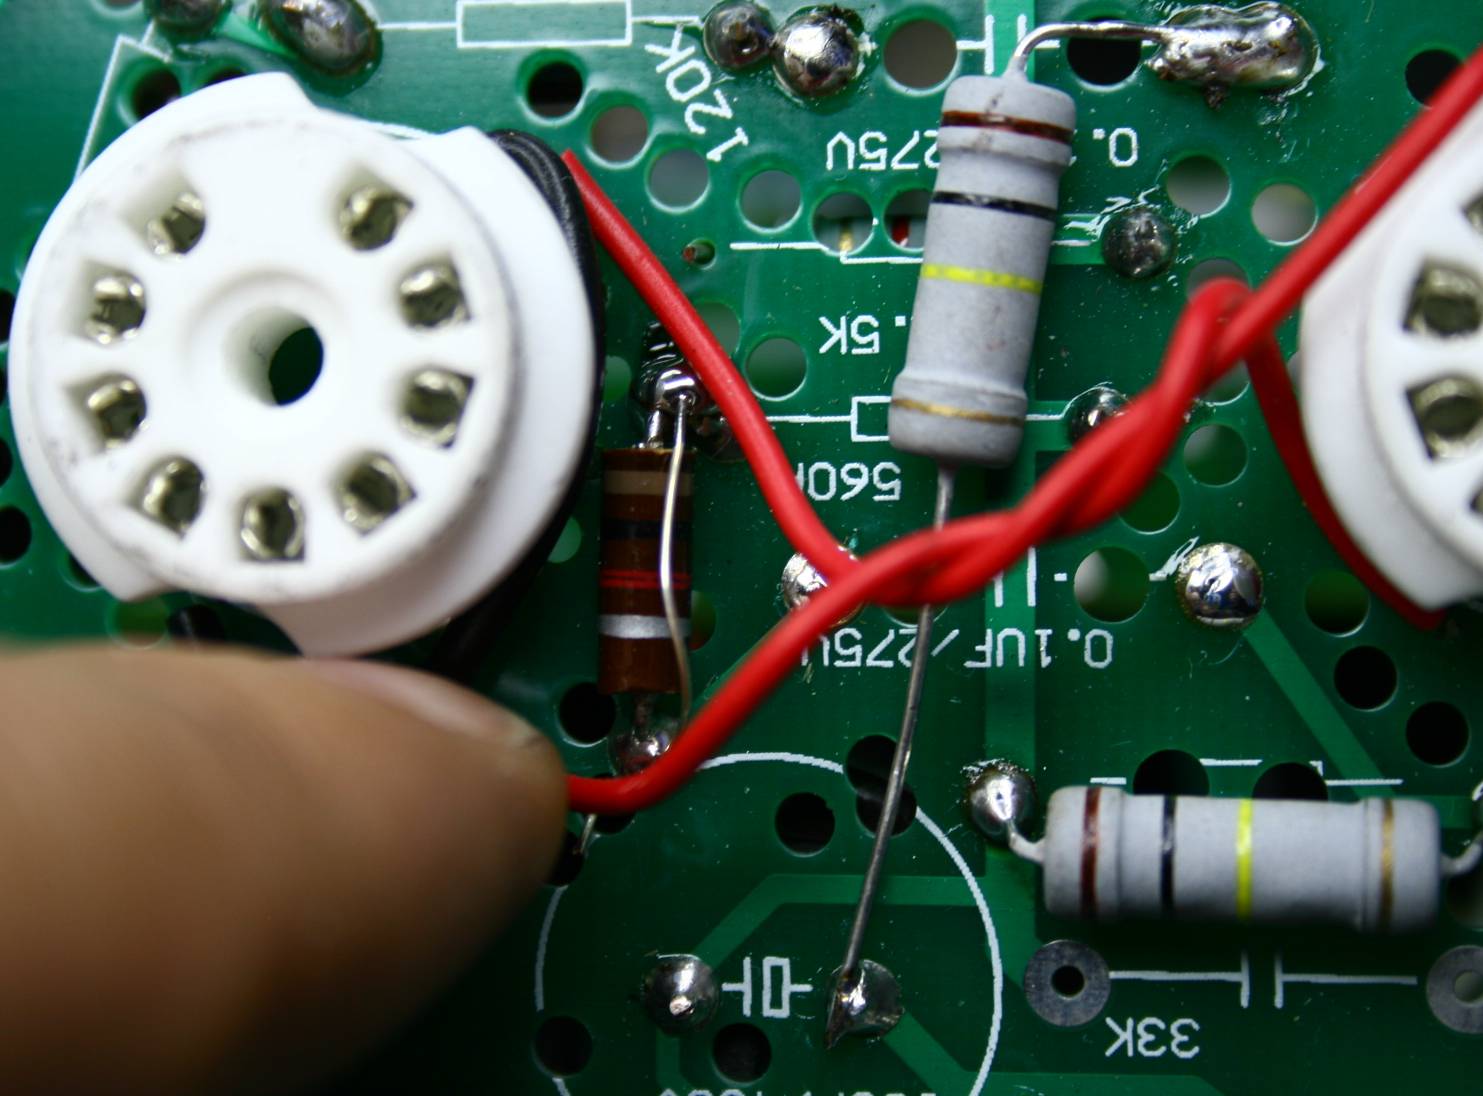
Next we deal with the second stage - driver (outer) tubes. Resistors
must go:
This one as well, but NOT the bottom-most one -
green-blue-yellow-silver. This is grid grounder which MUST stay.
On the left hand side as well.
As well as on the right hand side.
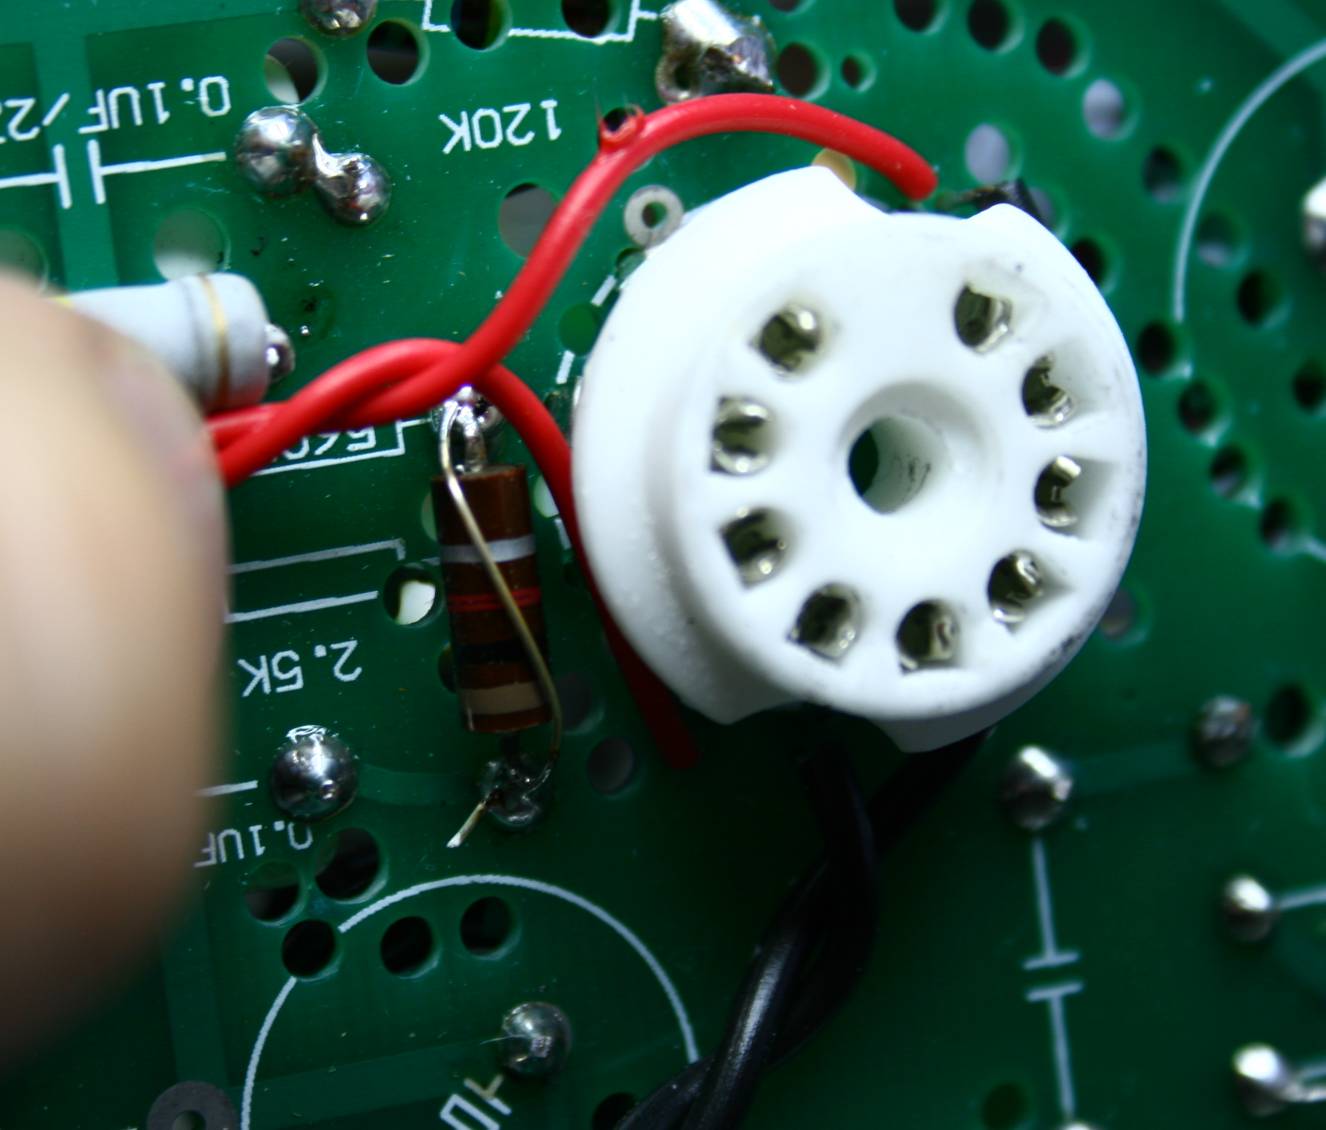
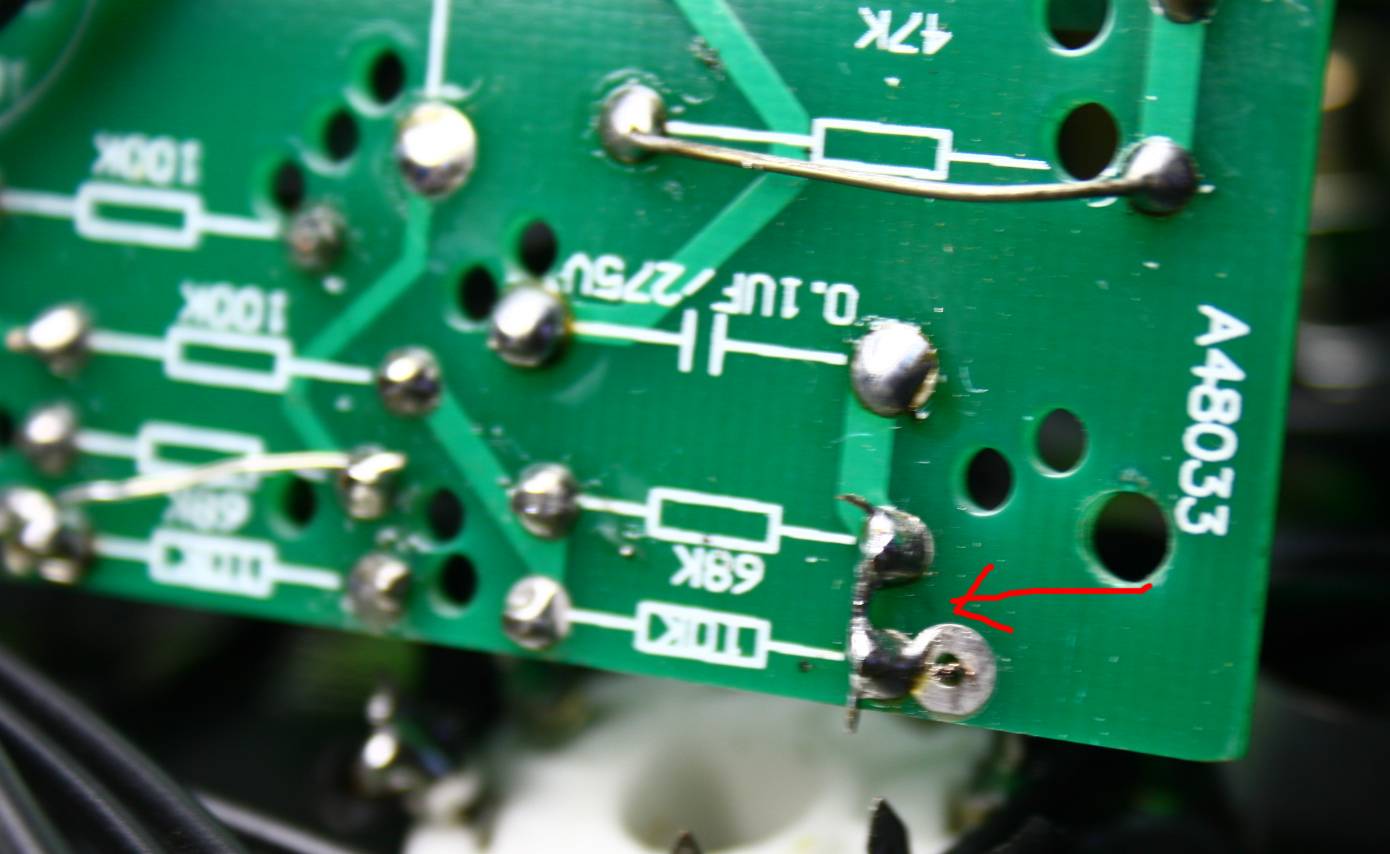
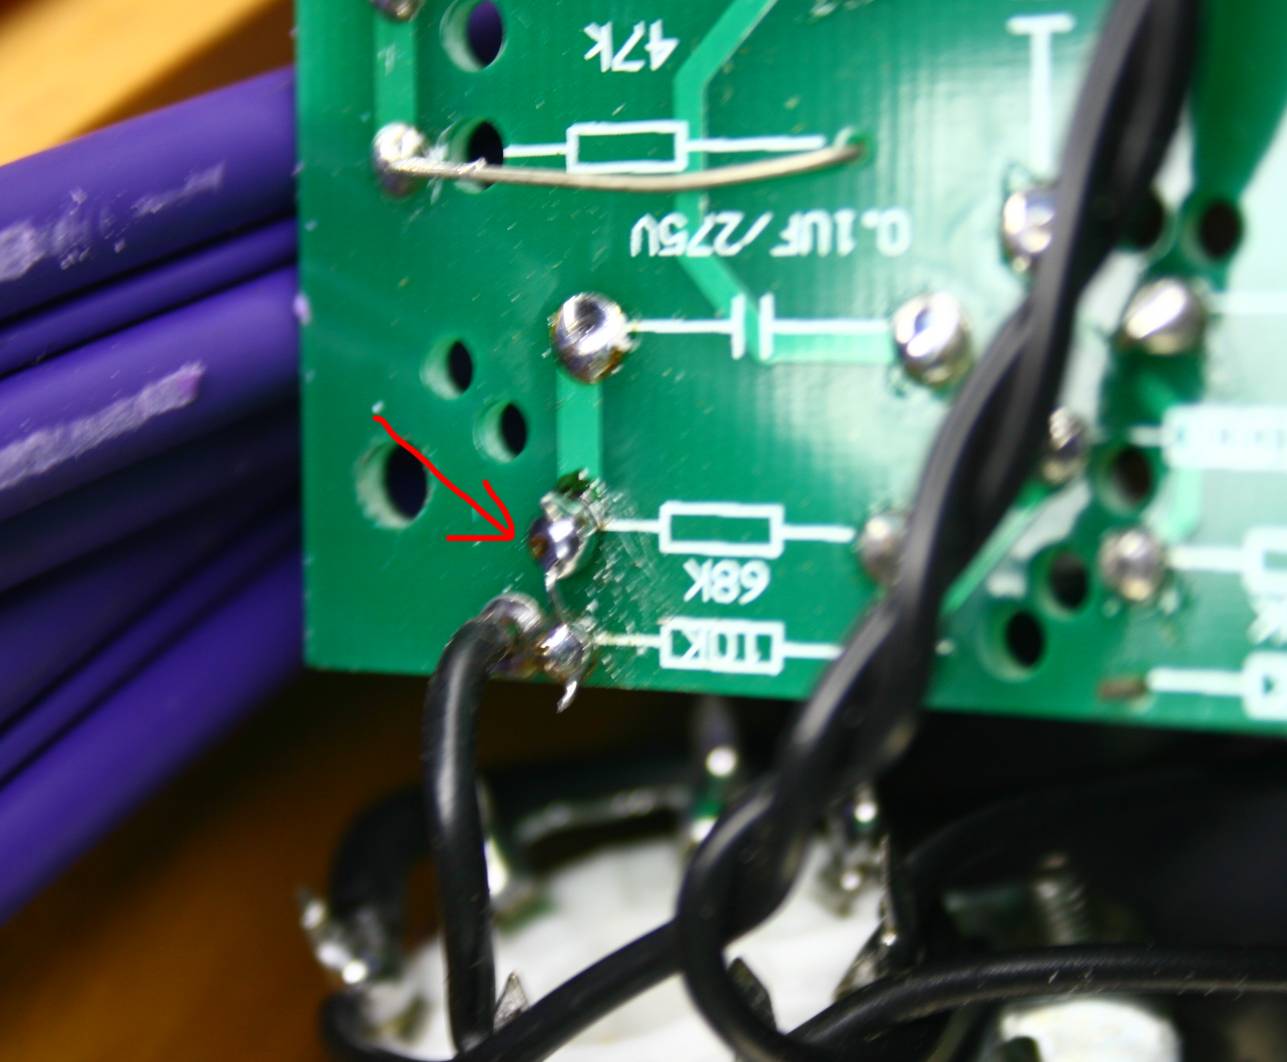
Now we go underneath and do some damage there. The red wires are
heaters supply (they steal the 6,3 V power from power tube heaters). If
you want to convert the input tube to 6922, 6dj8, E88cc, or
even 6H1P - just move one heater supply wire to pin 9 and cut the trace
between 4
and 5 on top side.
Another resistor gets shorted ....
And the same in the other channel ...
We remove all white caps - 4 pieces, and all blue caps - 4 pieces. They
are very low quality for audio application like this.
We can put two saved blue caps (not white as on the picture) to
the empty holes near the opposite corners of the PCB to bypass the
biggest Lytics . We recycle two caps !
This is the second place for recycled capacitor. The Lytic-bypass.
Now time to short the output divider resistors: out with them ! Left
hand side visible above.
And the same on the right hand side.
And on the left again....
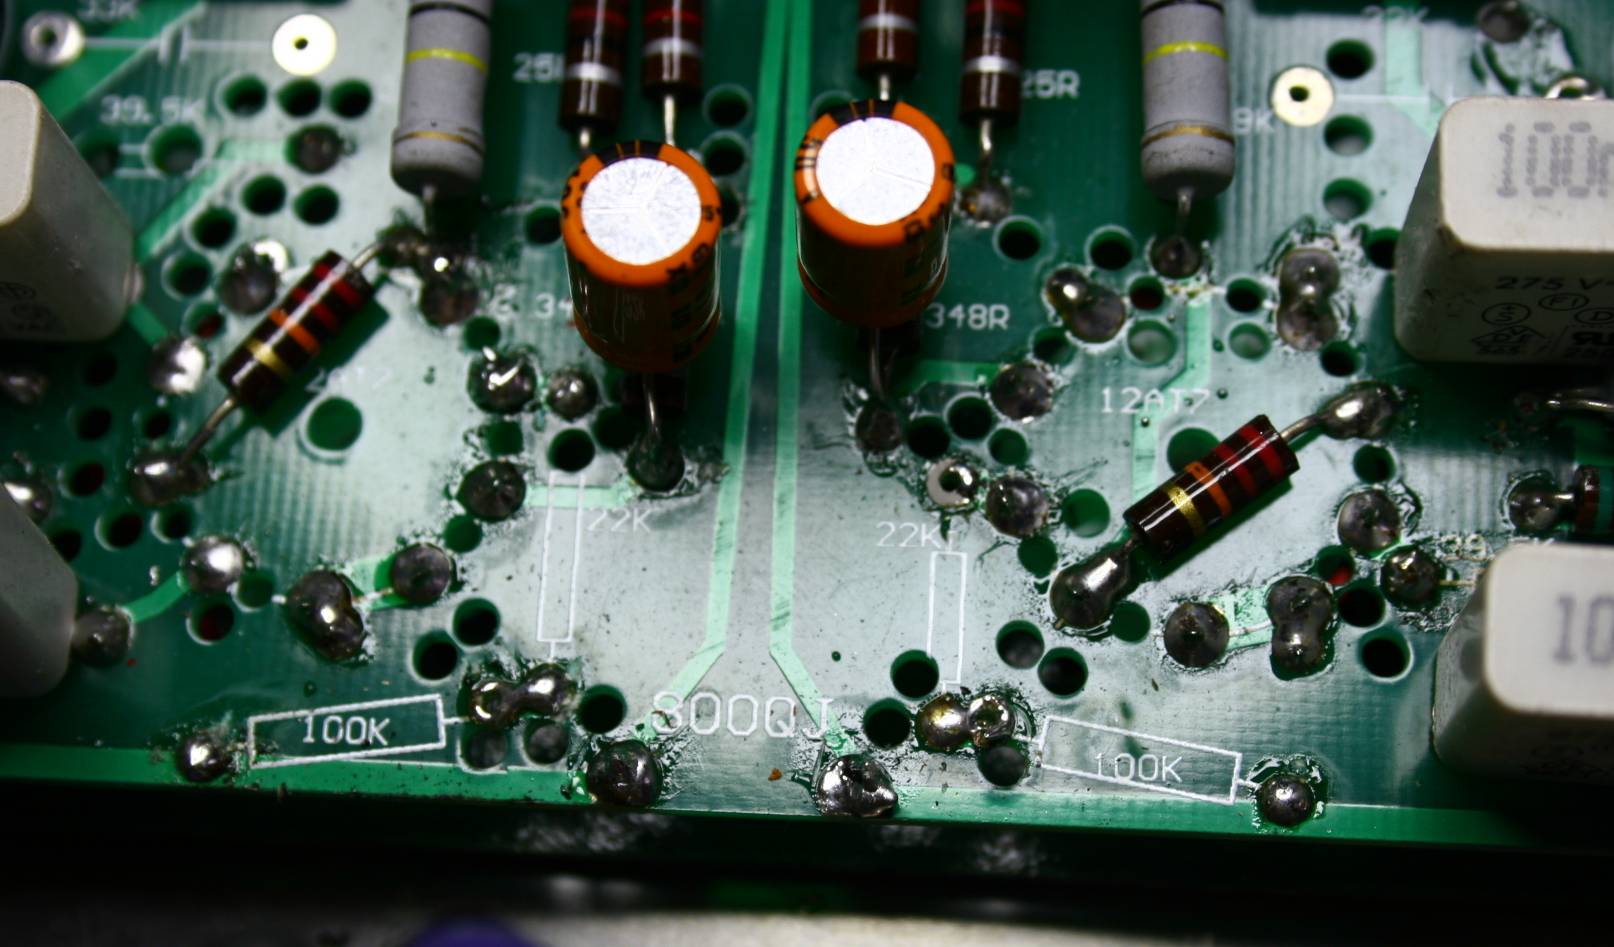
The last shorting wire underneath ....
The ready underside.
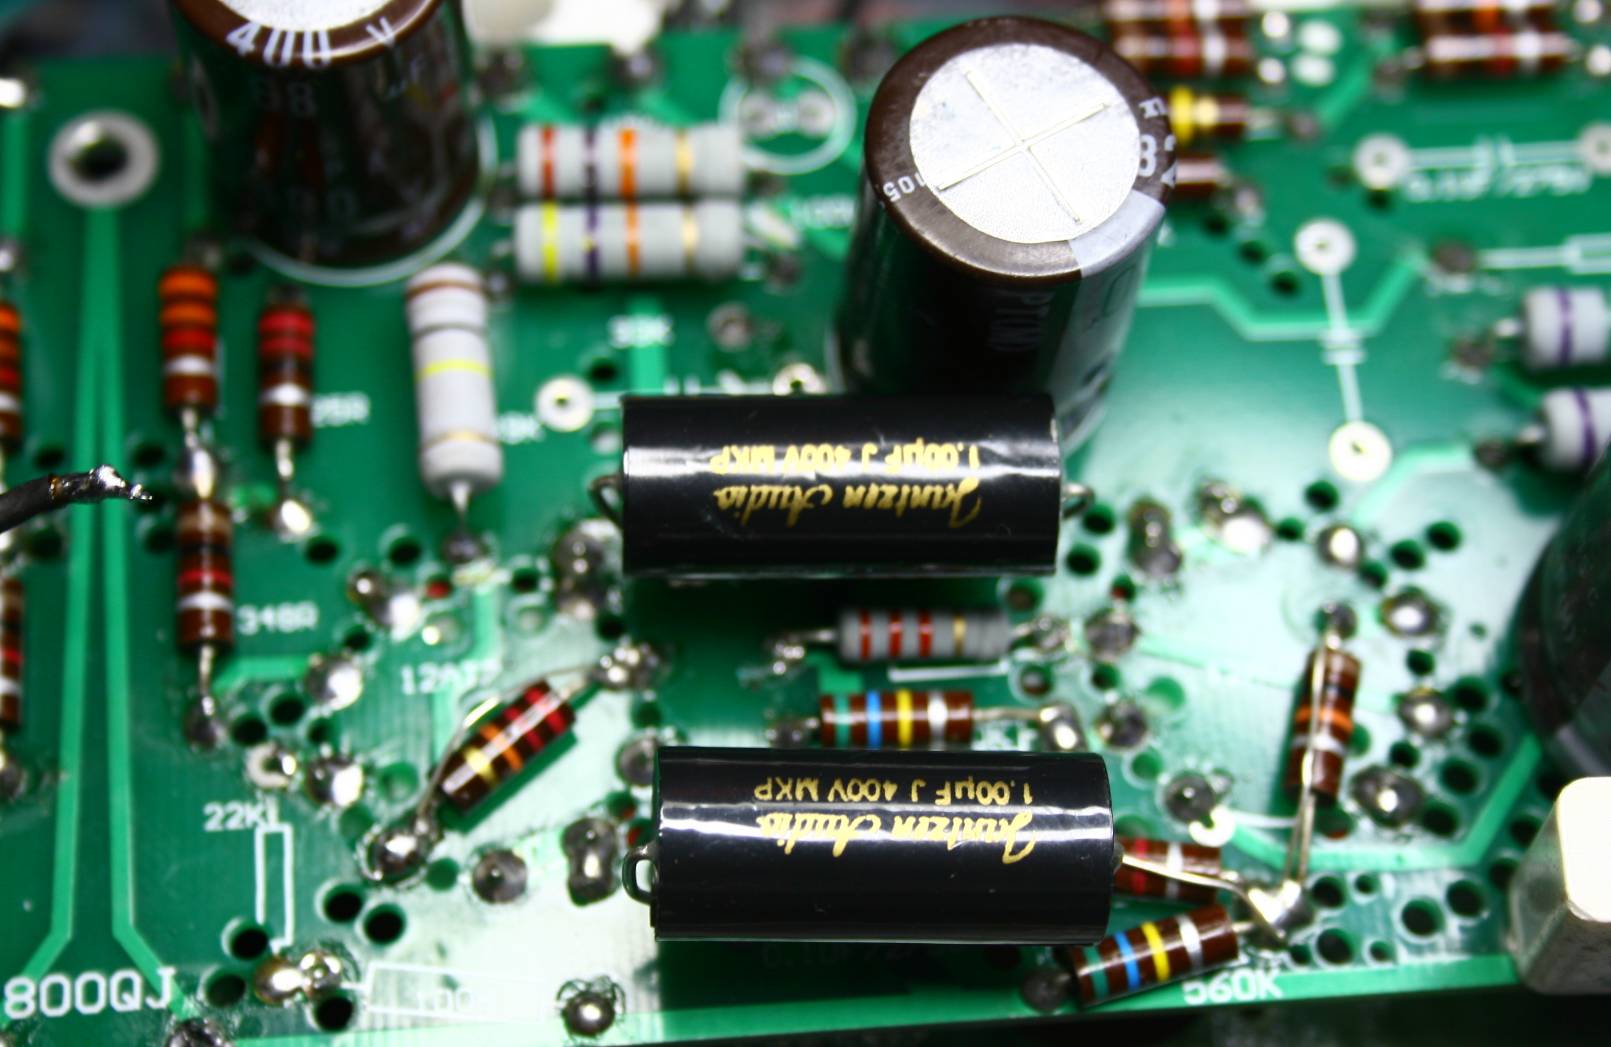
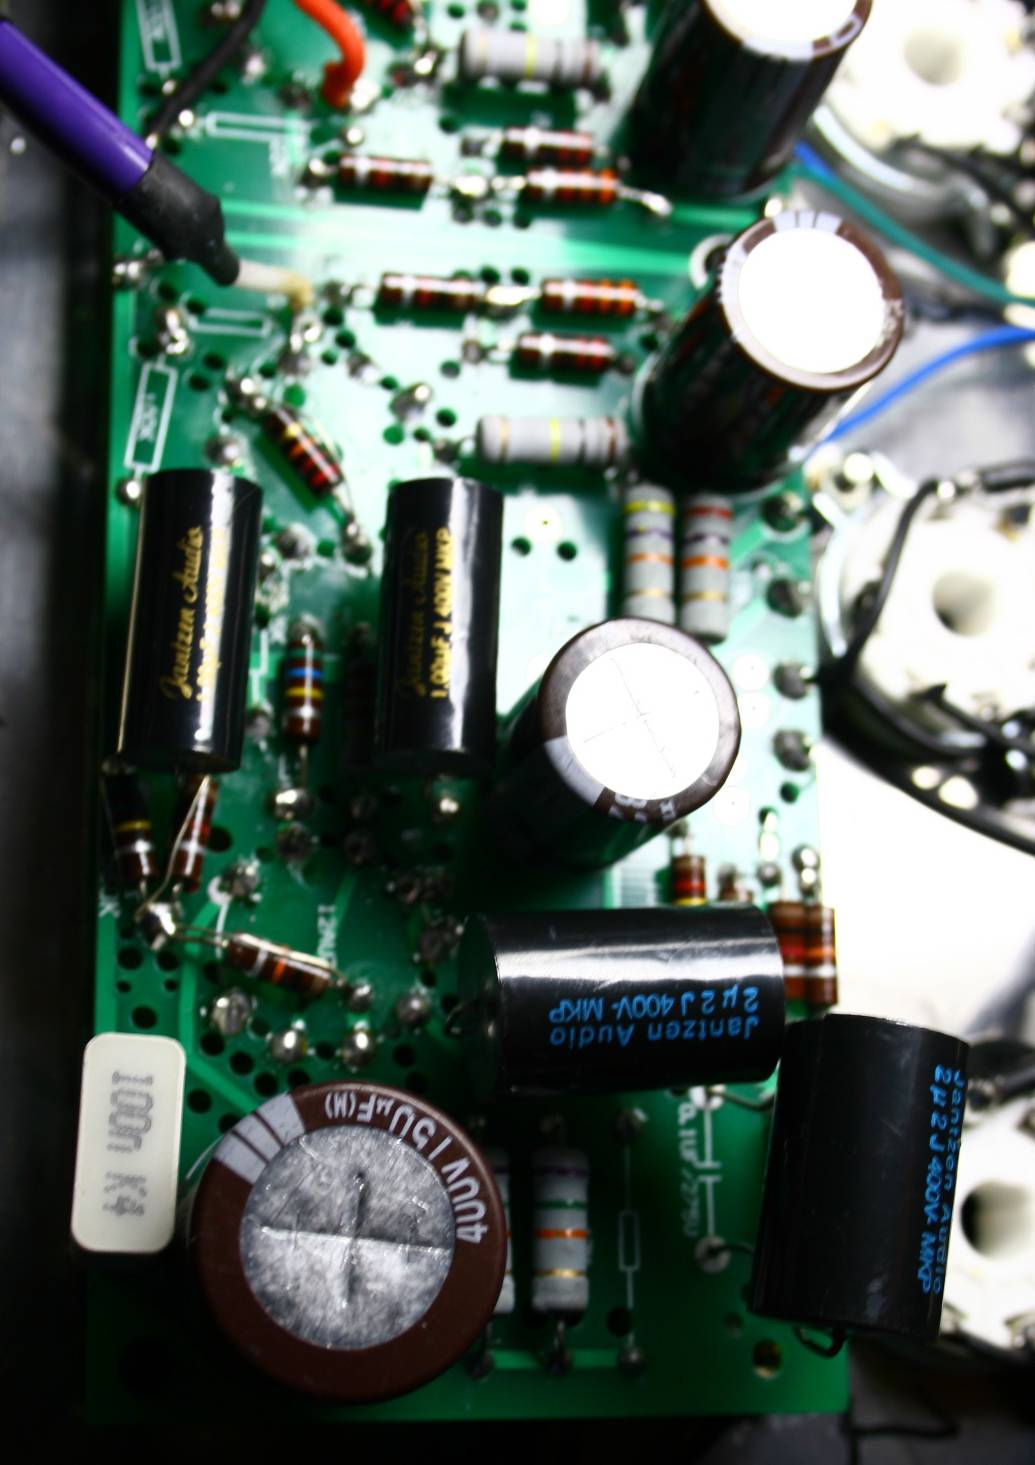
Last step is installation of coupling caps - I use standard no name MKP
- 1 uF for the first stage and 2,2 for second stage.
Re-connect
the left and right channel wires - ground to ground, and signal to
first grid of the tube.
The PCB looks finished.
The other channel view.
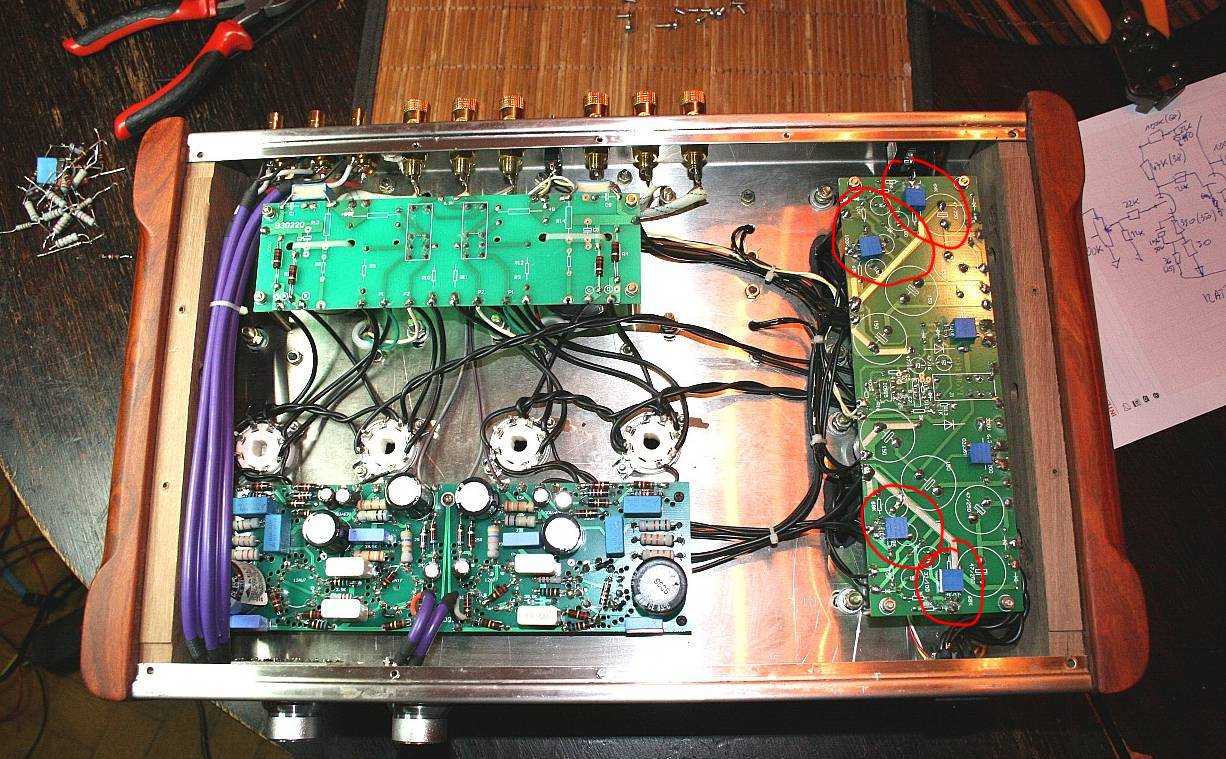
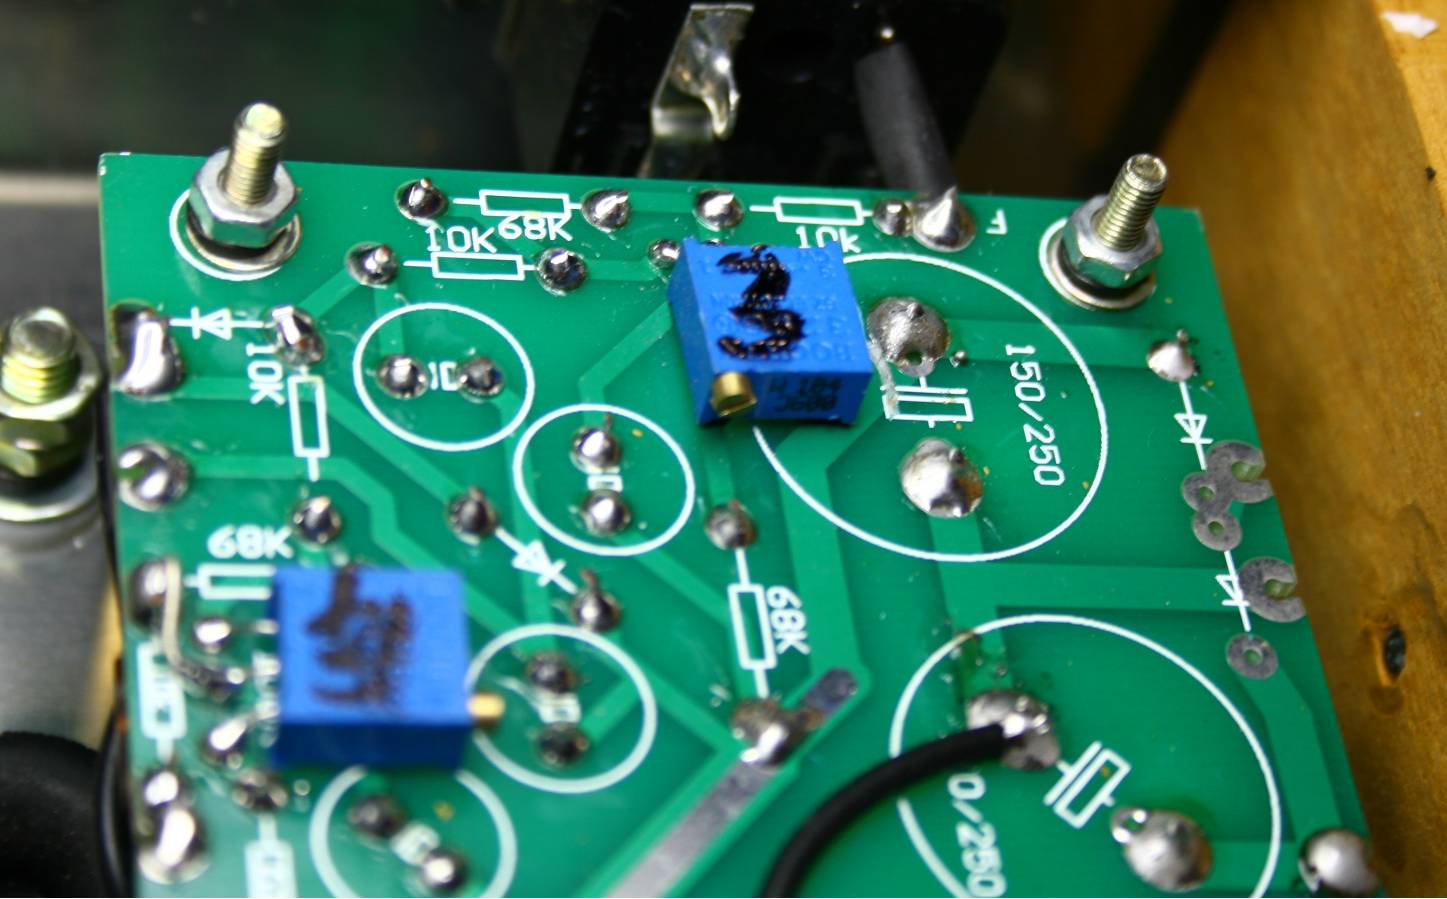
Biasing the
power tubes in the Music Angel KT88
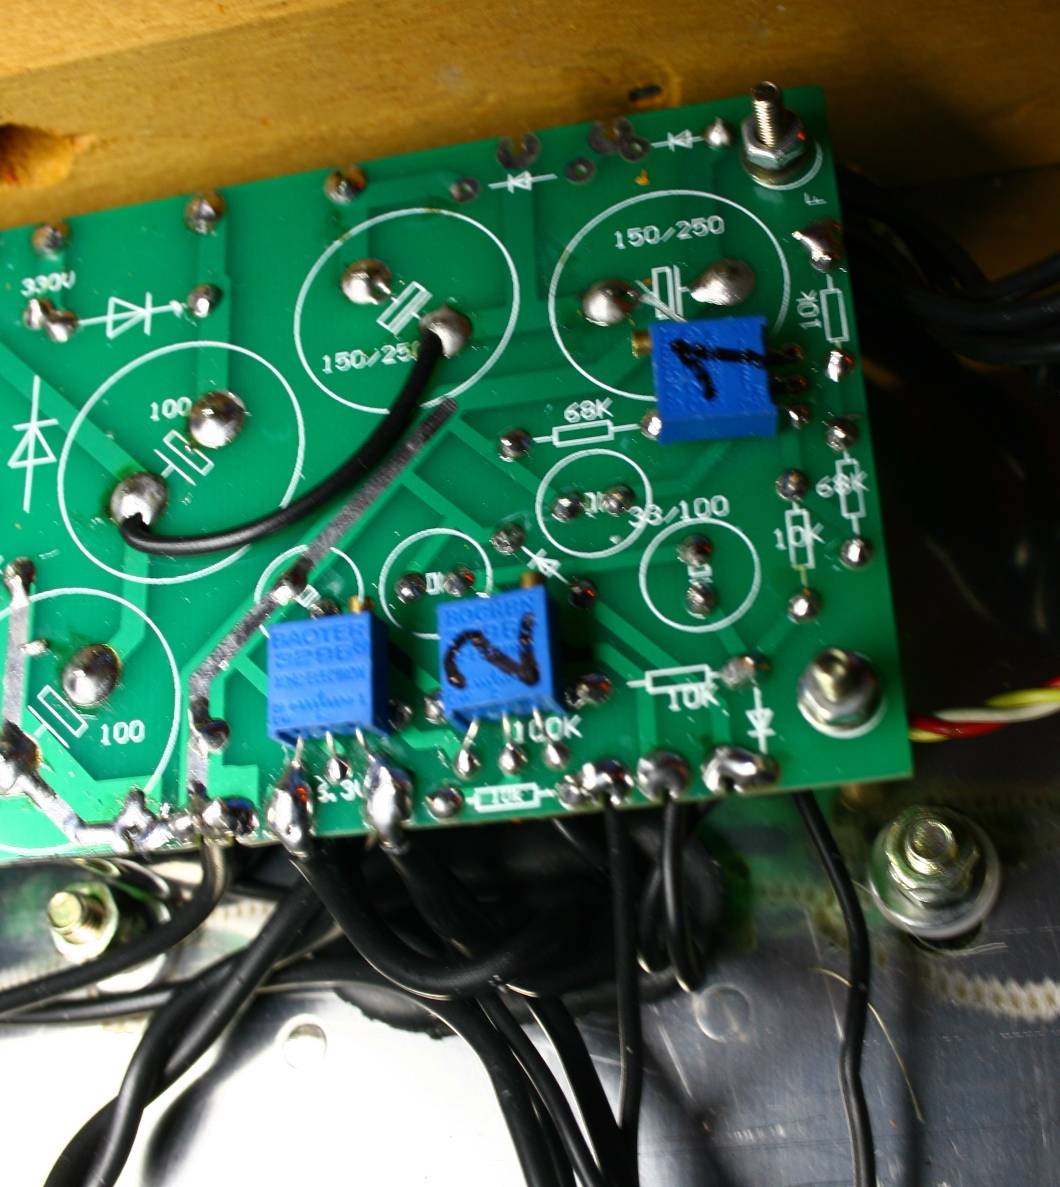
In red circles
are power tube biasing pots. It it tricky to set bias
because one tube adjustment affect the other from the pair. The
setting is done AFTER the mods are finished.
I do not trust the Chinese people when it comes to specifying
transformers. I have a suspicion that they tend to use half the
iron
and half the needed copper hoping that they can get away with it. So I
suggest to bias the tubes very conservatively. We do not gain much by
higher bias, but the penalty is huge power consumption. Each 10 mA per
tube at 450 VDC means 4,5 Watts per tube. 18 Watts per set of 4.
I am perfectly happy with 25 mA, and we can go up till 60. Finally I
settled on 35 and the power transformers did not yet start to buzz or
overheat. All is stable.
Now its time to bias the tubes. All four power tubes individually.
We must install all tubes, fire up the amp, and get ready to pull the
plug if something is smoking, or tubes glow too much, or the
transformer starts buzzing.
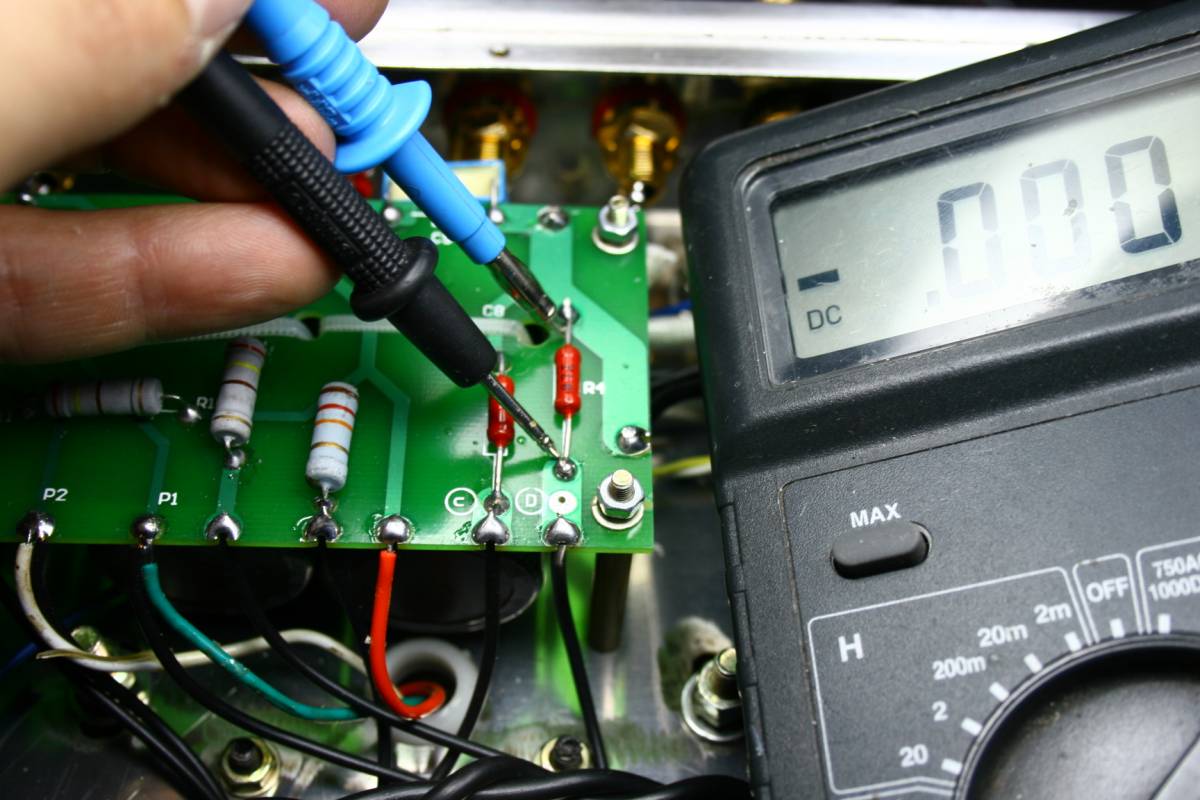
We measure the voltage drop on 4 resistors on power supply PCB - these
resistors are 10 Ohms and the correct reading will be 350 mV for 35 mA
nominal bias current. Some people bias KT88 higher, but I do not
believe that these chinese tubes can take full spec 100 mA, and I think
the transformers are inadequate. There will be too much heat and also
there may appear buzzing. My conservative 35 mA sounds great and is
very stable. Tube life is much longer this way and everybody is happy.
Be careful - the resistors do correspond to power tube positions -
1,2,3,4, but NOT NECESSARILY to potentiometers. (may be different
order.)
In my angel - these two were correct
But these two - were the other way around .....
Turn the brass head of the blue pot until the reading is 350 mV. Do
it SLOWLY and let the current stabilize for a while.
After setting all 4 tubes - use the amp for 5 minutes and re-bias.
Maybe re-bias again after a week or more.
If we removed already the feedback - the cable from speaker terminals
to our PCB with small tubes, and also the triode switch - we can play
music.
The amp will be much louder than before but so what ? It will be SO
BLOODY TRANSPARENT and energetic that nothing you heard before can
match it.
LADIES AND GENTLEMEN:
Angel ready to sing!
TESTING:
After connection of power, be ready to unplug the amp if something
smokes. You should start without power tubes, just the small ones.
BUZZING
On one sample of the amp I had the buzzing, audible and annoying
really. I tried to eliminate it but nothing worked. Then BINGO !
I was looking in signal circuit, but the buzzing came from HEATERS.
The heaters induced 100 Hz buzz in the small tubes.
I examined the circuit and I found out that:
there are two power transformers, and the heaters are AC powered. Each
transformer provides a black twisted pair carrying 6,3 VAC
The left transformer powers heaters in two KT88's and two small tubes -
all connected in parallel ! The other one - same in the other channel.
I decided to re- wire the amp.
I used one AC 6,3 to power all four power tubes. All was working OK.
The second AC 6,3 was used to power only all small tubes.
Buzz reduced.
Then I rectified the small tube heaters to be DC 6,3V just like for
lampizator. Two caps 10 000 uF / 16 V and a bridge were enough.
The hum is GONE !!!
This way the amp is much more happy than before. Due to huge current
draw - the 6,3AC was very distorted before (individual secondary
had to supply almost 4A of current) so the buzzing had many harmonics
above 50 Hz.