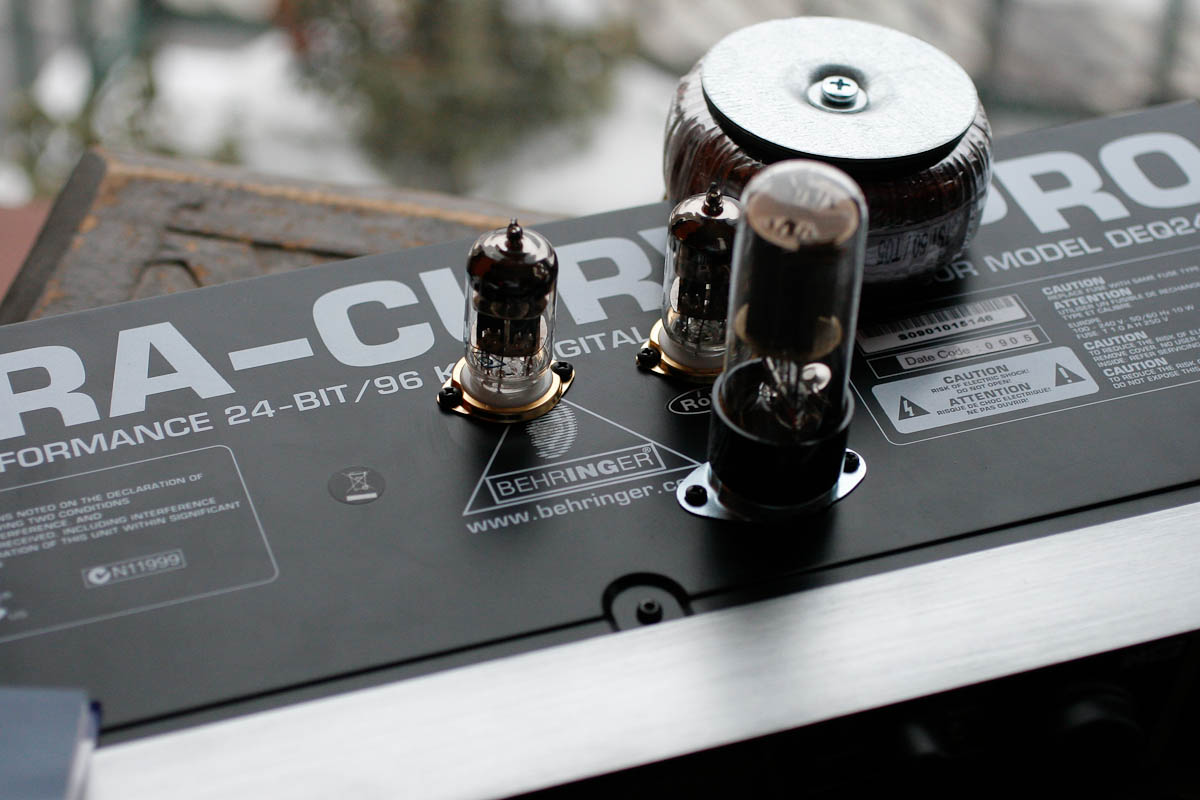
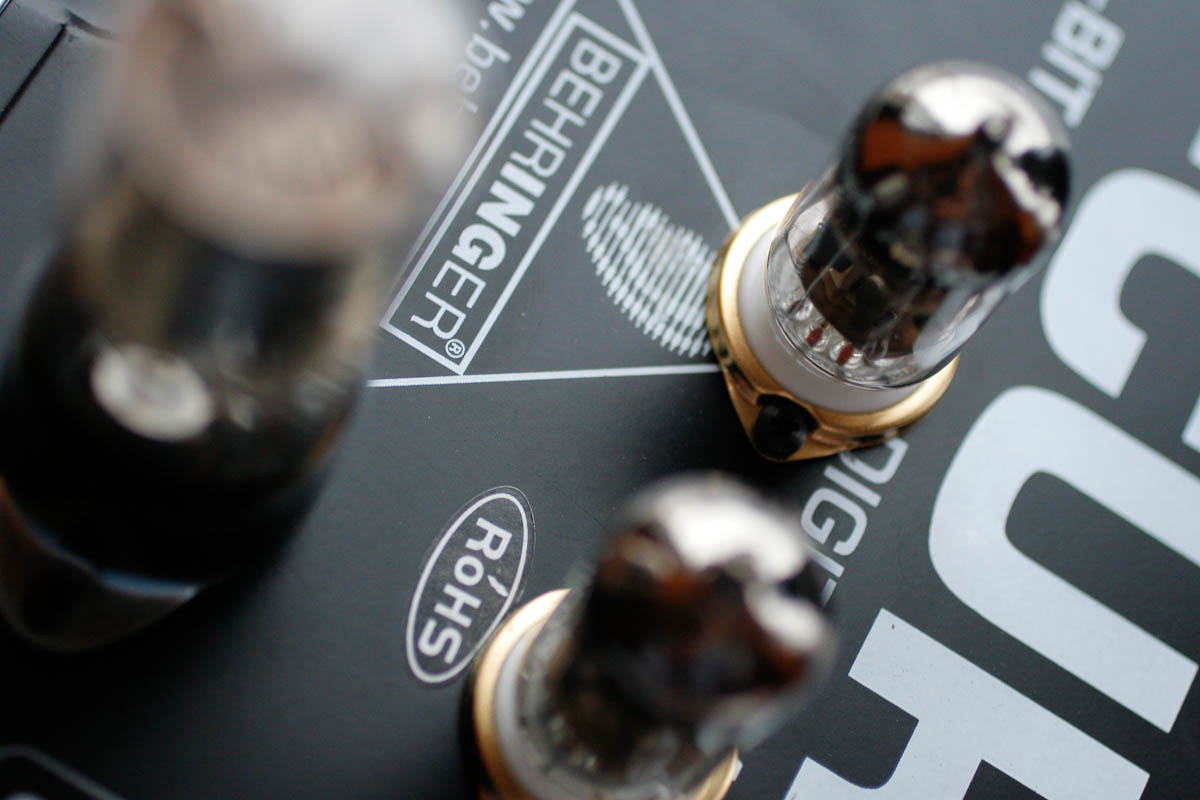
Behringer Ultracurve DEQ2496 digital ... digital I don't know what.
This is a wonderful and intriguing digital I don't know what. Since it
does everything, it is hard to categorize it. Sort of like Tamagochi.
Or
Furbie. It only does not talk in Japanese but otherwise - it is more
intelligent than most people. It has a double digit IQ.
The good people at Behringer - certainly know something about digital.
Seriously speaking -the shortest explanation of the DEQ2496 is that it
is sitting between the transport and the DAC, it is feeding on the
S/PDIF
digital signal, and on the fly, in the real time - it can manipulate
the digits in such way, that the resulting output has different musical
properties. The manipulation is done by three huge digital signal
processors.
I counted about 30 chips in this machine, and some of them are
over 80 legs each. Real centipedes !
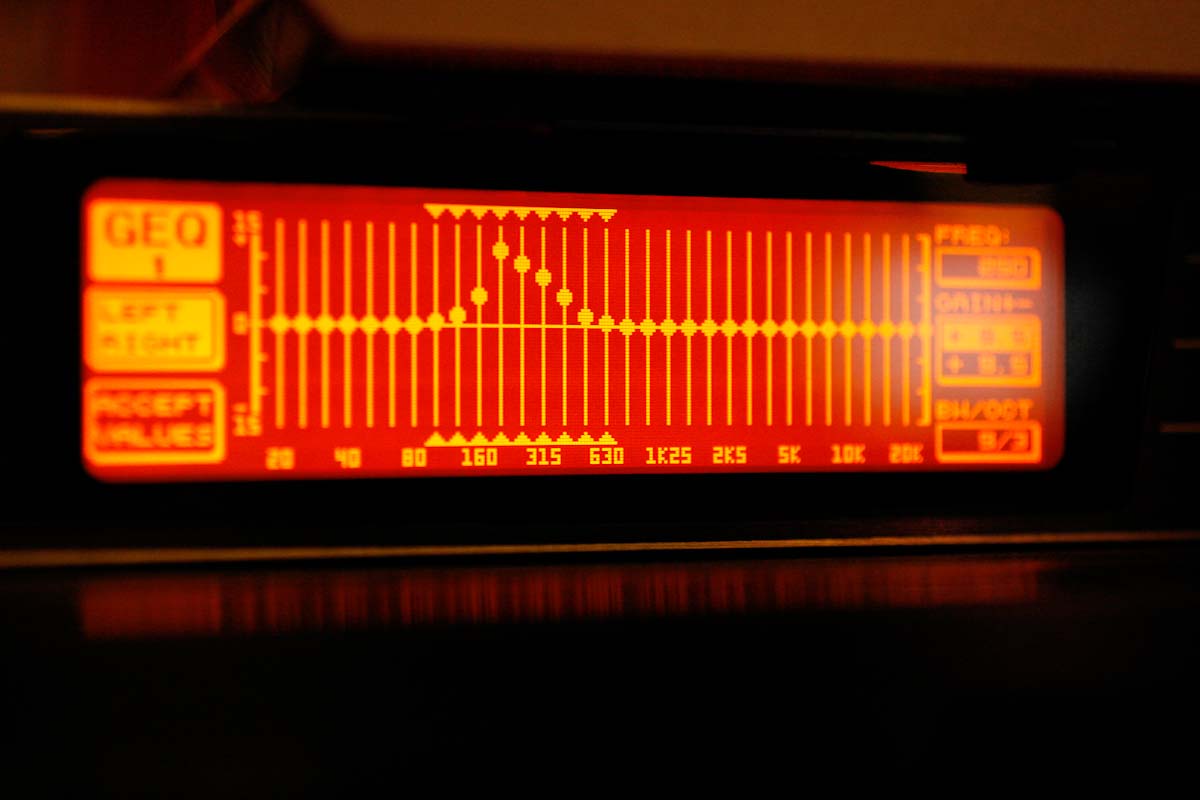
It has over a dozen of functions, including graphic
equalizer, room correction, delays, scene geometry corrector, speaker
placement corrector, etc.
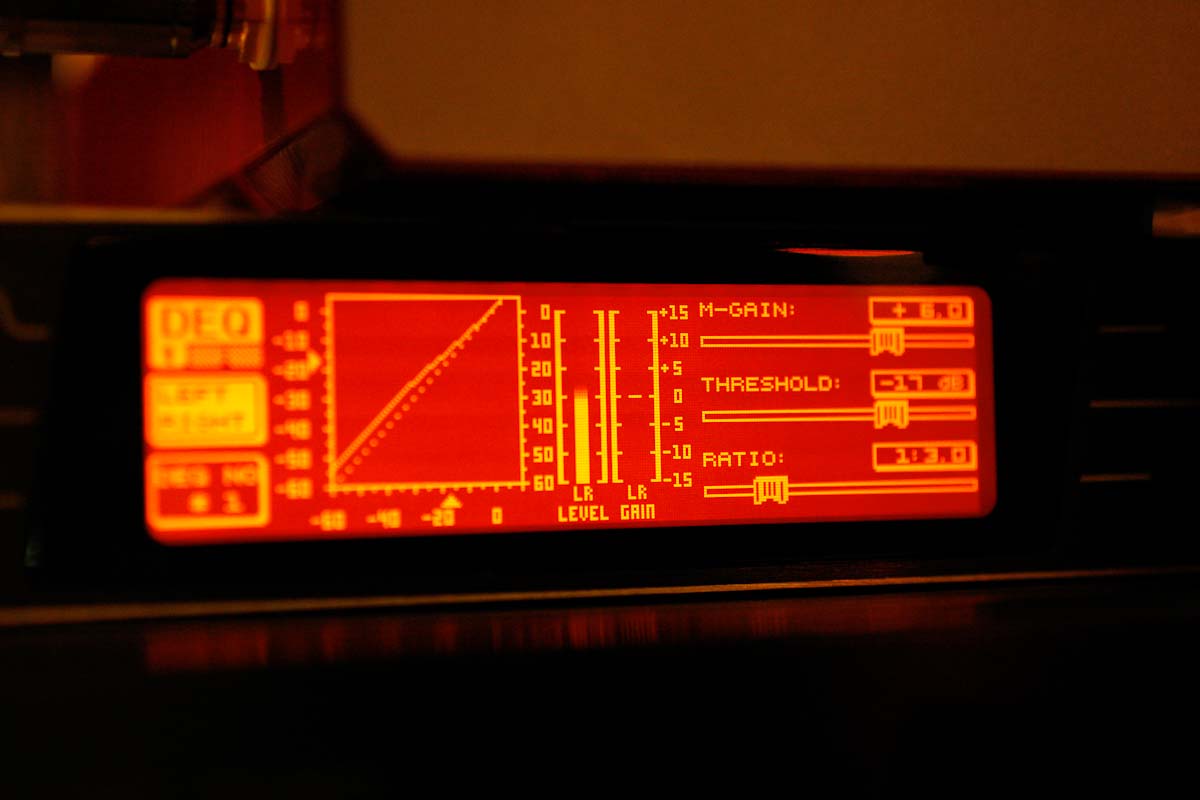
What is SOOO cool about it, that even at such absolutely ridiculously
low price - Behringer has LCD display. I mean - if asked - I would
shoot
at 10 x higher price point than it really cost. (250 Eu).
On top of all that, the Behringer Ultracurve DEQ2496 - just for
headphone monitoring - has
a DAC too !!! Yesssss, that's the AKM AK4393. Japanese miracle
magic dac.
What this babe is missing - is the upsampling. So it does not replace
the fantastic Behringer Upsampler
ULTRAMATCH - they should be used both together - first the
Ultracurve, then Ultramatch - then - Ultralampizator.
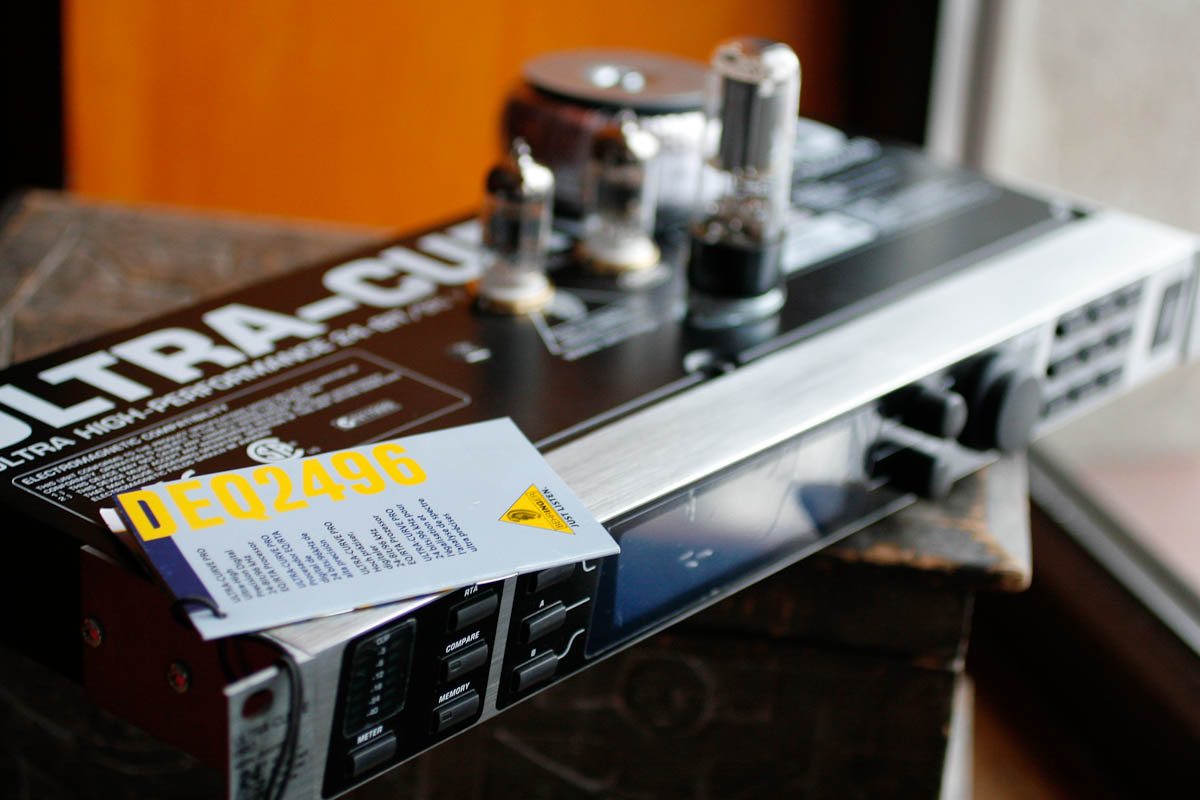
The operation is so intuitive, more than BMW iDrive. And more than
Motorola cellphones for sure. I admit being totally useless when it
comes to
programming recording a film on VCR with the timer, but I managed to
get the
Behringer right straight out of the box.
I don't have the proper mike to make automatic room correction, but
otherwise - all functions - and I tried 8 of them - work as advertised.
I am TOTALLY IMPRESSED with the Behringer.
Wouldn't it be nice to use it as a DAC and add a lampizator - ? Of
course- that's the plan !

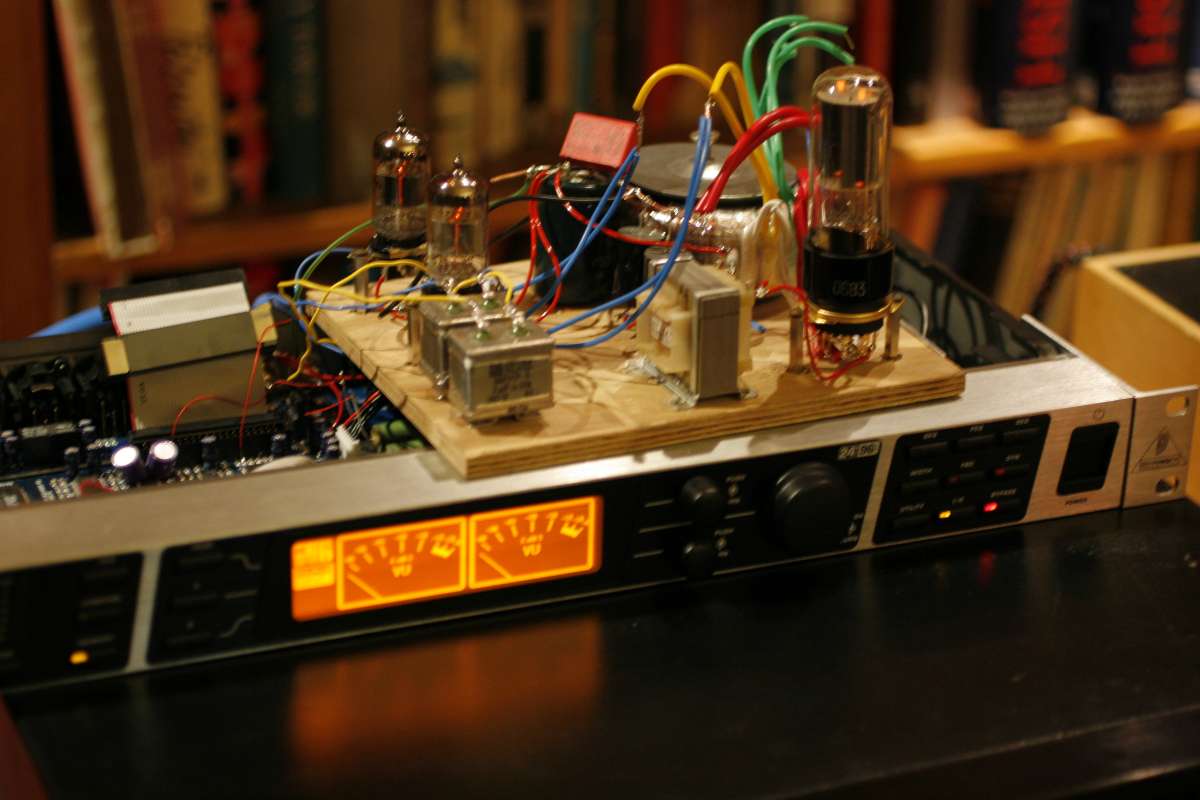
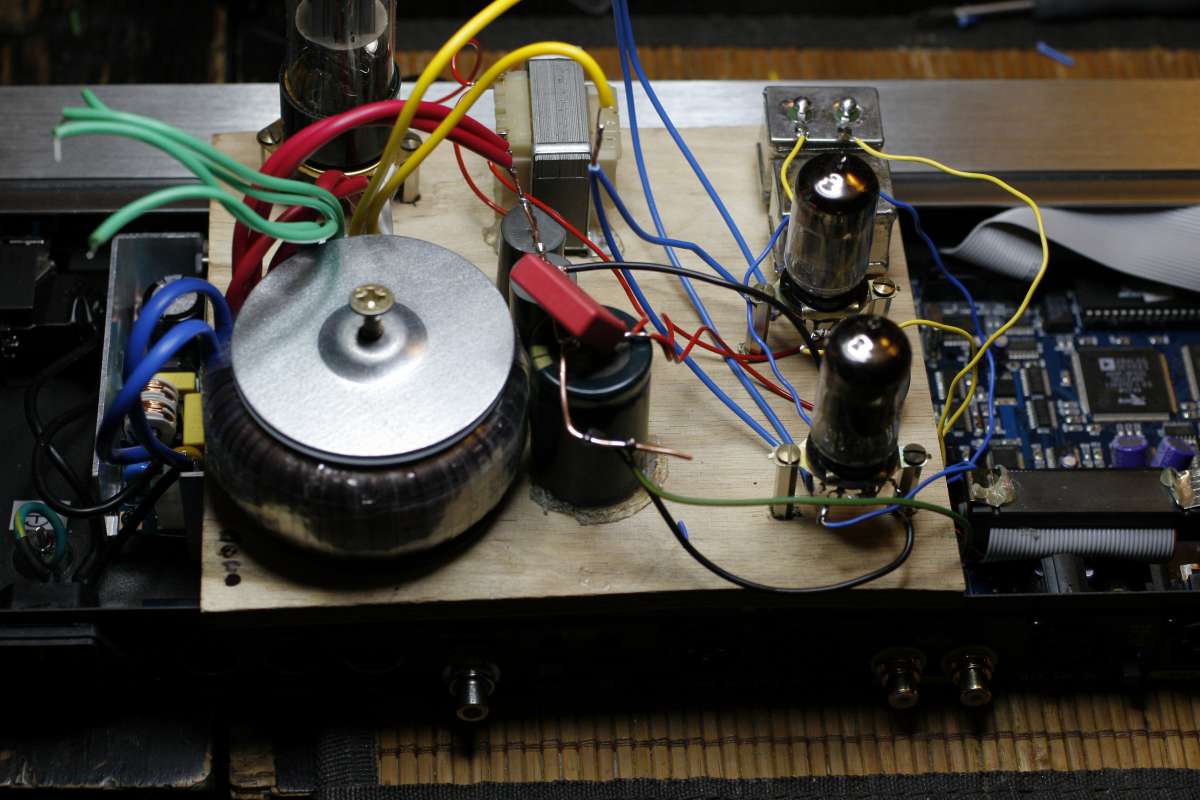
Above: a test box lampizator hooked to the hacked behringer. Amazingly
- all works flawlessly from the fist test.
Behringer DAC has 4 op-amps in the output. Lampizator bypasses all that
mess and provides clean, transparent and powerful output.

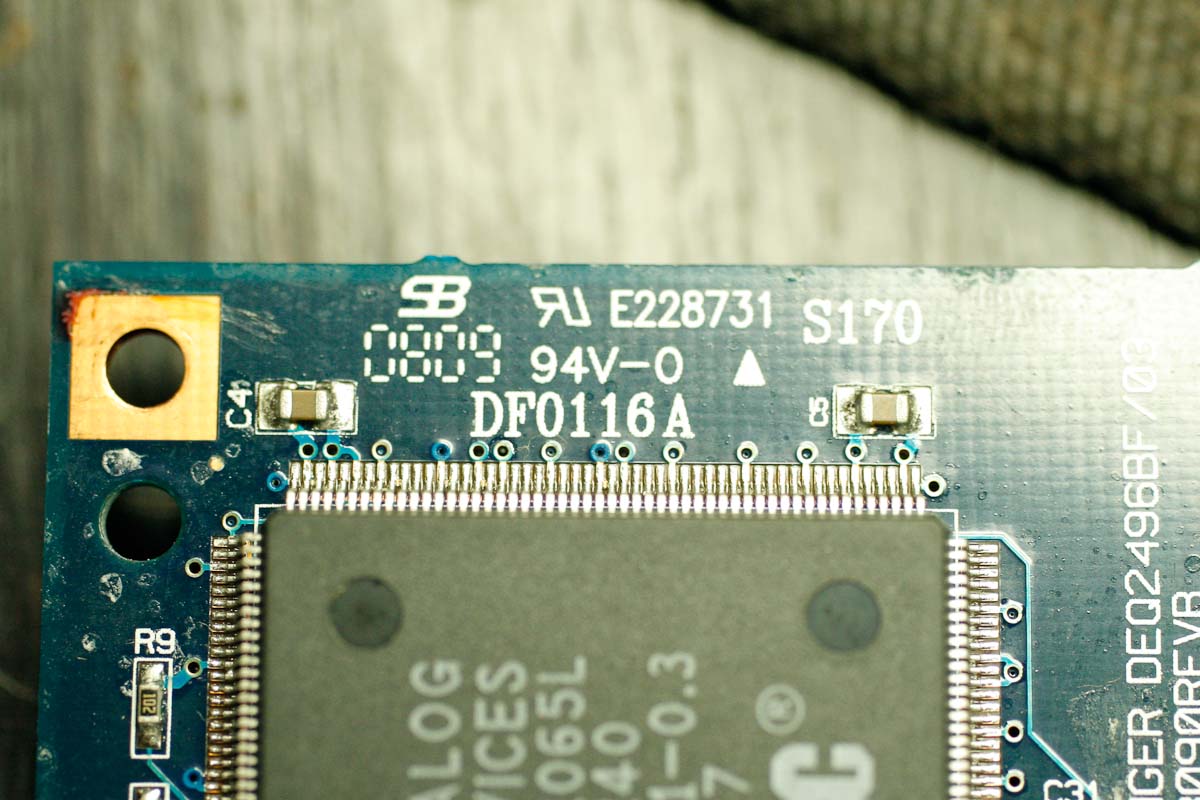
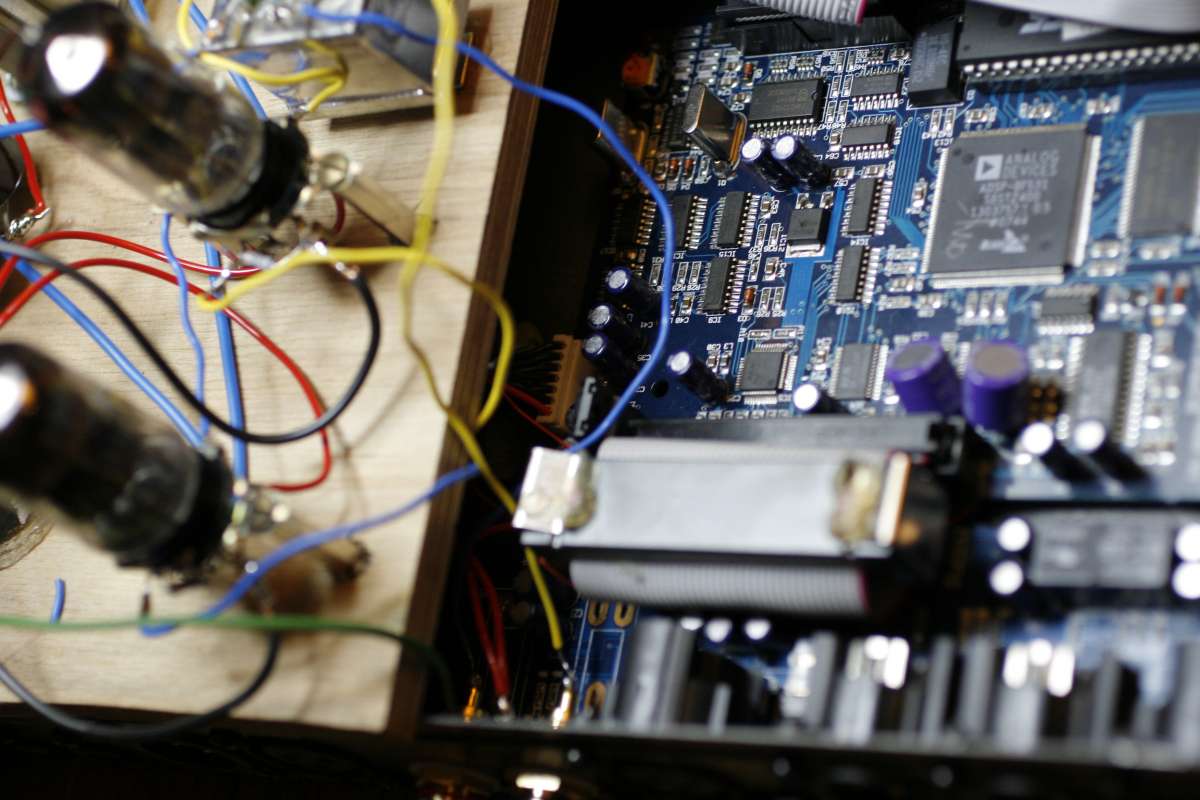
The above photo is just for reference - to be able to identify the
board revision.
As you can see, behringer is very densely populated, very smd, it's a
goddamn computer.
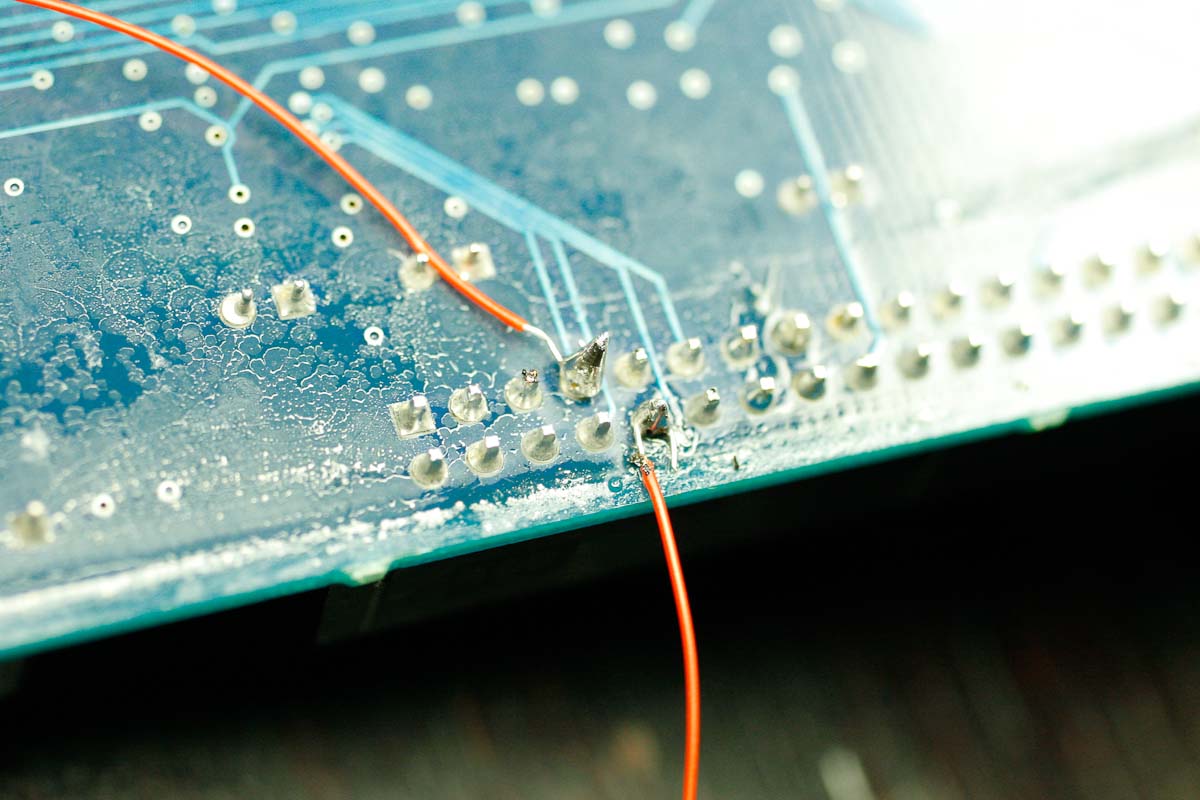
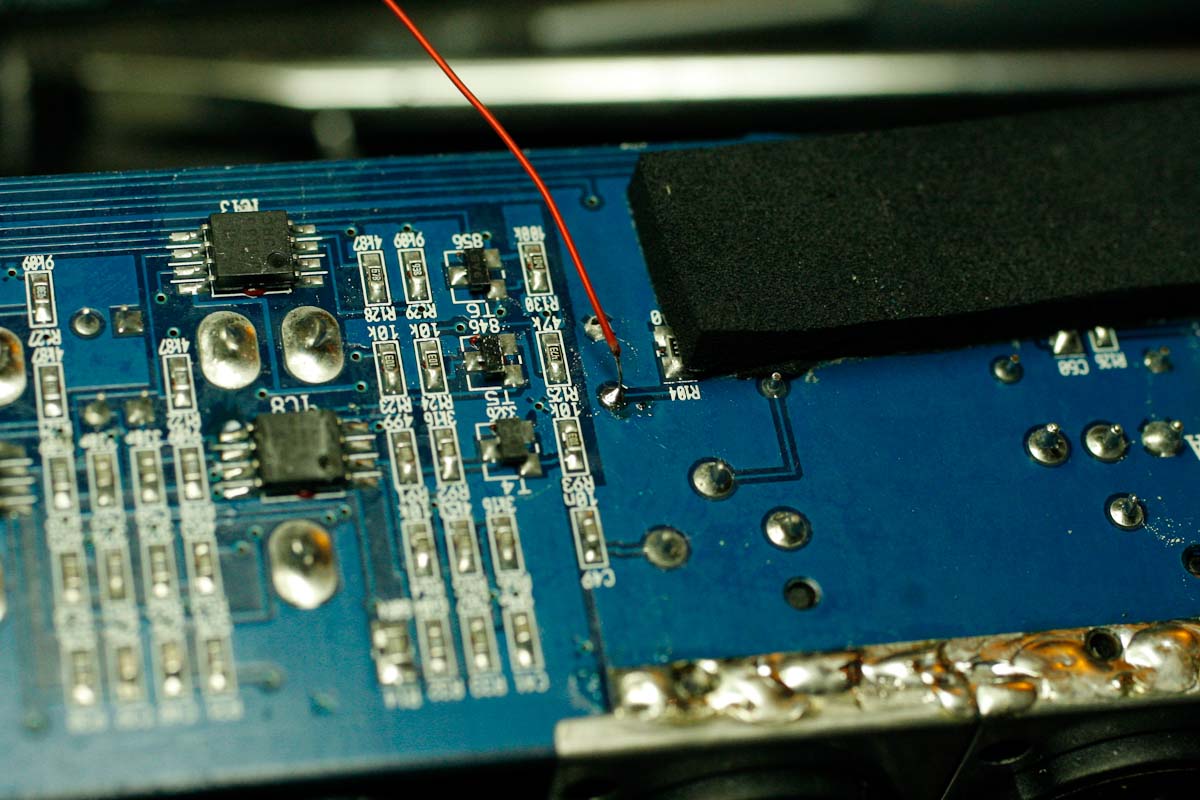
HA !!!!! The hacking is easy! The dac outputs go directly to these pins
of the ribbon cable. No need to solder to very very fine smd elements
or traces. These pins are comfortable to solder to.
The above two red wires represent left and right voltage output
positive phases. For balanced mode - I leave it to you to find negative
phases.
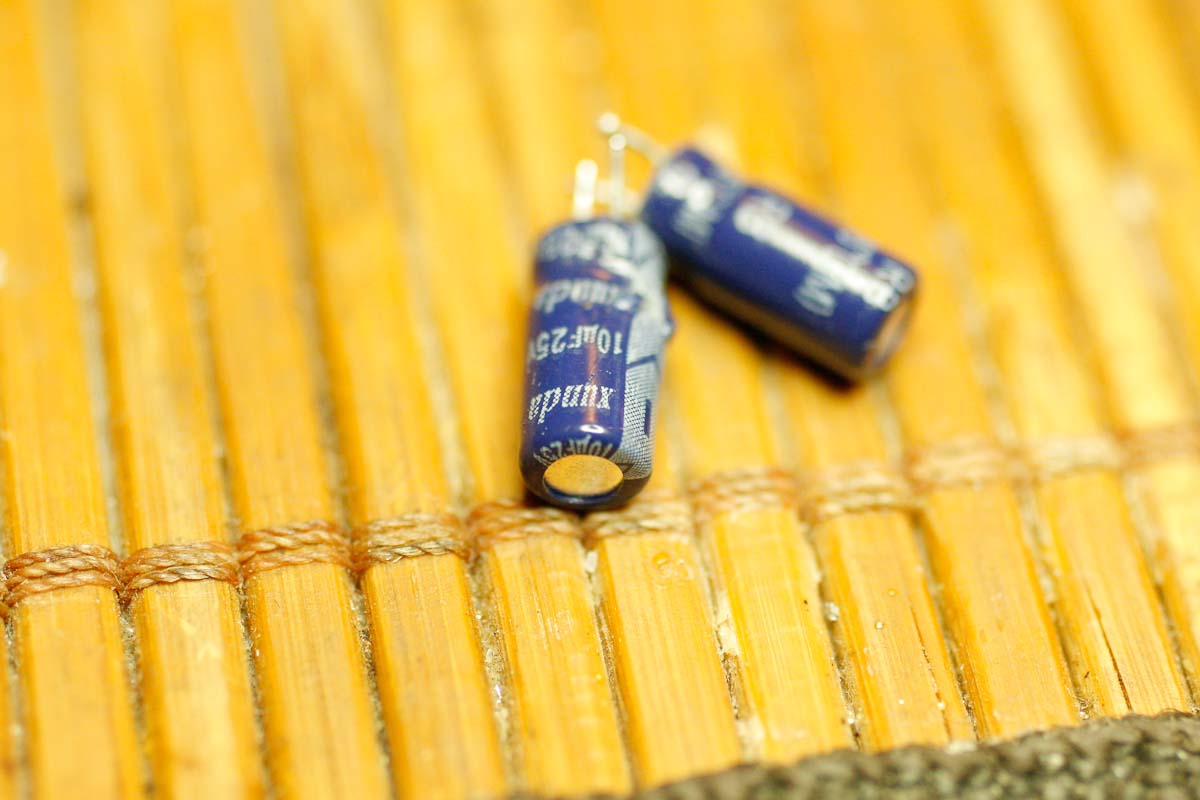
While I was under the PCB, I replaced two most critical caps - from DAC
supply. Goodbye xunda, hello Sanyo Os-con.
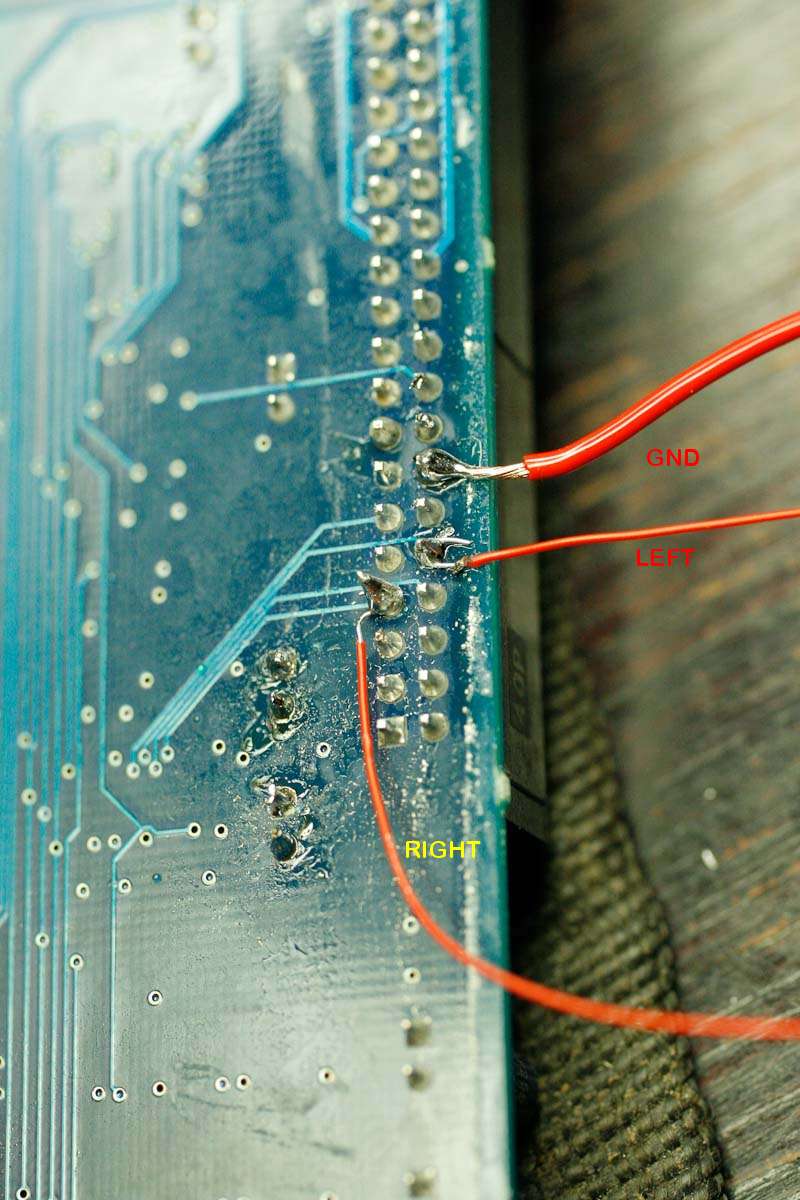
Above - you can see the addition of the third, much thicker wire -
thats of course our main GROUND.
We have three wires - and to have successful hack we need one more -
input S/PDIF. Lets find that one too....
But first - some playing with the new toy. iPod it may be not, no
facebook on board, no touch screen, but - many goodies for us ...


Above is the bottom side of the output PCB
You can admire 11 op-amps which we make all redundant - 11 double
op-amps that's 22 single op-amps we send to unemployment. It feels so
good, like being GM chief of HR !
THE WHOLE pcb will be disconnected to the major benefit of the sound.
This is the first tapping point of S/PDIF - well - it was wrong one.

It is not necessary to remove that transformer - because we will get
rid of WHOLE PCB later. Anyway - I show the s/pdif transformer after
being removed.
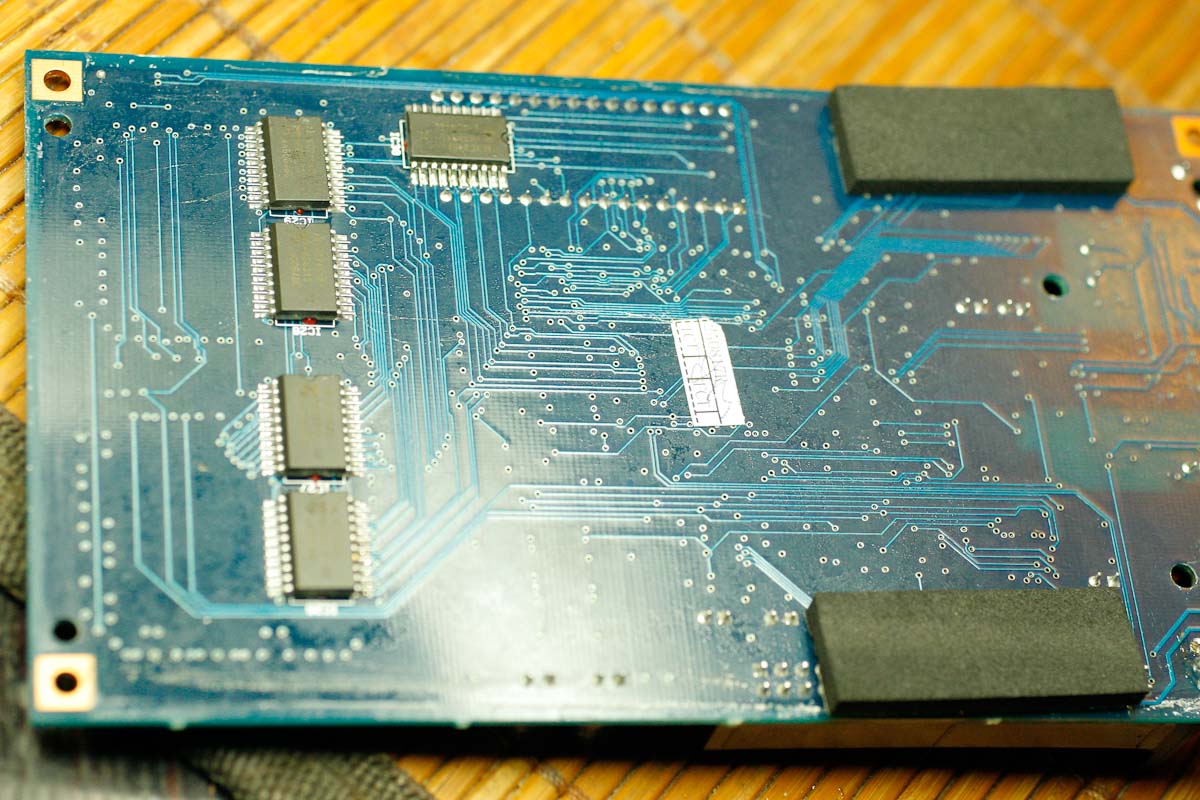
Bottom side of the main processing board.
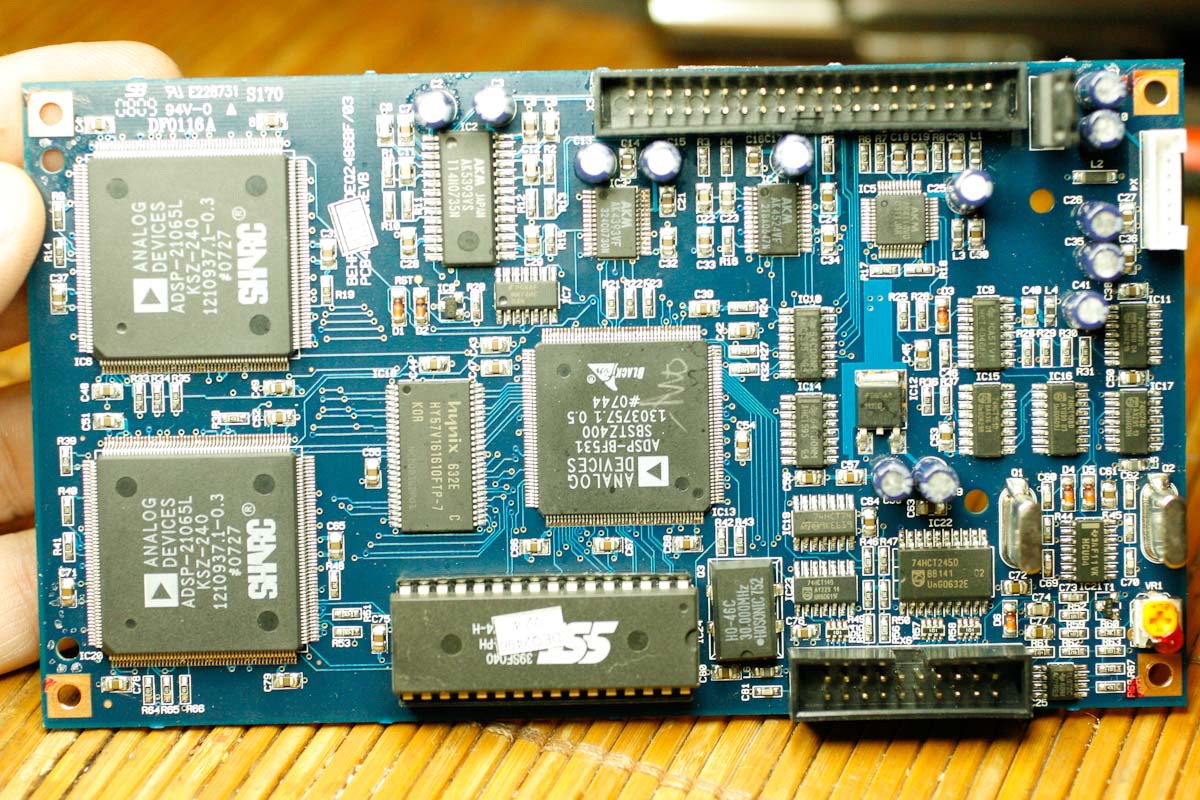
General view on the computer board.
On the top right corner - there is a connector from under which - we
take the 3 red wires.
Just under the connector there is a row of SMD components where we find
the R7 - on the top side of R7 - closer to the connector - there is
point where we solder the S/PDIF INPUT from newly installed RCA.
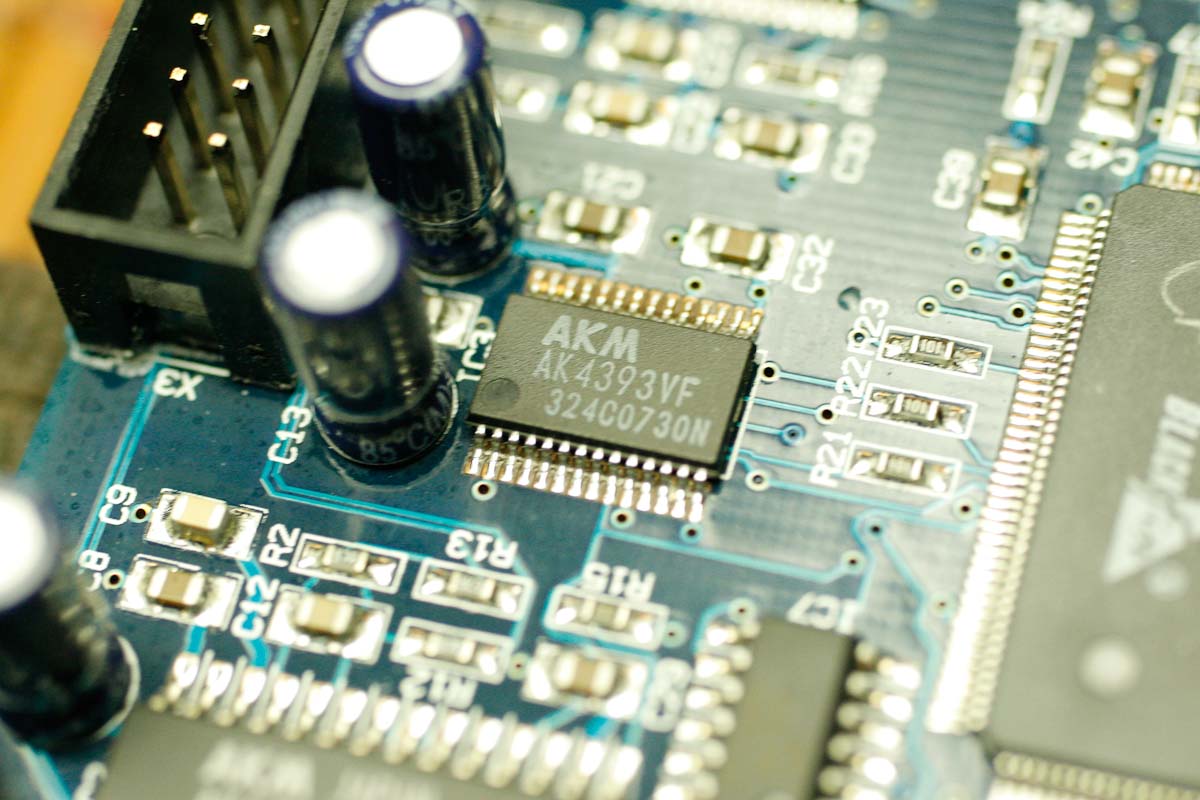
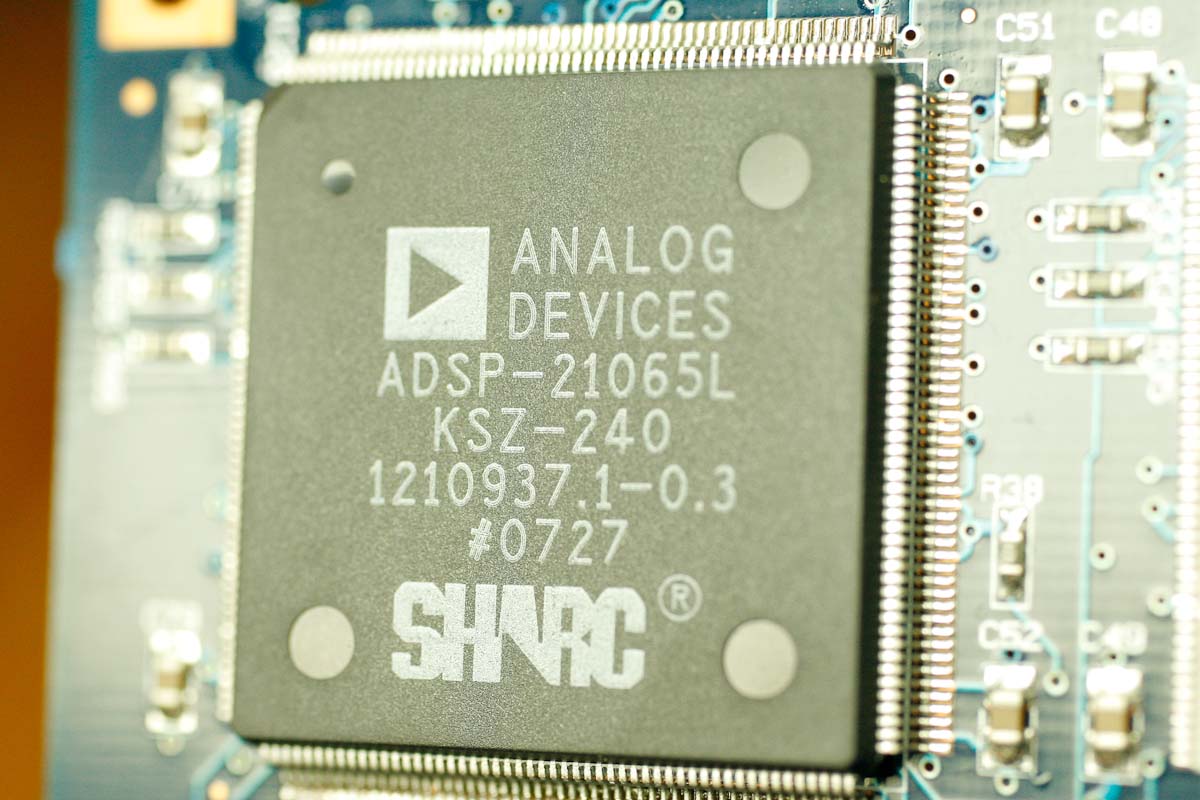
Our beloved baby - the magic DAC from Akashi Kassei of Japan.

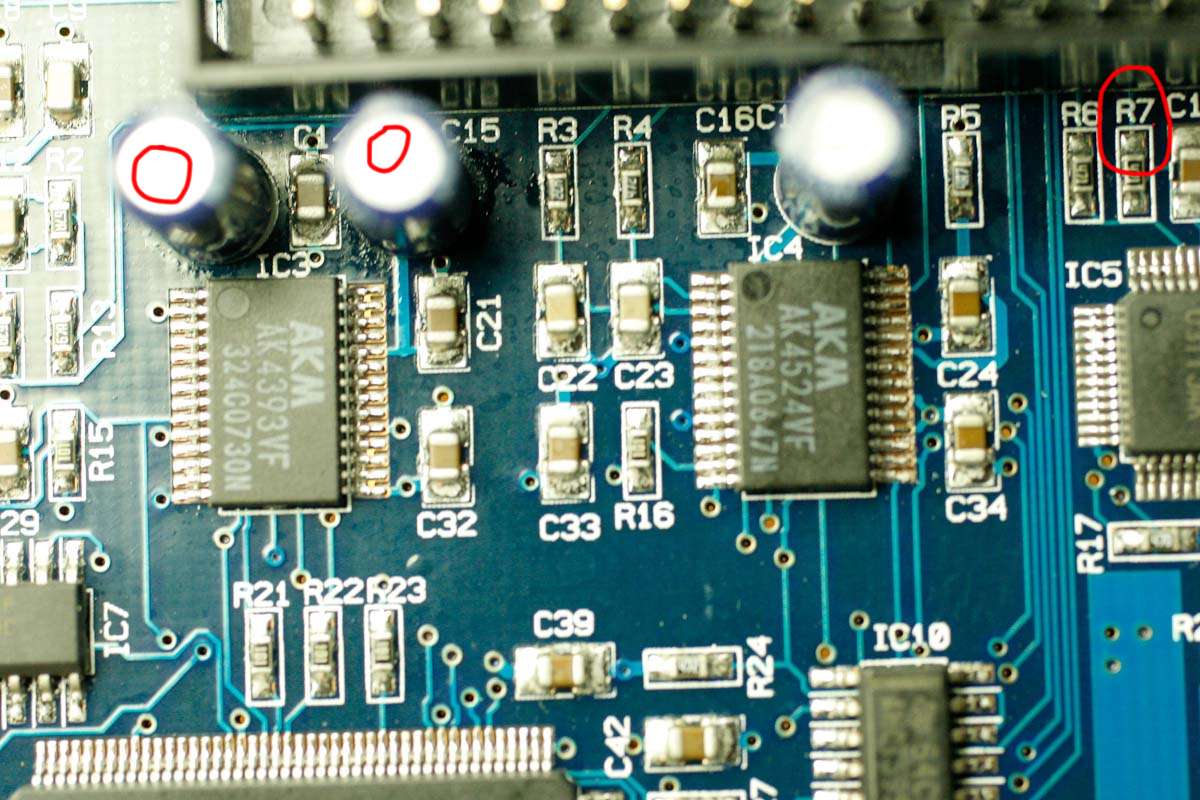
Above - in right top corner - again visible R7 - S/Pdif input.
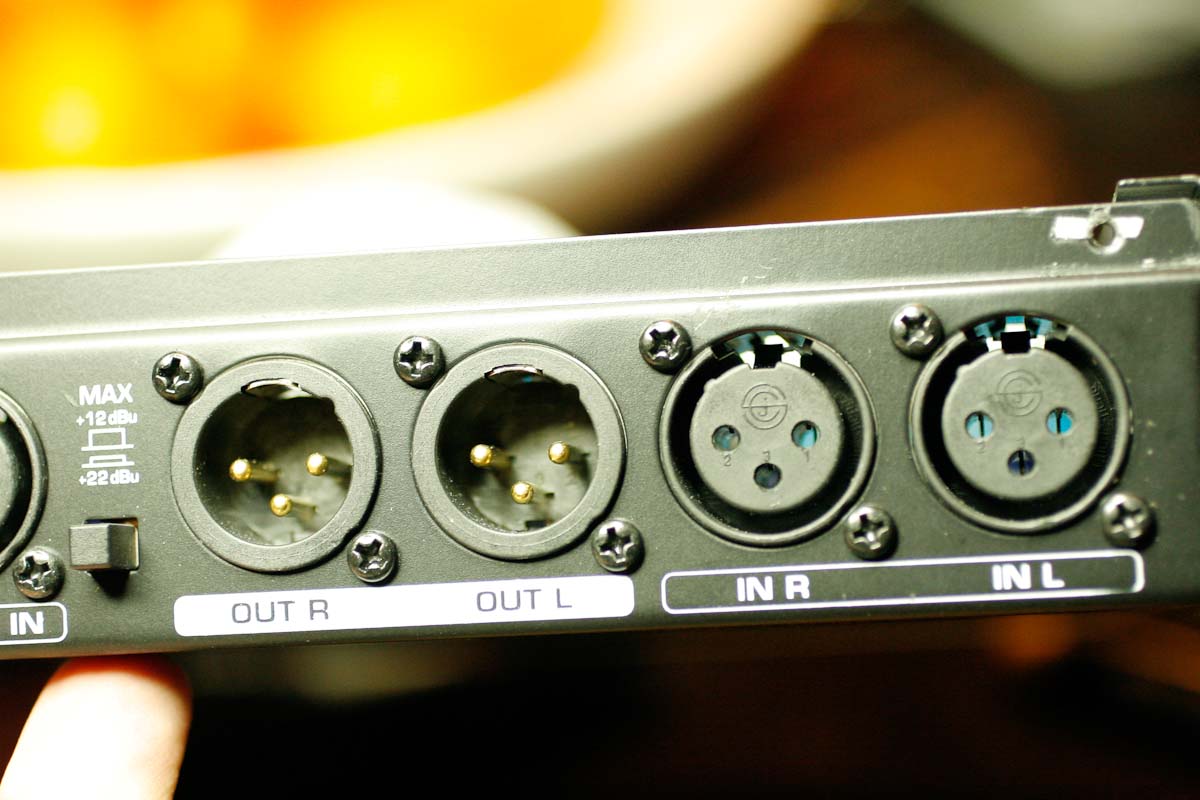
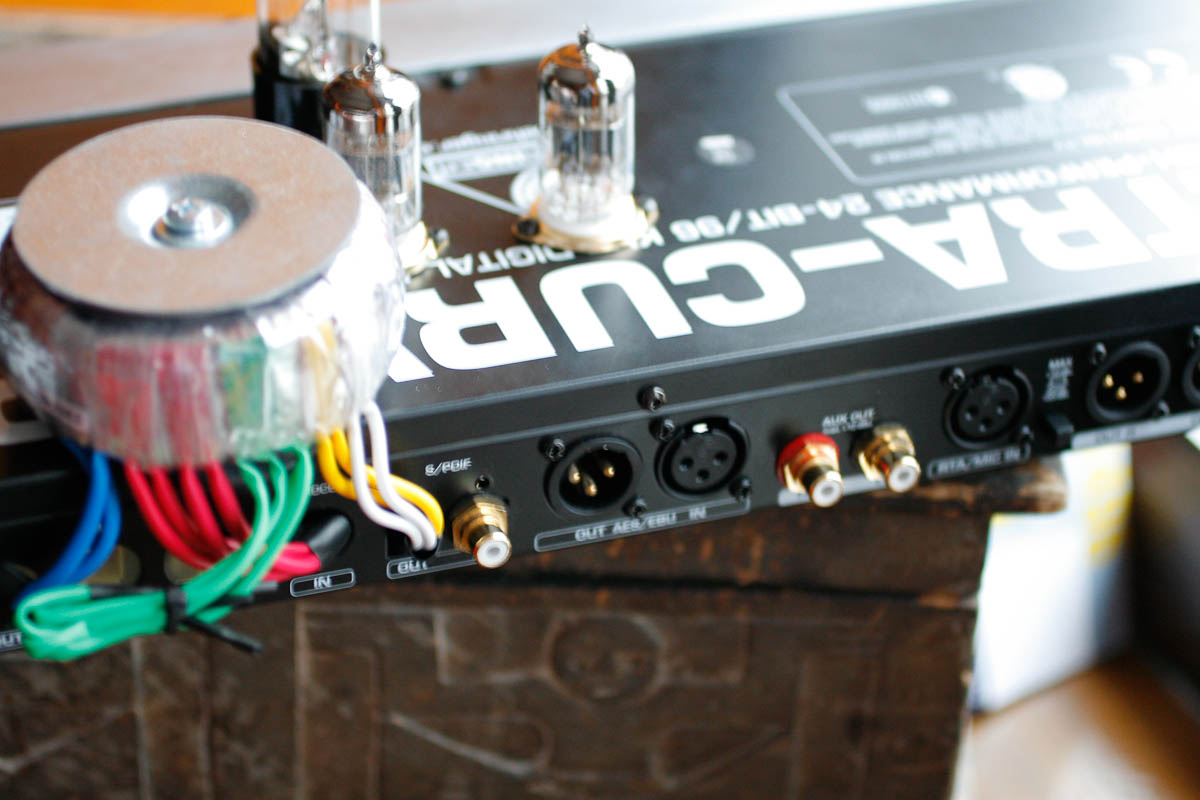
The four XLR connectors above will be disabled.
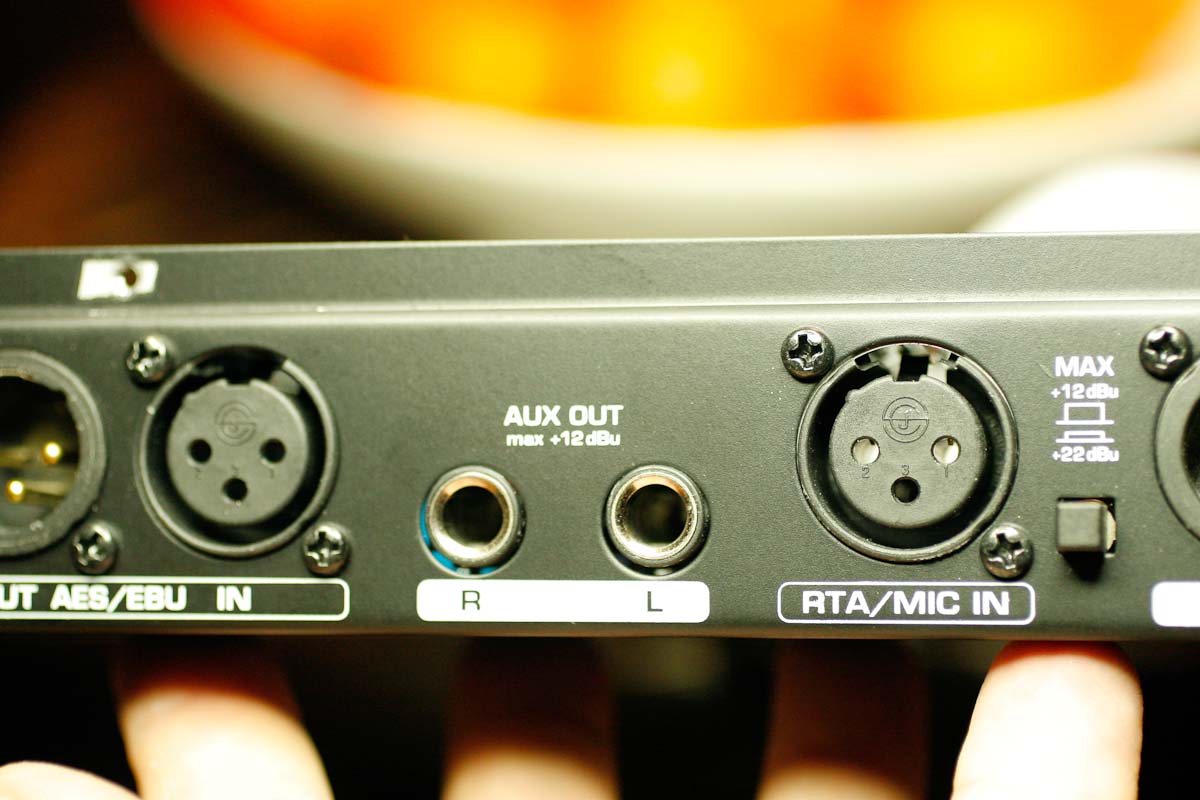
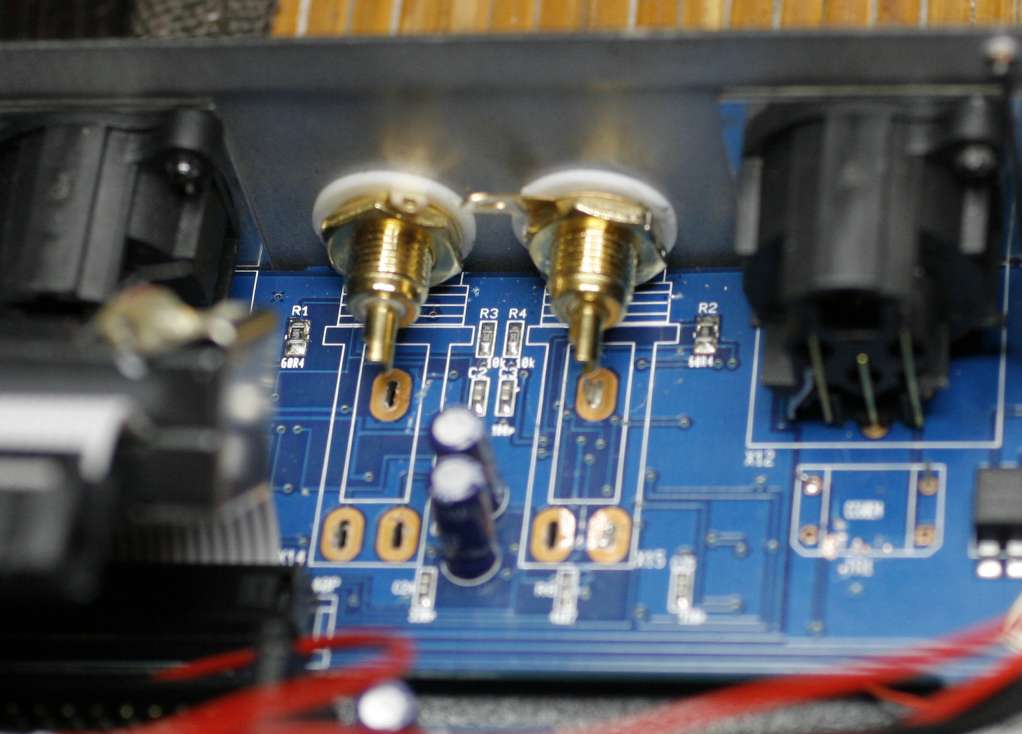
I removed the two AUX-OUT sockets for jack, and I installed new RCA for
output of lampizator signal.
The holes are just perfect - nothing to drill.
MIC IN can stay - we can do a proper miked room correction session.
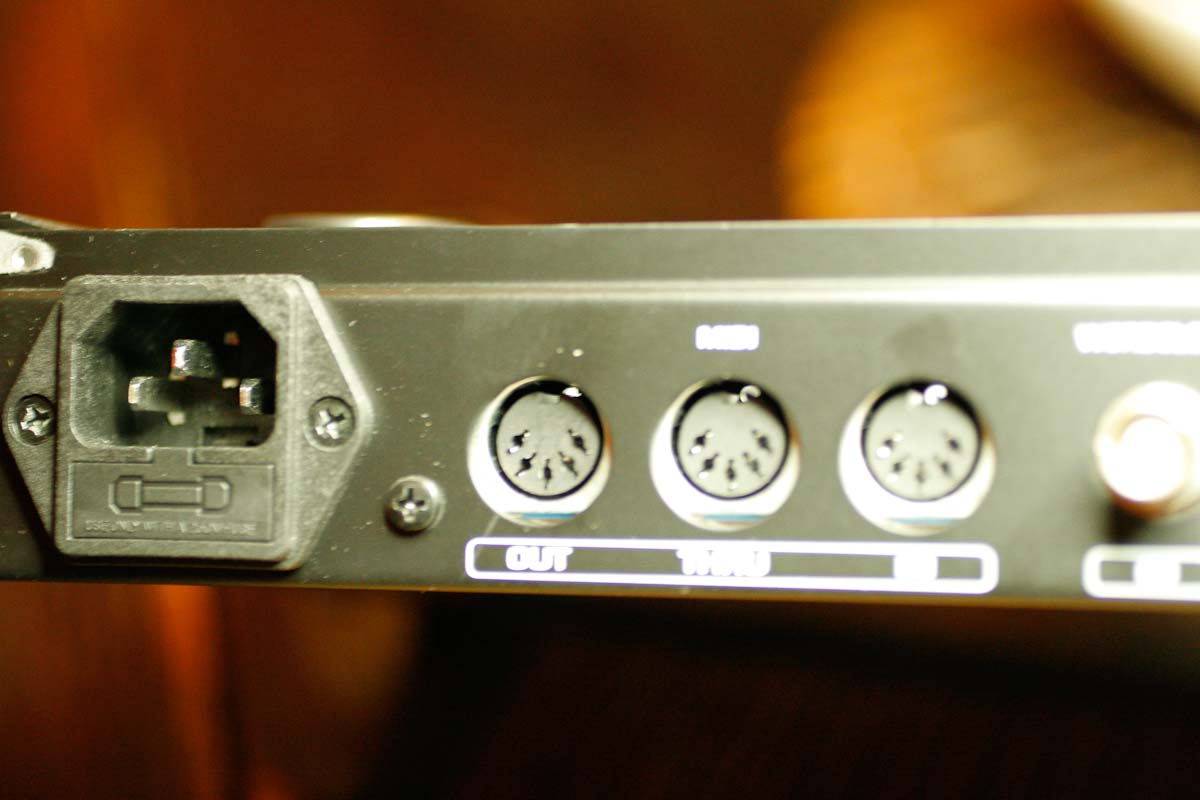
The three DIN 5-way sockets will be inactive.
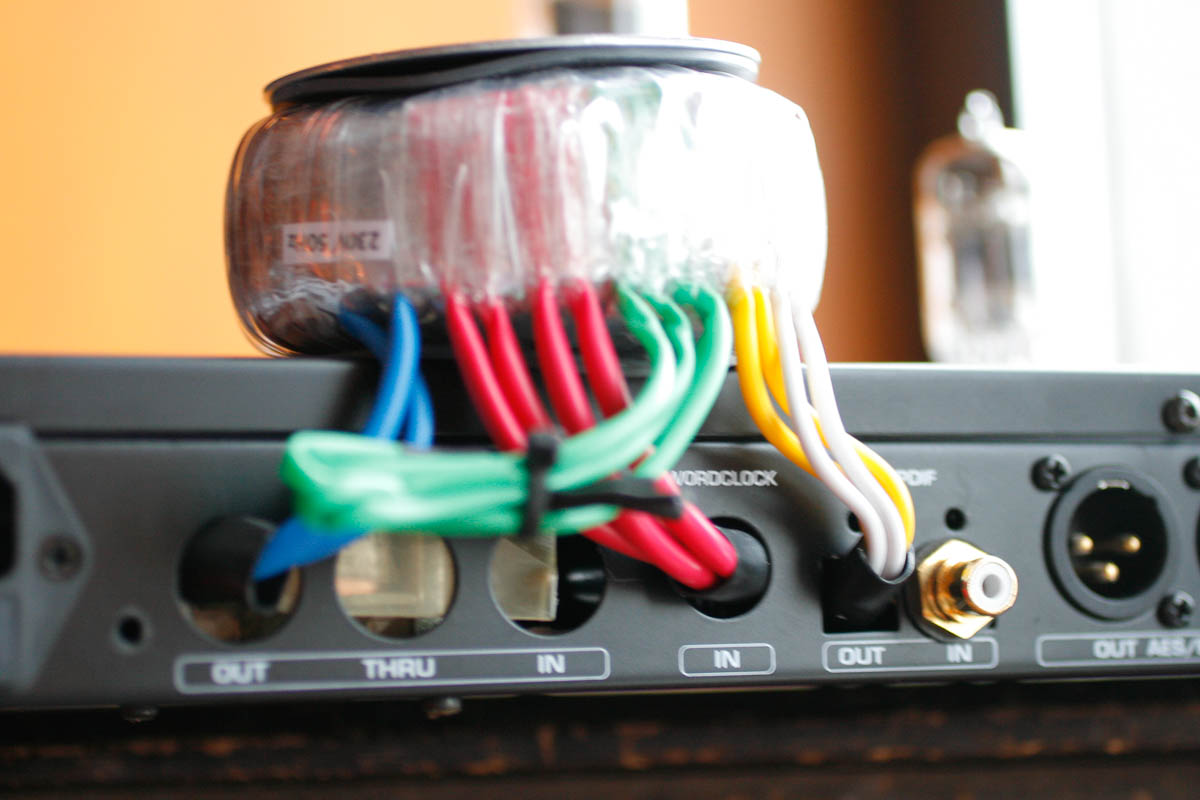
I removed the BNC CLOCK IN socket and I installed there my NEW S/PDIF
input socket.
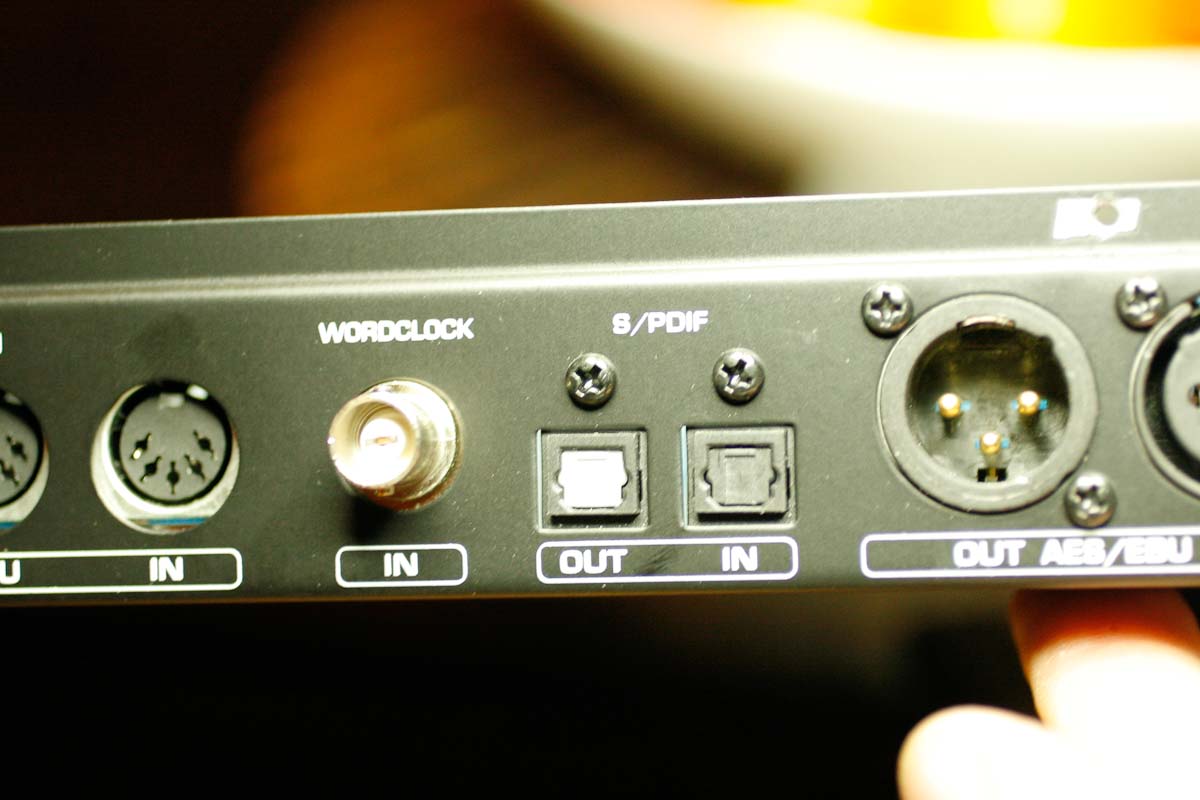
Wordclock IN became new RCA S/PDIF input, and both toslinks got
disabled.
LAMPIZATION OF ULTRACURVE
Behringer company probably never imagined that brutal rape I performed
on their product.
In this particular case - of course the message is NOT that we are more
clever than Behringer and we improve what they did. Behringer is an
excellent company with first class engineering, and their products are
for different market, different target group, different purpose.
So the whole lampization is meaning just that their product is SO GOOD
INSIDE, that we like it actually MORE than the so called high end, and
we show our appreciation by doing some manual labour and adding tubes.
Our manipulation adds a totally new dimension to the already excellent
DAC/processor.
I am very proud to have presented this particular project. I think that
many people can use Behringer Ultracurve to improve the sound of their
systems. Even as a stand-alone dac - without effects - it is still
great DAC, 95% as good as lampized Behringer Ultramatch 2496. The
remaining 5% gap is the upsampling - which Ultracurve is missing.
For those who want BOTH the ultracurve features and ultramatch sound
quality - get them both and use together.
In High-End terms - the combined price is still ridiculously cheap.
Behringer Ultracurve DEQ2496 Lampization summary:
1. disconnect the ribbon connector permanently
2. Take out the main PCB
3. Replace as many electrolytes as you can with Sanyo Oscon - for
example 150 uF / 10 V. (requires manual desoldering suction pump). At
least two caps near the AKM dac.
4. Connect to the underside of the ribbon socket three wires: L Out, R
Out, GND - as on the picture
5. Find R7 and solder a thin wire to top end of it.
REMEMBER - the Behringer PCB is made with ROHS lead-free solder which
is hard and has a high melting point. The leaded amateur DIY solder
requires every time putting a fresh drop of lead solder on the factory
solder points. )
6. remove three factory sockets at the back: WORDCLOCK, and two stereo
headphone jacks.
7. Install three chassis RCA sockets - one for S/PDIF input, two for
stereo output to amp.
8. Wire the centre of S/PDIF RCA to R7
9. Wire the L/R outputs to coupling caps (new) with voltage rating
above 6V and capacitance above 0,47uF. A paper in
oil, 1 uF / 160 V is excellent here.
10. wire the other end of coupling caps to the lampizator input grids.
Grid to ground resistor must be 100K or more, up to 1 Mega.
11. Wire three RCA outer grounds together and add to that point the GND
wire from our main PCB connector.
12. Reinstall main PCB keeping the ribbon disconnected.
LAMPIZATOR SUGGESTION
I liked best the 6H1P or e88cc used in SRPP config, both cathodes at
200 Ohms, U supply anode 250 V, C output PIO 2/160V
I heated the filaments with 6,3 VAC without rectification.
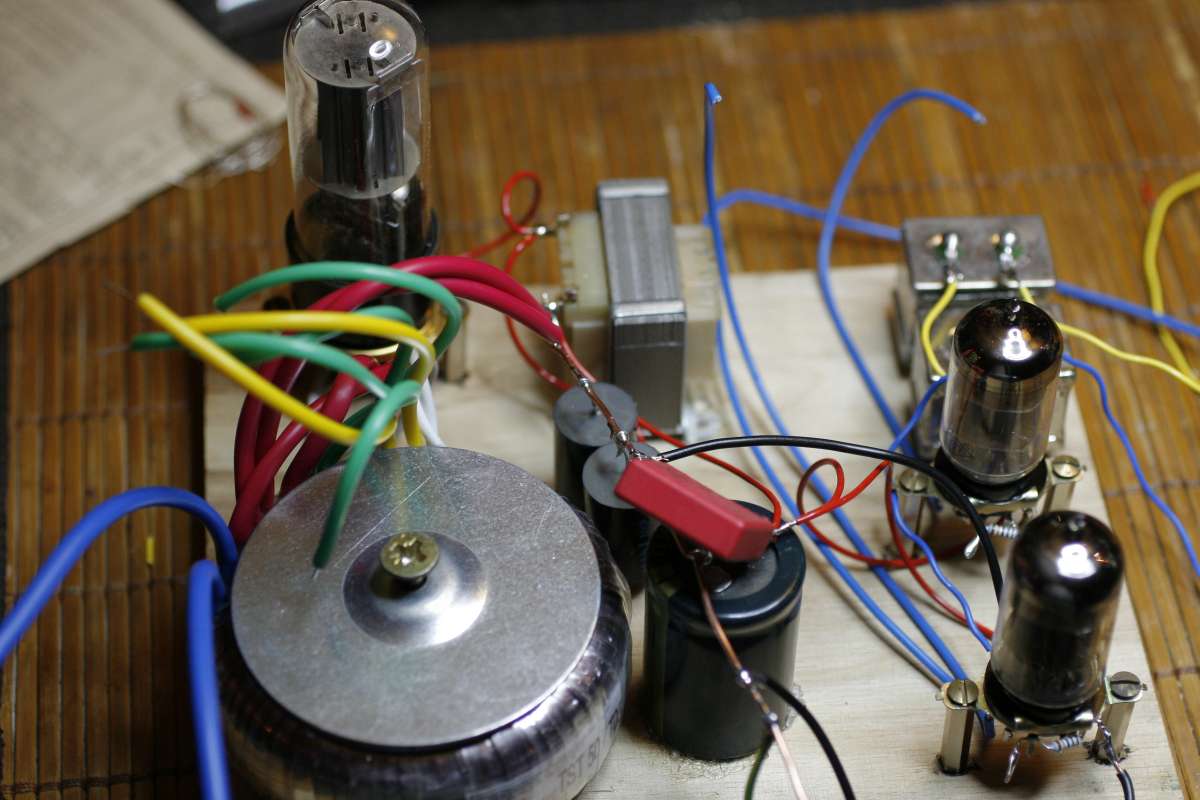
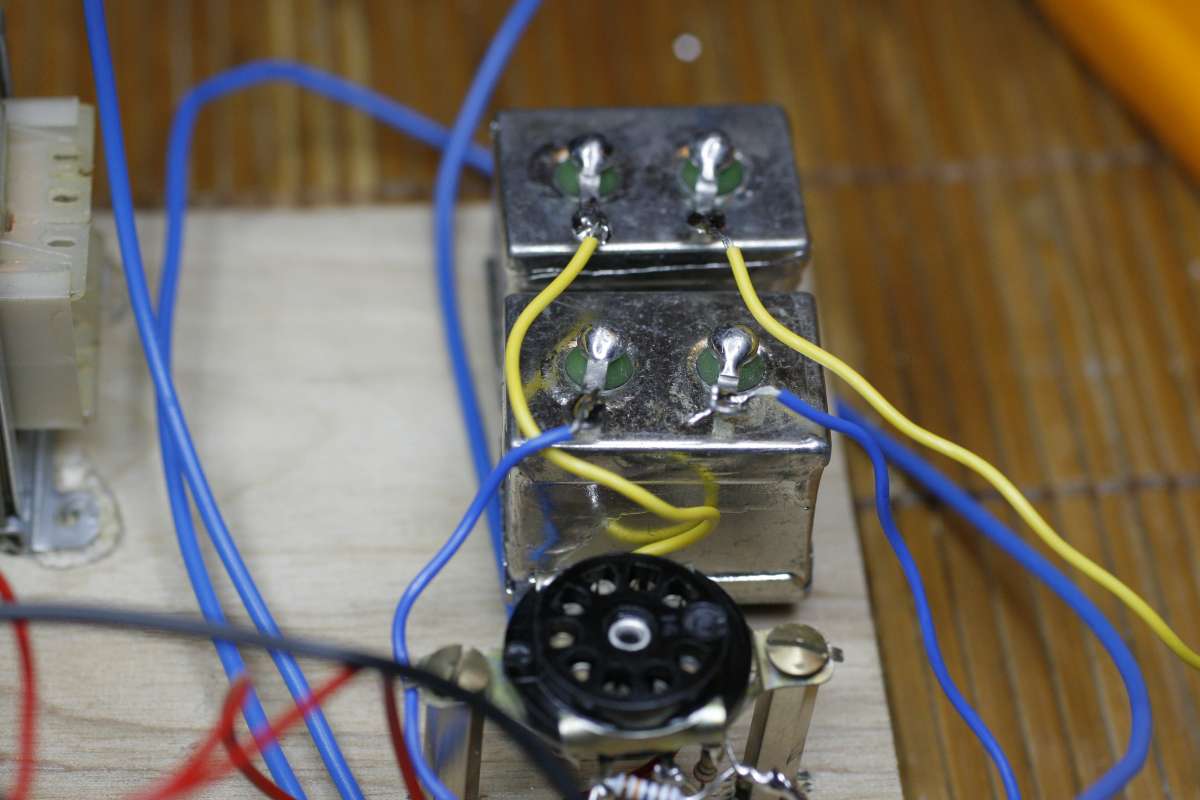
On the photos - I use the tube diode rectification for AC with CLC
filter. First C is maximum 4 uF by minimum 400V, L is 40 H, 1k2 Ohms,
and second C is 220 uF/400V.
Both channel tubes are fed from common power supply - SRPP tolerates
that well.
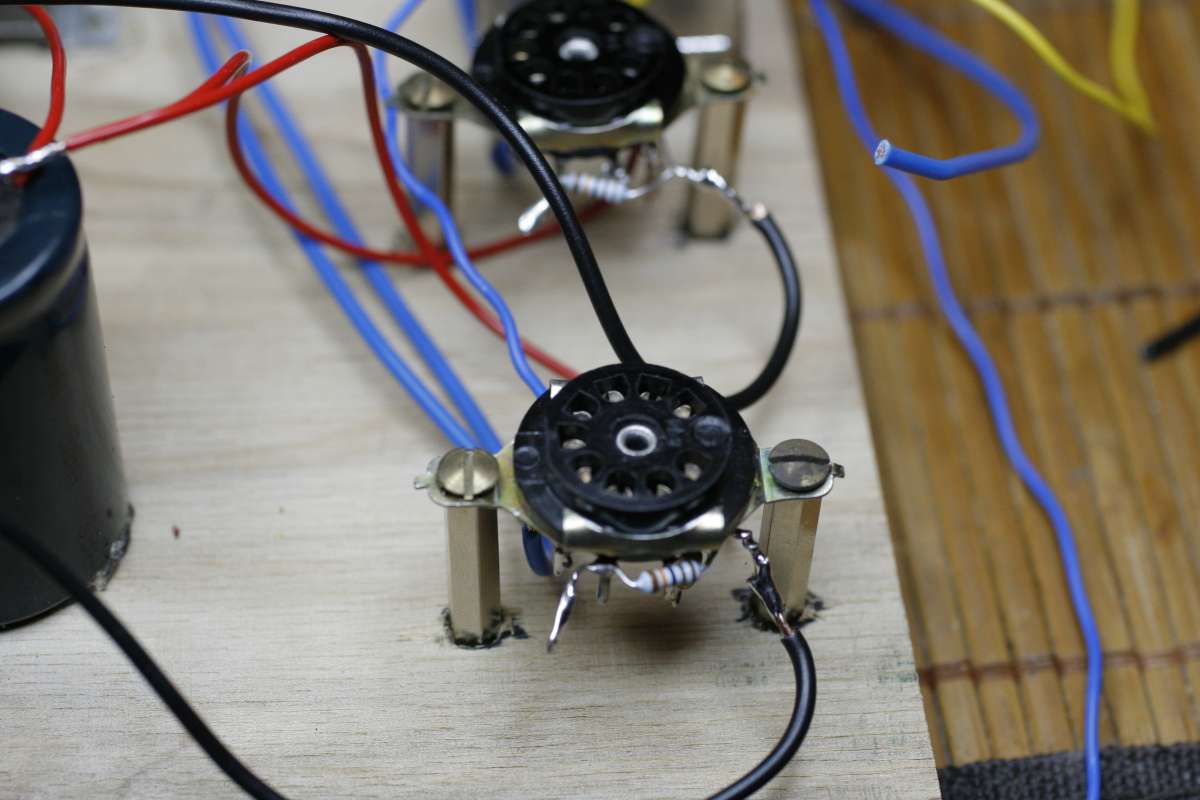
Breadboard tube diode rectifier lampizator test.

Above - octal socket for my tube rectifier and a 40 H choke that goes
well with it.
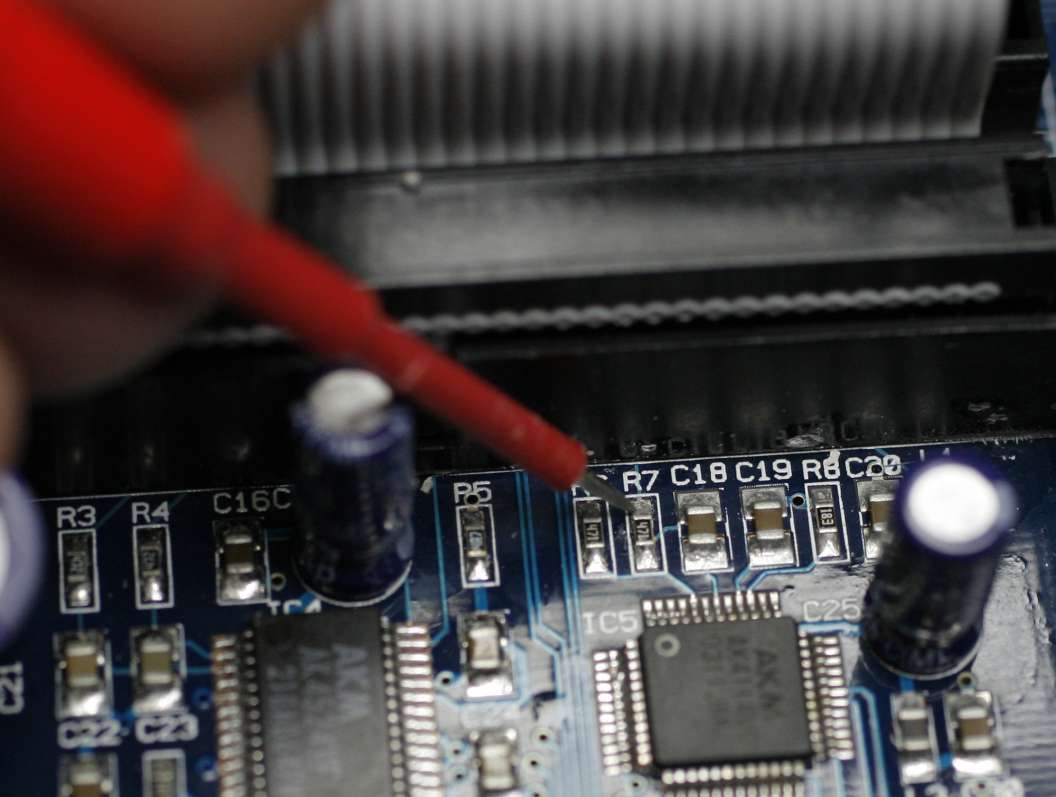
R7 which is excellent S/PDIF input point.
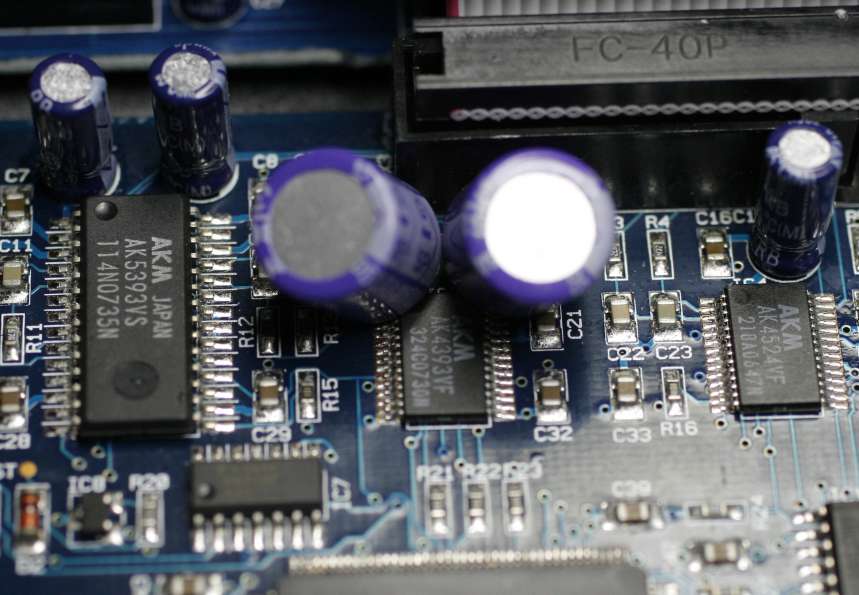
Oscons near the AKM dac
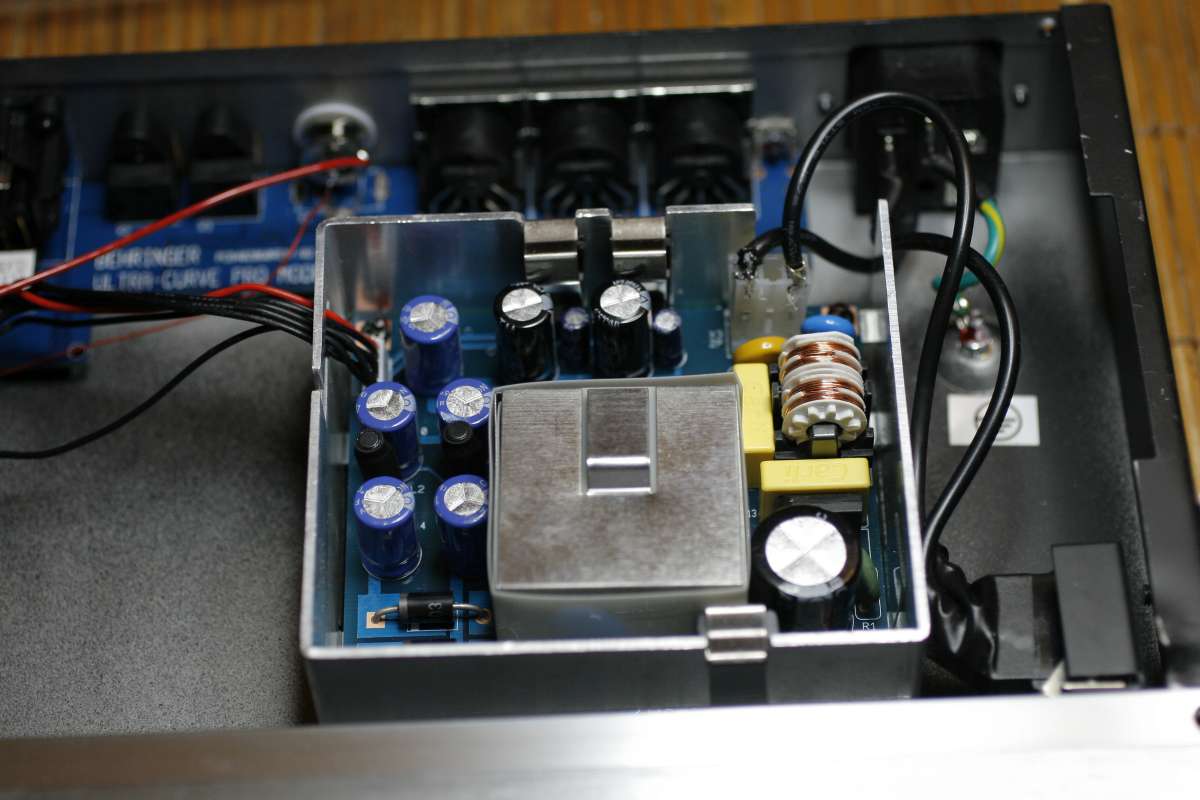
Switched power supply of the Behringer.
For the die hard diy'ers I suggest to build a new, analog - traditional
power supply and throw away this one.
We need 9, 5, 3.3 and 15/-15 - together - 5 supplies.
Maybe - 15/-15 is not even needed since we removed the op-amps which
use this supply.

A week later: